Introduction: The Sustainable Charm of Salvaged Windows
Salvaged windows offer a unique blend of character, history, and sustainability that new windows simply cannot match. Whether you’re restoring a century-old sash for your home, transforming a set of casements into a greenhouse wall, or repurposing a single pane as a decorative element, working with reclaimed windows is both an eco-friendly and creative endeavor. However, salvaged windows come with their own set of challenges: weathered frames, stuck sashes, missing glazing, and outdated hardware are common hurdles. Restoring these pieces isn’t just about aesthetics—it’s about enhancing energy efficiency, ensuring durability, and breathing new life into materials that might otherwise end up in a landfill.
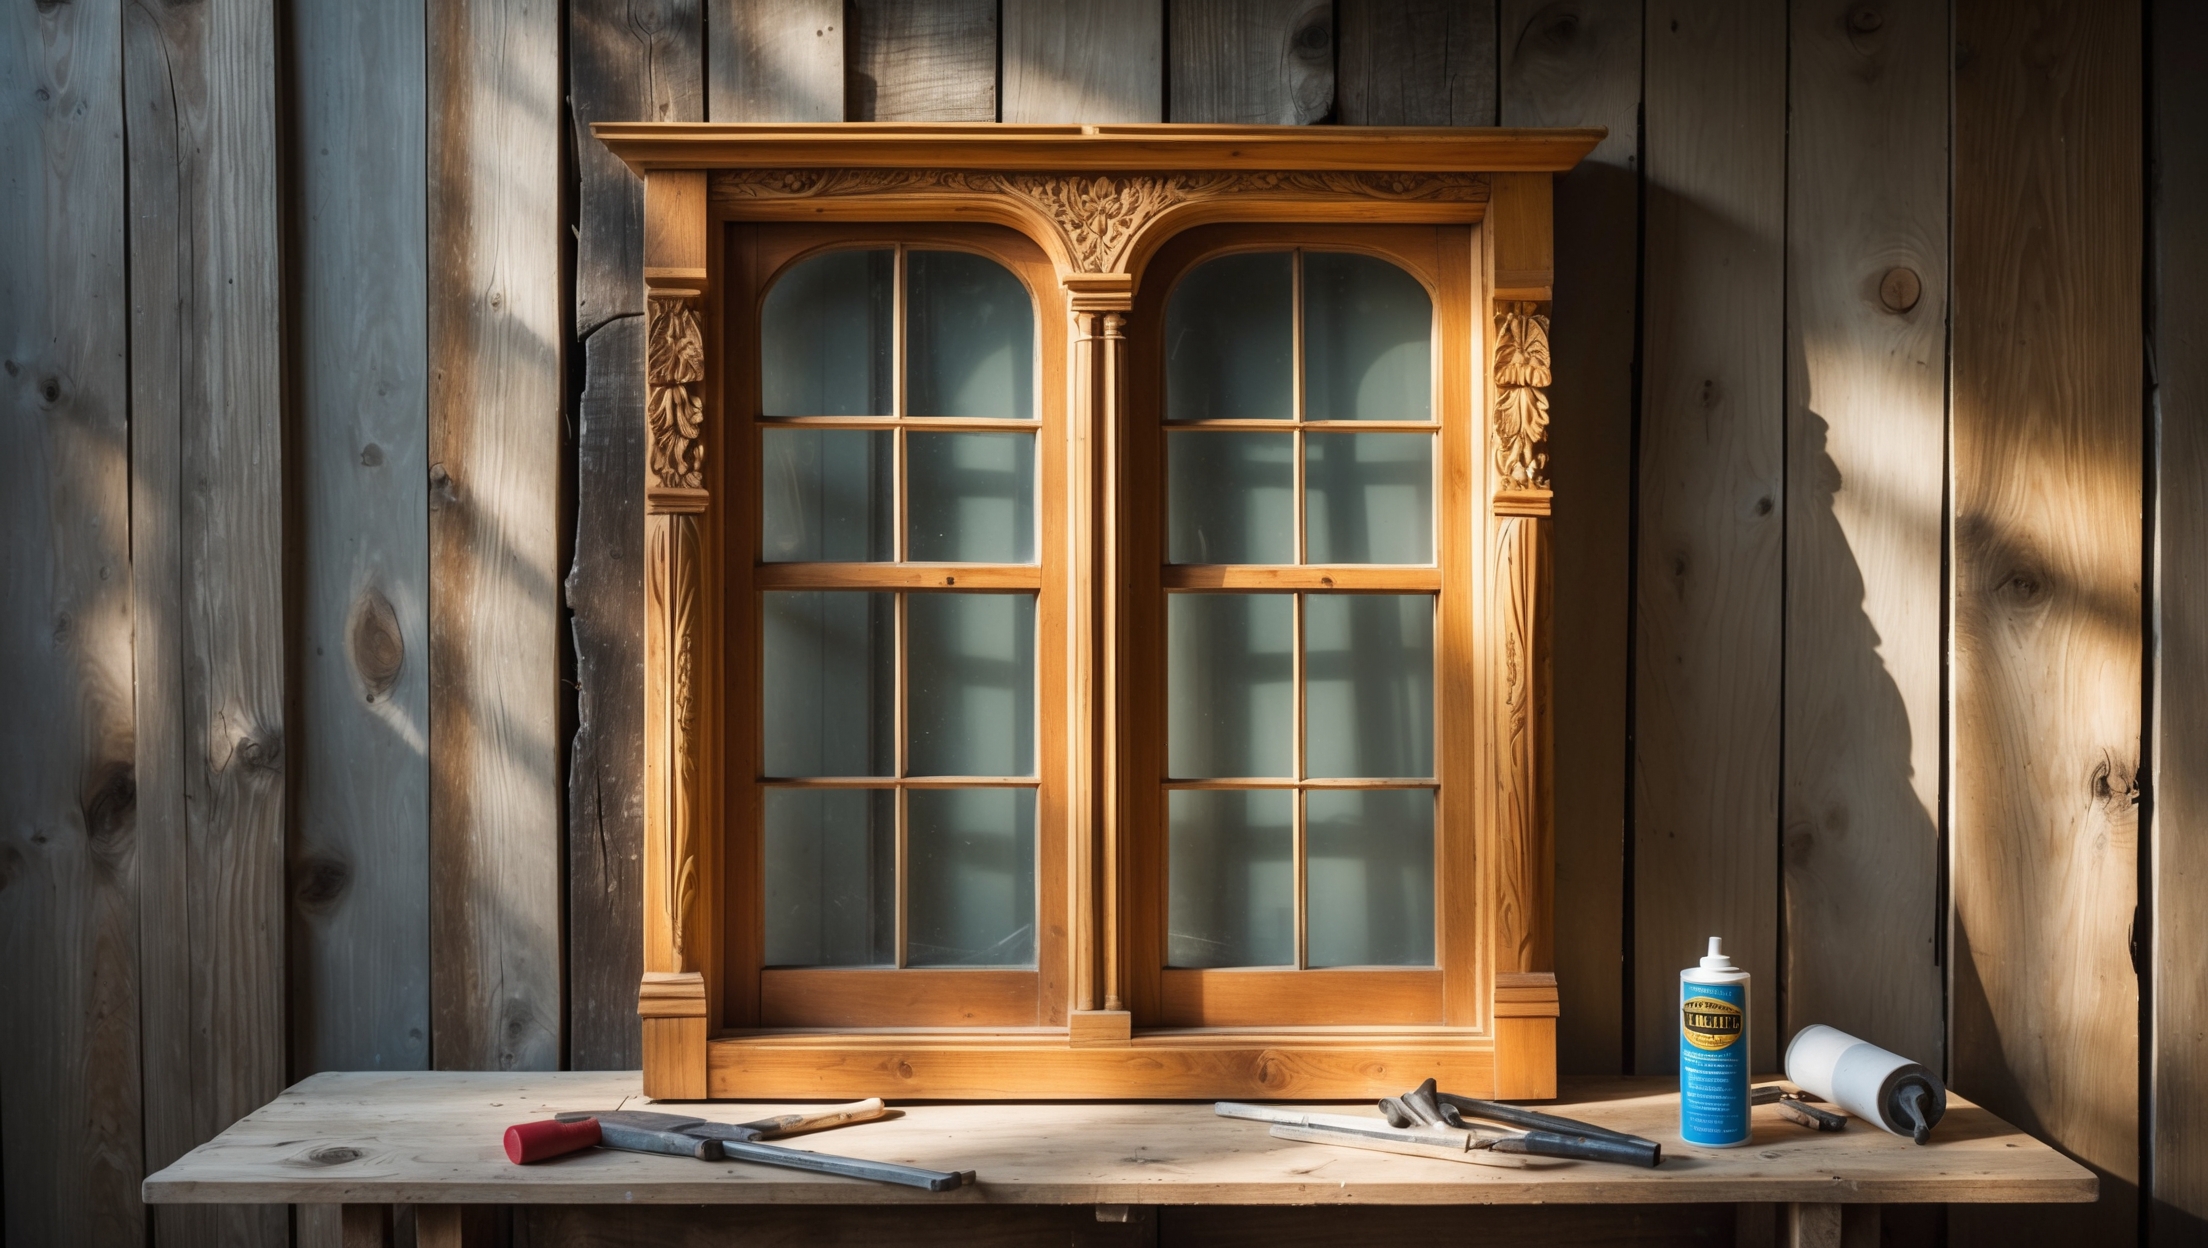
This comprehensive guide will walk you through the essential techniques, tools, and weatherproofing strategies required to restore salvaged windows for sustainable living. Whether you’re a DIY beginner or a seasoned upcycler, you’ll find practical advice on assessment, repair, glass replacement, eco-friendly finishes, and sealing methods. We’ll also discuss how to budget for your project, choose the right materials, and avoid common pitfalls that can compromise both the look and performance of your restored windows. Let’s get started on making your next window project a showcase of sustainability and craftsmanship.
Assessing Salvaged Windows: What to Look For
Wood Condition and Rot
Before you invest time and resources, thoroughly inspect each salvaged window for rot, warping, and insect damage. Use a small screwdriver to probe the frame and sash—soft or crumbling spots indicate rot that may require replacement or advanced repair. Minor rot can be treated with epoxy consolidants, but extensive damage might mean sourcing new (reclaimed) timber or choosing another window.
Glass Integrity
Original glass adds character but may have chips, cracks, or missing panes. Hold the window up to natural light to spot hairline fractures. Wavy or bubbled glass (“wavy glass”) is desirable for historic projects but can be fragile. Decide whether to retain, repair, or replace each pane based on safety, appearance, and function.
Hardware and Mechanisms
Check window locks, hinges, pulleys, and sash cords. Antique hardware can often be restored but may need replacing to meet modern standards. Ensure moving parts operate smoothly or can be disassembled for cleaning and lubrication.
Lead Paint and Asbestos
Many old windows, especially those from homes built before 1978, may have lead-based paint. If you suspect hazardous materials, use a test kit and follow local regulations for safe removal and disposal. Always wear personal protective equipment (PPE) during assessment and restoration.
Essential Tools and Materials for Window Restoration
- Paint scrapers (flexible and rigid)
- Heat gun or infrared paint remover
- Glazing knives and points
- Putty (natural linseed oil-based or modern acrylic)
- Wood epoxy repair systems
- Chisels and small hand saws
- Random orbital sander and sanding blocks
- Glass cutter and running pliers
- Caulking gun and eco-friendly sealant
- Sash cord or chain (for double-hung windows)
- Measuring tape, square, and level
- Drill and driver set
- PPE: dust mask, safety glasses, gloves
Investing in quality, reusable tools not only streamlines the restoration process but also aligns with sustainable workshop practices. Opt for biodegradable or low-VOC products wherever possible.
Step-by-Step Restoration of Salvaged Windows
1. Safe Removal and Disassembly
If the window is still installed, carefully remove it from the frame. Label parts and bag hardware to keep everything organized. Take reference photos for reassembly, especially if the window features complex joinery or hardware.
2. Paint and Finish Removal
Use a heat gun or an infrared paint remover to soften old paint, then gently scrape it away. Avoid harsh chemicals, which can damage wood and harm the environment. For stubborn spots, sand lightly by hand. If lead paint is present, use a HEPA vacuum and follow all safety protocols.
3. Repairing and Replacing Wood Elements
Excise rotten wood with a chisel or saw. Treat minor rot with epoxy consolidant, following manufacturer instructions. For larger repairs, splice in matching reclaimed wood using waterproof glue and dowels or screws. Sand smooth for a seamless finish.
4. Hardware Restoration or Replacement
Soak metal hardware in a vinegar solution to remove rust, then polish with fine steel wool. Lubricate moving parts with graphite or silicone spray. If hardware is beyond repair, choose period-appropriate reproductions or modern alternatives that fit the original holes.
5. Glass Removal and Replacement
Carefully remove old glazing putty with a knife and extract glazing points. Lift out damaged panes and measure precisely for replacements. Cut new glass or order custom sizes; if reusing wavy glass, handle with care. Clean glass thoroughly before installation.
6. Reglazing and Puttying
Seat the new or cleaned glass in a thin bead of linseed oil putty or acrylic glazing compound. Secure with glazing points every 6 inches. Apply a smooth, beveled line of putty around the edge and let it cure fully (up to two weeks for traditional putty) before painting.
7. Sanding and Surface Preparation
Sand the window frame and sash with progressive grits (starting at 80 and finishing at 220) to remove splinters and rough spots. Wipe down surfaces with a tack cloth to remove dust before finishing.
8. Painting and Finishing
Choose low-VOC, exterior-grade paints or natural oils. Apply primer and two finish coats, allowing ample drying time between layers. Paint slightly onto the glass (about 1/16″) to seal the putty edge and prevent water infiltration.
9. Reassembly and Reinstallation
Reattach hardware, replace sash cords, and reinstall the window in its frame. Adjust for smooth operation and align for a tight, weather-resistant fit. Test the window’s movement and locking mechanisms before final sealing.
Weatherproofing Tips for Restored Windows
Effective Draught Sealing
Install flexible weatherstripping (silicone or compression foam) along meeting rails and jambs. For historic windows, consider brush or pile seals that preserve the original appearance while blocking air leaks.
Eco-Friendly Caulking
Seal gaps between the window frame and wall with low-VOC or natural latex caulk. Smooth with a damp finger or tool for a neat finish. Regularly inspect caulking for cracks and touch up as needed to maintain energy efficiency.
Glazing Maintenance
Monitor glazing putty for cracks or shrinkage. Spot-repair with matching putty to prevent water infiltration. Keep painted putty edges intact to extend service life.
Interior Storm Windows
For improved insulation without altering historic windows, add removable interior storm panels made from acrylic or glass. These boost energy savings and can be discreetly installed during colder months.
Choosing Sustainable Materials and Finishes
Reclaimed Wood and Hardware
Source repair materials from architectural salvage yards or deconstruction projects. Matching wood species and grain ensures authentic restoration. Repurpose old sash weights, pulleys, and locks where possible.
Natural and Low-Impact Finishes
Opt for paints and sealants with low or zero VOCs to minimize indoor air pollution. Linseed oil, tung oil, and natural waxes are excellent for bare wood and create a breathable, durable finish.
Insulating Glass Options
If energy efficiency is a priority, consider retrofitting single-pane windows with insulated glass units (IGUs) or adding secondary glazing. Consult a glass professional for compatible solutions that respect the original design.
Budgeting and Cost Breakdown
Material and Tool Costs
- Salvaged window: $20–$150 each
- Specialty tools (one-time investment): $80–$250
- Paint, finishes, and putty: $30–$100 per window
- Weatherstripping and caulk: $10–$30 per window
- Glass replacement (if needed): $15–$50 per pane
- Hardware (restored or new): $10–$40 per window
Labor is your own investment—factor in 6–12 hours per window, depending on complexity and condition.
Hidden Costs to Watch For
- Disposal fees for lead paint or broken glass
- Unexpected rot requiring more extensive wood repair
- Custom glass or specialty hardware lead times
Common Mistakes to Avoid
- Rushing paint removal and damaging wood details
- Failing to properly prep surfaces before painting or puttying
- Using incompatible or low-quality putty that cracks quickly
- Over-tightening hardware and cracking frames
- Skipping draught sealing, resulting in poor energy performance
- Ignoring lead paint or asbestos safety protocols
Careful planning and methodical work pay off in both appearance and longevity.
Maintenance Best Practices for Restored Windows
Annual Inspection Checklist
- Check for cracked or peeling paint
- Inspect and touch up glazing putty as needed
- Test window operation and lubricate moving parts
- Look for signs of moisture or wood rot
- Ensure weatherstripping is intact and replace if worn
Cleaning and Care
Use a soft cloth and mild soap for glass and painted surfaces. Avoid harsh abrasives that can scratch old glass or wear down finishes. Periodically open and close sashes to prevent sticking.
Long-Term Preservation
Regular maintenance extends the service life of restored windows by decades. Keep a log of repairs, paint cycles, and hardware replacements for each window to anticipate future needs and ensure ongoing sustainability.
Conclusion: The Lasting Value of Salvaged Window Restoration
Restoring salvaged windows is more than an act of preservation—it’s a bold commitment to sustainable living, craftsmanship, and the celebration of history. Each window you rescue reduces landfill waste, conserves valuable resources, and brings timeless personality to your home or project. By mastering the techniques outlined in this guide, you can confidently tackle wood repairs, glazing, weatherproofing, and finishing with an expert’s eye for detail and longevity.
The ecological benefits are tangible: lower embodied energy compared to new windows, improved energy efficiency through proper sealing, and the joy of working with authentic materials. Over time, your restored windows will repay your effort with reduced utility bills, enhanced comfort, and admiration from all who experience their charm. Moreover, you set an example for others in your community to value reuse and thoughtful restoration over disposable solutions.
As you embark on your next window project, remember that patience and research are just as important as the tools in your kit. Each salvaged window tells a story—by restoring and weatherproofing it for the future, you become part of that narrative, leaving a legacy of sustainability and beauty for generations to come.


When you mention using epoxy consolidants for minor wood rot, is there a particular brand or type you recommend for best durability? I want to make sure the repairs hold up in our humid Midwest climate.
For durable repairs in humid climates like the Midwest, look for epoxy consolidants specifically designed for exterior wood restoration. Brands such as Abatron LiquidWood and System Three RotFix are widely respected for their strength and long-lasting results. Both penetrate deeply to harden and stabilize rotted areas before you fill or paint. Be sure to follow the manufacturer’s preparation and application instructions for the best outcome.
When it comes to weatherproofing restored salvaged windows, what eco-friendly sealing methods actually hold up in regions with humid summers and cold winters? I’m hoping to preserve the original glass but need strong insulation too—what would you recommend?
For eco-friendly sealing that lasts through both humid summers and cold winters, consider using weatherstripping made from natural rubber or wool felt—these materials insulate well, are durable, and can be fitted without damaging original glass or frames. Linseed oil putty is also a traditional, sustainable option for glazing. For best insulation, add interior storm windows with wooden frames and low-VOC finishes, which boost energy efficiency without altering your restored glass.
I’m curious about budgeting for a restoration project like this. Could you give a rough estimate of costs for materials and tools when restoring, say, a single double-hung salvaged window, especially if it needs both glazing and hardware replaced?
For a single double-hung salvaged window, you can expect to spend around $40–$80 on materials. This includes glazing putty ($10–$20), new glass if needed ($10–$25), paint or finish ($10–$15), and hardware like sash locks or pulleys ($10–$20). Basic tools, if you don’t own them, such as a putty knife, scraper, and screwdriver, may add $20–$40. So a ballpark total is $60–$120, depending on what you already have.