
Introduction: Salvaged Materials for Sustainable Garden Spaces
Creating a beautiful, functional, and sustainable garden doesn’t have to rely on new, resource-intensive products. Savvy gardeners and eco-conscious DIYers are increasingly turning to creative salvage and upcycling to transform discarded materials into one-of-a-kind outdoor features. Whether you want to build raised beds from old lumber, craft unique planters from vintage finds, or restore weathered garden furniture, upcycling offers a wealth of opportunities to reduce waste and infuse your outdoor space with character. This detailed guide will walk you through the essentials of sourcing, restoring, and safely integrating salvaged materials into your garden design, with a focus on practical solutions, durability, and environmental responsibility.
From choosing the right tools for outdoor projects to understanding how to weatherproof reclaimed finds, we’ll explore a range of creative ideas tailored for beginners and seasoned upcyclers alike. You’ll discover restoration methods that balance aesthetics and longevity, learn how to avoid common pitfalls, and gain insight into the best practices for maintaining your upcycled garden features. Let’s dig into a world where sustainability meets outdoor beauty, one salvaged treasure at a time.
Why Upcycle for the Garden?
Environmental Benefits
Upcycling salvaged materials diverts useful items from landfills, reducing environmental impact and conserving resources. In garden spaces, this approach also lessens the need for plastic or chemically treated products, promoting a healthier ecosystem for plants, pollinators, and people alike. By embracing creative salvage, you’re actively contributing to a more circular, sustainable economy—one plant bed, bench, or trellis at a time.
Unique Aesthetic Appeal
Salvaged and upcycled items bring a sense of history and individuality to gardens. Weathered patinas, vintage shapes, and unexpected combinations can transform an ordinary outdoor area into a personal retreat or a showcase for eco-friendly creativity. Upcycled features often become conversation starters and focal points that reflect your values and style.
Cost-Effectiveness
New outdoor furniture, planters, and structures can be expensive. Salvaging and restoring materials allows you to create durable garden elements at a fraction of the cost, often with superior craftsmanship and more interesting visual results. With careful planning, you can stretch your budget while avoiding the environmental toll of new manufacturing.
Choosing Salvaged Materials for Outdoor Use
What to Look For
- Durability: Prioritize materials that withstand outdoor conditions—hardwoods, galvanized metals, cast iron, terracotta, concrete, and thick glass. Avoid materials that easily rot, warp, or degrade when exposed to weather.
- Past Use: Know the previous application of materials. Avoid items treated with toxic chemicals (like creosote railroad ties or lead-painted wood) that could leach into soil or be hazardous to touch.
- Structural Integrity: Inspect for cracks, rot, rust-through, or insect damage. While some surface wear adds charm, structural problems can compromise safety and longevity.
- Size and Weight: Consider how you’ll transport and handle large or heavy salvage. Plan for stable placement—especially for items like stone slabs, cast iron tubs, or large timbers.
Where to Source Garden-Friendly Salvage
- Architectural salvage yards
- Demolition sites (with permission)
- Craigslist, Freecycle, Facebook Marketplace
- Habitat for Humanity ReStores
- Farm auctions and estate sales
- Local dumps or transfer stations (sometimes with a reuse area)
Always ask about the history of materials and check for hazards like lead paint or asbestos before bringing items home.
Creative Upcycling Ideas for Garden Spaces
1. Raised Garden Beds from Salvaged Wood or Metal
Reclaimed lumber, corrugated metal panels, or even old cast iron bathtubs make excellent garden beds. Remove nails, check for splinters, and avoid lumber treated with creosote or CCA. Sand surfaces and coat with a natural, non-toxic wood preservative to extend their life. Metal beds can be lined with landscape fabric to prevent soil contact with rust-prone surfaces.
2. Unique Planters from Vintage Finds
Turn galvanized buckets, enamel basins, old sinks, or even dresser drawers into planters. Drill drainage holes, line wood items with plastic (poke holes for drainage), and avoid containers that held chemicals. For a cohesive look, group mismatched planters by color or material and arrange them at varying heights.
3. Salvaged Brick and Stone for Paths and Edging
Reclaimed pavers, bricks, or natural stone can be arranged into winding garden paths, patio spaces, or tidy bed edges. Clean thoroughly to remove old mortar or moss. Lay stones on a compacted sand and gravel base for stability. Use irregular pieces for a rustic, cottage-garden feel.
4. Upcycled Outdoor Furniture
Weathered benches, wrought iron chairs, or wooden tables can be found at salvage yards or curbside. Sand rusty or flaking surfaces, treat with rust converter or wood preservative, and finish with outdoor paint or oil. Replace missing slats with reclaimed pallet wood or hardwood offcuts.
5. Trellises, Arbors, and Fencing from Reclaimed Materials
Old doors, iron gates, window frames, or even bed frames can be repurposed as trellises or garden dividers. Secure items firmly and anchor posts deeply to withstand wind. Join sections with galvanized hardware to prevent corrosion.
6. Water Features with Salvaged Components
Vintage sinks, troughs, or large pots can be transformed into birdbaths, small ponds, or fountains. Ensure watertightness by sealing seams with pond-safe silicone. Add a solar pump for circulation and surround with rocks or plants for a natural look.
7. Compost Bins and Tool Storage from Pallets
Sturdy shipping pallets offer a low-cost, flexible way to build compost bins or outdoor storage. Look for pallets stamped “HT” (heat-treated, not chemically treated). Sand rough edges, assemble with exterior screws, and add hardware cloth to keep pests out.
Restoration Tips: Preparing Salvaged Materials for Outdoor Use
Cleaning and Decontaminating
- Scrub all surfaces with a stiff brush, warm water, and mild soap. For persistent grime or mold, use a vinegar solution.
- For metals, remove rust with a wire brush, sandpaper, or a rust remover designed for your material type. Rinse and dry thoroughly.
- For wood, inspect for rot or insect damage. Remove any paint that may contain lead using a lead-safe removal method or consult a professional if in doubt.
Repairing and Reinforcing
- Patch holes or cracks in metal with an exterior-grade epoxy or weld if needed.
- Replace rotten wood sections with matching salvage or durable new lumber.
- Refasten joints with outdoor-grade screws or construction adhesive.
- For furniture, check all fasteners and replace any missing or corroded hardware.
Weatherproofing Salvaged Finds
- Apply a clear exterior wood sealer, linseed oil, or eco-friendly paint to wooden items.
- Use marine-grade varnish for benches or tables exposed to rain and sun.
- For metal, apply a rust-inhibiting primer and a durable topcoat, or leave bare for a weathered look—just monitor for structural rust.
- Line porous containers with a waterproof membrane if using for water features or planters.
Step-by-Step Example: Building a Raised Bed from Salvaged Lumber
Materials Needed
- Reclaimed, untreated lumber (thick planks or beams)
- Galvanized screws or lag bolts
- Drill and bit set
- Handsaw or circular saw (as needed)
- Measuring tape and square
- Sandpaper or orbital sander
- Non-toxic wood preservative or oil
Instructions
- Measure and Cut: Determine the size of your bed (common sizes: 4′ x 8′, 3′ x 6′). Cut boards to length and check ends for squareness.
- Sand Surfaces: Smooth rough edges and surfaces to reduce splinters.
- Assemble Frame: Stand boards on edge to form a rectangle. Drill pilot holes and fasten corners with galvanized screws or bolts.
- Check for Level: Set the frame in place, adjust for level, and backfill as needed.
- Treat Wood: Apply a natural, food-safe wood preservative to prolong life.
- Fill with Soil: Line the bottom with cardboard to suppress weeds, then fill with a rich planting mix.
Essential Tools and Supplies for Garden Upcycling
- Basic Hand Tools: Hammer, screwdrivers, pliers, hand saw, utility knife
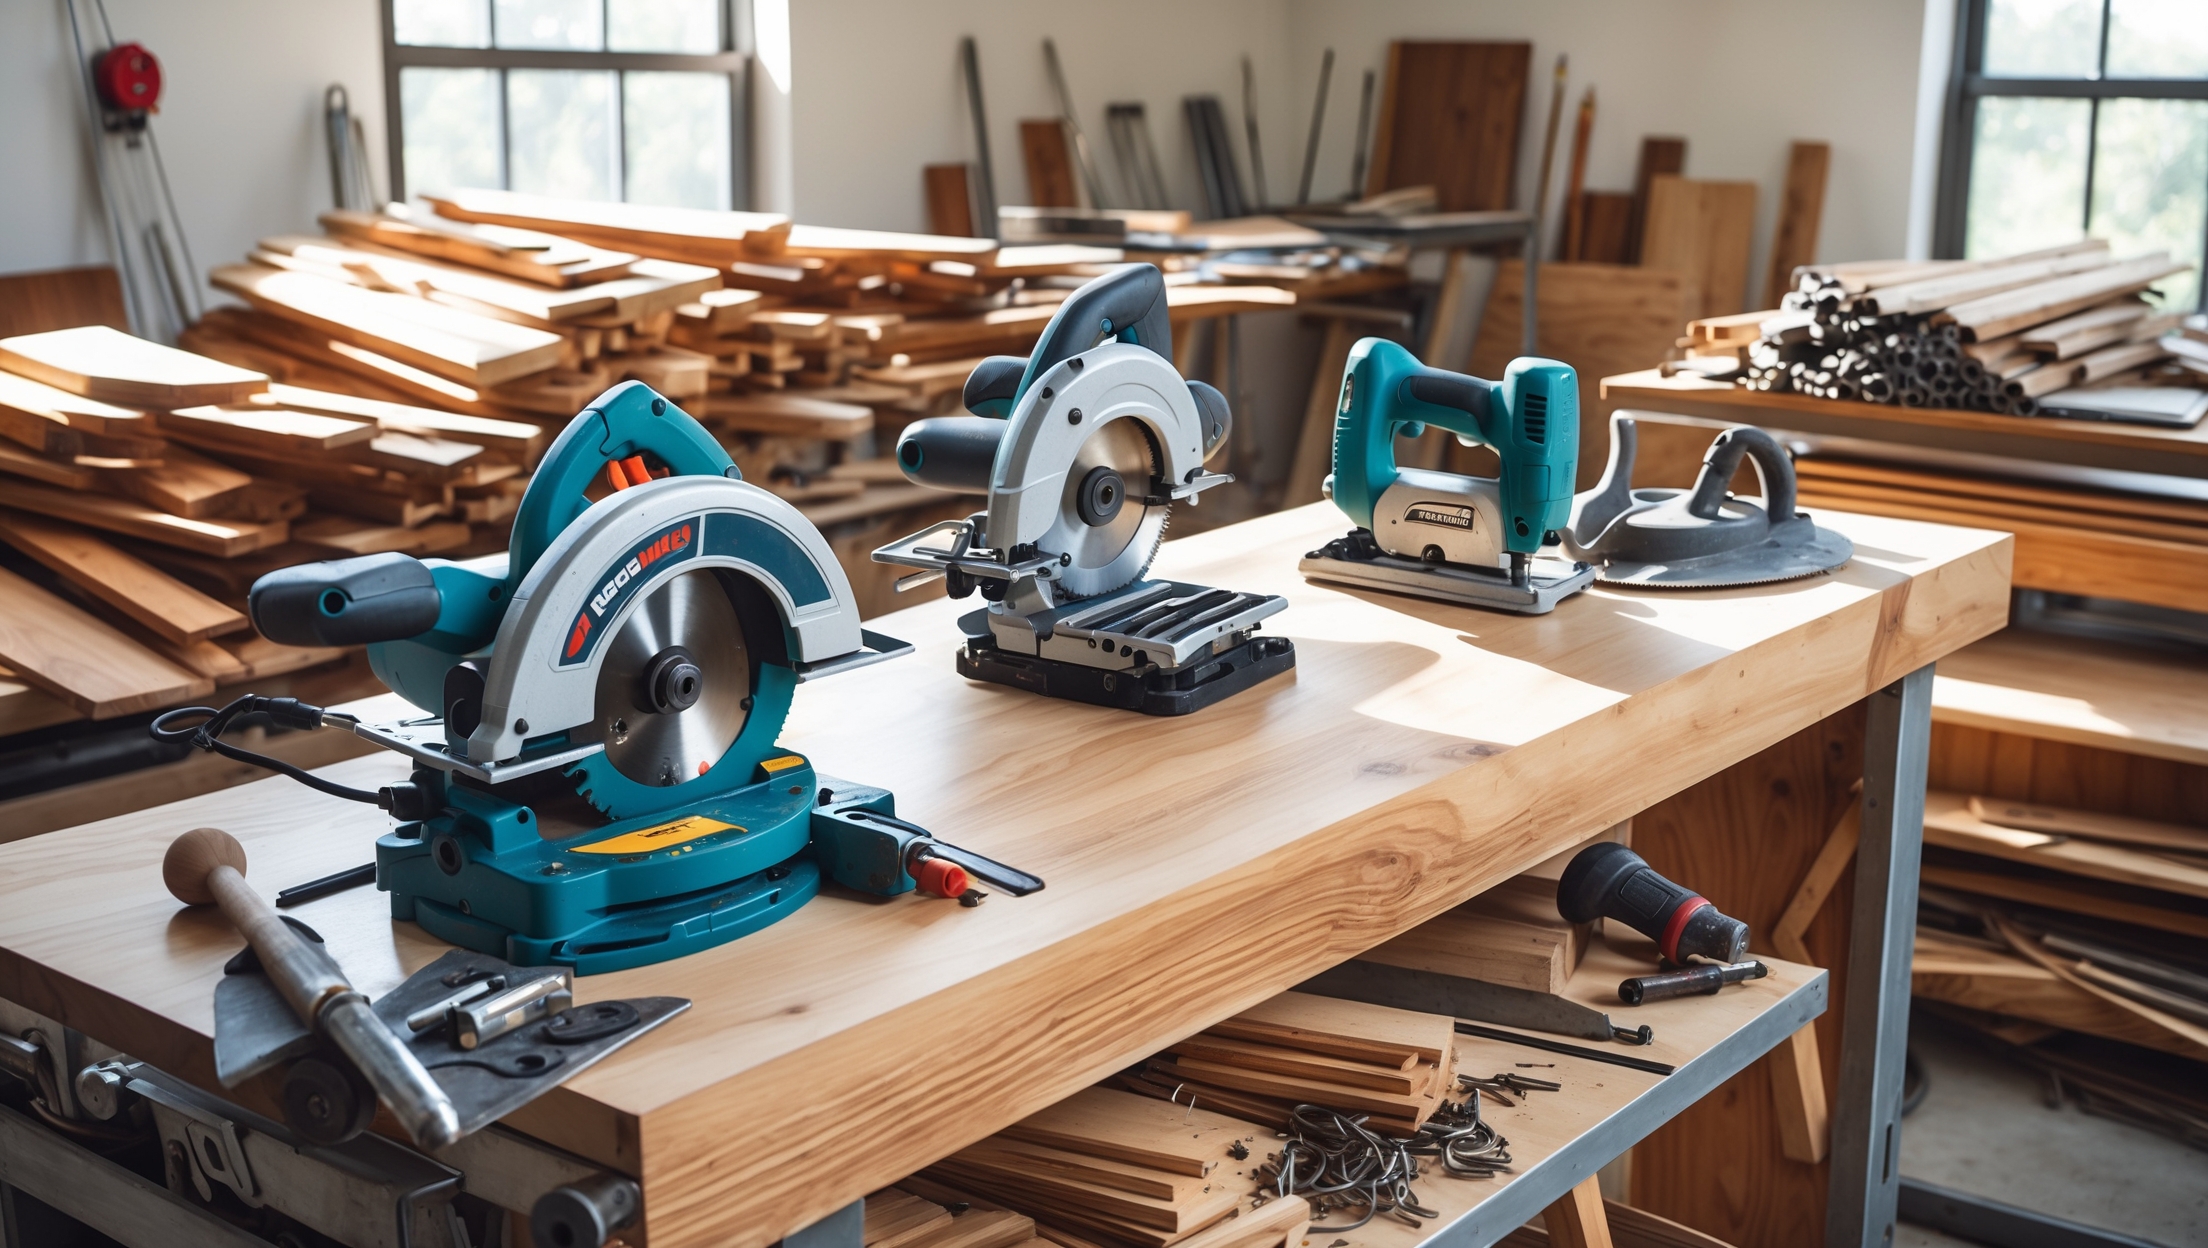
- Power Tools: Drill/driver, sander, circular saw (for large projects)
- Protective Gear: Gloves, safety glasses, dust mask
- Measuring Tools: Tape measure, carpenter’s square, level
- Cleaning Supplies: Brushes, buckets, scrub pads, vinegar, mild soap
- Finishing Supplies: Paintbrushes, rollers, exterior primer/sealer, rust converter
- Fasteners: Stainless or galvanized screws/bolts, exterior nails, brackets
Having the right tools on hand saves time and ensures professional, lasting results. Invest in quality basics and add specialty tools as needed for larger or more complex projects.
Common Mistakes to Avoid in Outdoor Salvage Upcycling
- Using Unsuitable Materials: Avoid materials prone to rot, warping, or chemical leaching. Research before use.
- Skipping Weatherproofing: Salvaged items need extra protection to withstand outdoor conditions. Don’t skip this step.
- Ignoring Drainage: All planters and raised beds need proper drainage to prevent root rot.
- Poor Fastening or Anchoring: Securely anchor heavy or tall features to prevent tipping or collapse.
- Underestimating Maintenance: Upcycled features can require more upkeep than new products—regularly inspect and refinish as needed.
Maintaining Upcycled Garden Features
Routine Care
- Clean surfaces annually to prevent moss and mildew buildup.
- Check for signs of rot, rust, or insect activity and address promptly.
- Reapply sealers or paint every 1–3 years, depending on exposure.
Seasonal Checks
- Before winter, empty and store planters that could crack in freezing temperatures.
- Check hardware and fastenings after storms or heavy winds.
- Mulch around wood features to prevent weed growth and moderate soil temperature.
With regular care, most upcycled garden features will last for many years, developing even more character over time.
Safety Considerations for Outdoor Upcycling
- Always wear gloves and eye protection when handling salvage, especially metal or painted items.
- Test for lead paint on wood or metal using a lead test kit—avoid sanding or stripping lead paint yourself.
- Use respirators or masks when working with dust, old insulation, or unknown residues.
- Lift heavy objects with assistance or proper equipment to avoid injury.
Safety first: If in doubt about the safety of a salvaged item, consult a professional or choose another material.
Conclusion: Cultivating Value and Beauty with Salvaged Materials
Upcycling salvage for your garden is more than just a trend—it’s a rewarding, sustainable practice that benefits your wallet, your creativity, and the planet. By transforming discarded items into functional and beautiful outdoor features, you give new life to materials that might otherwise be wasted. Each planter, bench, or path created from salvage tells a story and adds lasting value to your garden space.
Successful garden upcycling starts with thoughtful material selection and careful restoration. Prioritize safety and environmental health at every step. Don’t be afraid to experiment: the most memorable garden features often come from unexpected combinations or creative problem-solving. Remember that maintenance is key to longevity—regular TLC will keep your upcycled treasures thriving alongside your plants.
With the ideas, tips, and techniques outlined here, you’re ready to begin (or expand) your journey into sustainable garden upcycling. Embrace the challenge, enjoy the process, and watch your outdoor space blossom into a uniquely personal and eco-friendly sanctuary—proof that with a little ingenuity, yesterday’s castoffs can become tomorrow’s garden gems.


I’m interested in building raised beds from old lumber like you mentioned. Are there any specific types of reclaimed wood that are safe for vegetable gardens, and how can I tell if something has been treated with chemicals that might not be plant-friendly?
For vegetable gardens, it’s best to use untreated, naturally rot-resistant woods like cedar, redwood, or oak when upcycling old lumber. Avoid wood that looks greenish, oily, or has a chemical smell, as these could indicate treatment with substances like creosote or chromated copper arsenate (CCA). If you’re unsure of the wood’s history, it’s safer to use it for ornamental beds rather than edibles. Sand down old lumber and inspect for any stamps or markings indicating treatment before using it in your garden.
I really like the idea of restoring weathered garden furniture for sustainability, but I’m worried about durability outdoors. What are the best weatherproofing methods you’ve found that actually hold up through several seasons, particularly with items made from mixed materials like metal and wood?
Restoring garden furniture made from both metal and wood does require careful weatherproofing. For the wood, use a high-quality outdoor sealant or marine-grade varnish to protect against moisture and UV rays. For metal parts, apply a rust-inhibiting primer followed by exterior-grade paint. Where metal meets wood, use silicone caulk to seal gaps and prevent water intrusion. Reapply finishes every year or two for the best long-term durability.
When sourcing salvaged materials for outdoor projects like raised beds or planters, are there specific types of old lumber or materials you recommend avoiding for safety reasons, especially if I plan to grow edible plants?
It’s wise to be selective with salvaged materials for edible gardens. Avoid old lumber treated with creosote (like railroad ties) or chromated copper arsenate (CCA), as these can leach toxins into the soil. Painted or stained wood from before 1978 may contain lead. Instead, look for untreated hardwoods or reclaimed cedar, which are naturally rot-resistant and safer for growing food.
The article mentions weatherproofing reclaimed finds for outdoor projects. Could you explain which methods or products work best to extend the life of upcycled garden furniture, especially in areas with harsh winters or a lot of rainfall?
To protect upcycled garden furniture in harsh weather, first clean and sand the surfaces. Apply an outdoor-grade sealant, like marine varnish or exterior polyurethane, which offers strong moisture resistance. For metal pieces, use rust-preventive primer and paint. Cover or store furniture during extreme winter, and check for signs of wear annually so you can reseal or touch up as needed. Regular maintenance really helps extend your furniture’s life outdoors.
When salvaging old lumber or vintage items for garden beds and planters, how can I be sure the materials are safe and free from harmful chemicals or treatments that might leach into the soil? Are there checks or signs I should look for before using them with edible plants?
When salvaging old lumber or vintage items, check for markings like “CCA,” “Penta,” or “Creosote,” which indicate chemical treatments unsuitable for edible gardens. Avoid wood that looks greenish or oily. Steer clear of pallets labeled with “MB” (methyl bromide) and use those marked “HT” (heat-treated) instead. If you’re unsure of an item’s history, it’s safer to reserve it for ornamental plants rather than food crops.
You talked about weatherproofing reclaimed finds for garden projects. What are some beginner-friendly methods or products you recommend to make sure upcycled furniture and planters actually hold up outdoors long-term?
For beginners, applying exterior-grade sealants like clear polyurethane or marine varnish is an easy way to protect wood and metal items from moisture. For wooden items, sanding before sealing ensures better coverage. Rust-resistant spray paint works well for metal pieces. Linseed oil is a natural option for wood, though it may need reapplication. Always check that your chosen product is suitable for outdoor use to get the longest-lasting results.
I’m pretty new to DIY and was wondering if you have any tips for finding salvage materials locally, especially in smaller towns. Are there certain places or types of businesses where I should start my search for items to upcycle in the garden?
In smaller towns, start by checking local thrift stores, yard sales, and flea markets for interesting items to upcycle. Hardware stores sometimes have discard bins, and small construction businesses might be willing to let you take scrap wood or metal. You can also ask at local farms or community centers if they have old equipment or containers they no longer need. Getting to know your neighbors can help too—sometimes people are happy to give away things they’d otherwise throw out.
I love the idea of using vintage items for planters and raised beds, but how do you make sure that older materials, like painted wood or metal, are safe for growing edible plants and won’t leach harmful chemicals?
To ensure vintage items are safe for edible plants, first check that any painted wood is free from lead-based paint or toxic finishes, as these can leach chemicals. For metals, avoid items that show rust or flaking, and steer clear of anything treated with unknown chemicals. If you’re unsure, use a heavy-duty liner like food-safe plastic or landscape fabric inside the container to create a barrier between the soil and the vintage material. This way, you can enjoy creative planters without risking plant safety.
Could you offer some tips on how to check if salvaged lumber is safe to use for raised beds, especially with concerns about chemicals or previous treatments here in the US? I’m worried about toxins leaching into my soil but love the idea of using old wood.
It’s wise to be cautious with salvaged lumber. In the US, avoid wood that looks greenish, has a chemical smell, or is stamped with ‘CCA’ or ‘Penta,’ as these indicate toxic treatments. Stick to untreated hardwoods or old, unfinished lumber. If you’re unsure, ask where the wood came from or sand a small section to check for residues. For extra safety, consider lining the inside of your beds with food-safe plastic before adding soil.
I’m curious if you have any advice on weatherproofing different kinds of vintage or reclaimed materials to help them last longer outdoors, particularly in areas with harsh winters or a lot of rain?
Protecting vintage or reclaimed materials outdoors is key, especially in tough climates. For wood, apply a high-quality exterior sealant or marine-grade varnish, and consider oiling it yearly. For metals, use rust-inhibiting primer and outdoor-rated paint to prevent corrosion. Stone or brick can benefit from breathable water-repellent sealers. Always check for existing damage before treating, and reapply protective coatings as needed to maintain durability year after year.
I love the idea of using vintage items as planters, but how do you make sure they can handle outdoor weather for more than just one season? Are there specific restoration products or techniques you recommend for durability?
To help vintage items last outdoors, start by cleaning and thoroughly drying them. Apply a rust-resistant primer and outdoor-grade paint or sealant, especially for metal or wood. For extra protection, line the inside with landscape fabric or plastic to prevent direct soil contact. Using products like marine varnish for wood or clear enamel spray for metal also boosts durability. Regularly check and touch up any spots that show wear each season.
I love the idea of building raised beds from old lumber, but how can I be sure the wood is safe for growing edibles, given concerns about chemicals or previous treatments? Are there certain types of salvaged wood that are best avoided for vegetable gardens?
When using salvaged wood for raised beds, avoid any boards treated with creosote, pentachlorophenol, or chromated copper arsenate (CCA), as these chemicals can leach into soil and harm edibles. Untreated hardwoods or naturally rot-resistant woods like cedar are safer choices. If you’re unsure about the wood’s history, it’s best not to use it for vegetable beds. Always inspect for stains, unusual odors, or paint, which may indicate prior treatment.
I’m just getting started with upcycling projects for my backyard, and I’m wondering how to safely tell if old lumber or reclaimed wood is free from chemicals or treatments that could be harmful to plants or kids. Are there specific markings or tests I should look for before building planters or raised beds?
When using reclaimed wood, check for labels or stamps that indicate it’s untreated, such as ‘HT’ (heat-treated) for pallets. Avoid wood marked ‘MB’ (methyl bromide) or any with green or oily residue, paint, or strong odors. Pressure-treated wood from before 2004 often contains harmful chemicals, so steer clear of wood with a greenish tint or incised surface marks. If in doubt, buying new untreated lumber for planters or raised beds is the safest choice.
I really like the idea of crafting planters from vintage finds, but are there tips for making sure these salvaged containers have proper drainage and won’t fall apart outdoors over time? I’m curious about balancing creativity with long-lasting functionality.
To ensure your vintage planters last, start by drilling a few holes in the bottom for drainage. If the material is prone to rust or decay, consider applying a waterproof sealant inside and out. Adding a layer of gravel before soil helps prevent waterlogging. For fragile containers, reinforce with a plant liner or even a small pot nested inside, so you get the look without risking damage from moisture.
Balancing durability and aesthetics sounds tricky with secondhand finds, especially for garden furniture. Do you have any tips for weatherproofing vintage items so they withstand harsh seasons without losing their character? I’d love to avoid having to restore everything again in a year or two.
To weatherproof vintage garden furniture without hiding its charm, start by cleaning and lightly sanding the surfaces. Use a clear outdoor sealant or varnish to protect wood or metal while keeping the original look visible. For extra protection, apply two coats and touch up any worn spots yearly. If the item is metal, consider a rust-inhibiting primer first. Adding removable cushions or covers can help shield against the elements, reducing future upkeep.
When restoring weathered garden furniture as mentioned in the article, what’s the best way to ensure the salvaged wood is safe and durable enough for customers to use, especially in harsh outdoor climates?
To ensure salvaged wood is safe and durable for outdoor use, start by inspecting it for rot, pests, or structural weakness and remove any damaged sections. Sand the surface thoroughly to eliminate splinters. Treat the wood with an outdoor-rated wood preservative, then apply a high-quality exterior sealant or weatherproof paint. Regular maintenance, like reapplying sealant annually, helps maximize longevity in harsh climates.
Could you elaborate on some effective weatherproofing techniques for restoring vintage garden furniture so it lasts outdoors? I am curious about the balance between preserving the original patina and making sure the materials are durable against the elements.
To weatherproof vintage garden furniture while preserving its patina, start by gently cleaning the surface to remove dirt without stripping character. Apply a clear, matte outdoor sealant like marine varnish or a breathable water repellent—these protect wood and metal but allow the original finish to show through. For metal, address any rust spots with a rust converter before sealing. Regularly check and reapply the protective coating each year to maintain both durability and the unique aged look.
Could you share more about restoring weathered garden furniture? For someone new to upcycling, what are the most important steps or products to ensure the finished piece lasts multiple seasons outdoors without frequent maintenance?
Restoring weathered garden furniture starts with a thorough cleaning—use soapy water and a stiff brush to remove dirt and mildew. Sand down rough areas, then apply an outdoor primer. Use exterior-grade paint or wood stain, followed by a protective sealant for added durability. For metal furniture, choose rust-inhibiting primer and paint. Regularly check for signs of wear, but these steps will help your upcycled piece last outside for several seasons with minimal upkeep.
I love the idea of making raised beds from reclaimed wood, but I’m wondering how weatherproofing works for beginners. Are there eco-friendly products you recommend for sealing and protecting salvaged wood, or is it better to just embrace the weathered look and replace things as needed?
Both approaches work well, depending on your style and how long you want the beds to last. If you’d like to protect the wood, look for natural oils like tung oil or linseed oil, which are eco-friendly and safe for garden use. These help repel water and slow decay. If you embrace the weathered look, just inspect your beds each season and replace boards as needed—many gardeners enjoy the rustic charm this brings.
You mentioned weatherproofing reclaimed finds for outdoor projects—what are some beginner-friendly methods or products I could use to help vintage planters or outdoor furniture survive the unpredictable Midwest weather?
For Midwest weather, start by cleaning your vintage planters or furniture thoroughly, then let them dry completely. Use a water-based exterior primer followed by outdoor latex paint for wooden items. For metal, try a rust-inhibiting spray paint. To finish, apply a clear, weatherproof sealer like polyurethane or spar urethane. These steps add protection from moisture and temperature changes without needing advanced tools or skills.
When weatherproofing vintage finds for outdoor use, do you have a preferred method or product that balances durability with being eco-friendly? I’d like to upcycle some old metal chairs for my garden and want them to last.
For weatherproofing vintage metal chairs, I recommend using a water-based, low-VOC clear sealant, which is both durable and more eco-friendly than traditional solvent-based products. Before applying the sealant, clean and lightly sand the chairs to remove rust and old paint. You might also consider natural rust inhibitors, like linseed oil, if you prefer a more traditional approach. Reapply your chosen finish every couple of years to keep your upcycled chairs looking great and protected.
When salvaging old lumber for building raised beds, are there certain kinds of wood or finishes I should avoid for safety reasons in my vegetable garden? I want to make sure I’m not accidentally introducing any chemicals into the soil.
It’s wise to be cautious when choosing old lumber for vegetable beds. Avoid wood treated with chemicals like creosote, pentachlorophenol, or older pressure-treated wood (pre-2004), as these can leach harmful substances into the soil. Painted wood may also contain lead or other toxins, depending on its age. Untreated hardwoods or naturally rot-resistant woods are safer choices for edible gardens.
I’m interested in using old lumber for raised beds, like you mentioned. Are there any safety concerns with chemicals in older wood, especially if I want to grow vegetables? How can I tell if salvaged lumber is safe to use?
Using old lumber for raised beds is a great way to upcycle, but you do need to be cautious about chemicals, especially if you plan to grow vegetables. Avoid using wood that may have been treated with creosote or chromated copper arsenate (CCA), which can leach harmful substances into the soil. Look for lumber that is untreated or labeled as safe for garden use. If you’re unsure, avoid wood with a greenish tint or an oily texture, and steer clear of anything with a strong chemical smell.
When sourcing materials for upcycling garden features, do you have any tips on finding reclaimed items that are still sturdy enough to last several seasons outdoors? I’m especially interested in ways to tell if old furniture or metal pieces are worth restoring or if they might just fall apart in the weather.
Look for solid hardwoods in old furniture, as softwoods or particle boards rarely hold up outside. Check for rot, warping, or cracks, especially at joints. For metal pieces, avoid those with active rust that flakes off easily—surface rust can be cleaned, but deep corrosion weakens structure. Give items a firm shake or press to test their stability; if they wobble or feel brittle, they may not last. Weather-resistant finishes or a fresh coat of outdoor paint can help prolong life once you’ve chosen your pieces.
When sourcing salvaged materials for garden features, how do you balance finding items with unique character versus making sure they’re safe and durable enough for long-term outdoor use?
When choosing salvaged materials, start by looking for items made from weather-resistant materials like metal, stone, or hardwood. Check for signs of rot, rust, or structural weakness and avoid anything that might degrade quickly outdoors. It’s possible to maintain unique character by selecting items with interesting shapes or patinas, then treating or sealing them to enhance durability. Balancing character and safety means being selective: prioritize solid construction and treat or reinforce any weaknesses before adding them to your garden.