
Introduction: Power Up Safely—Why Electrical Safety Matters in Creative Salvage
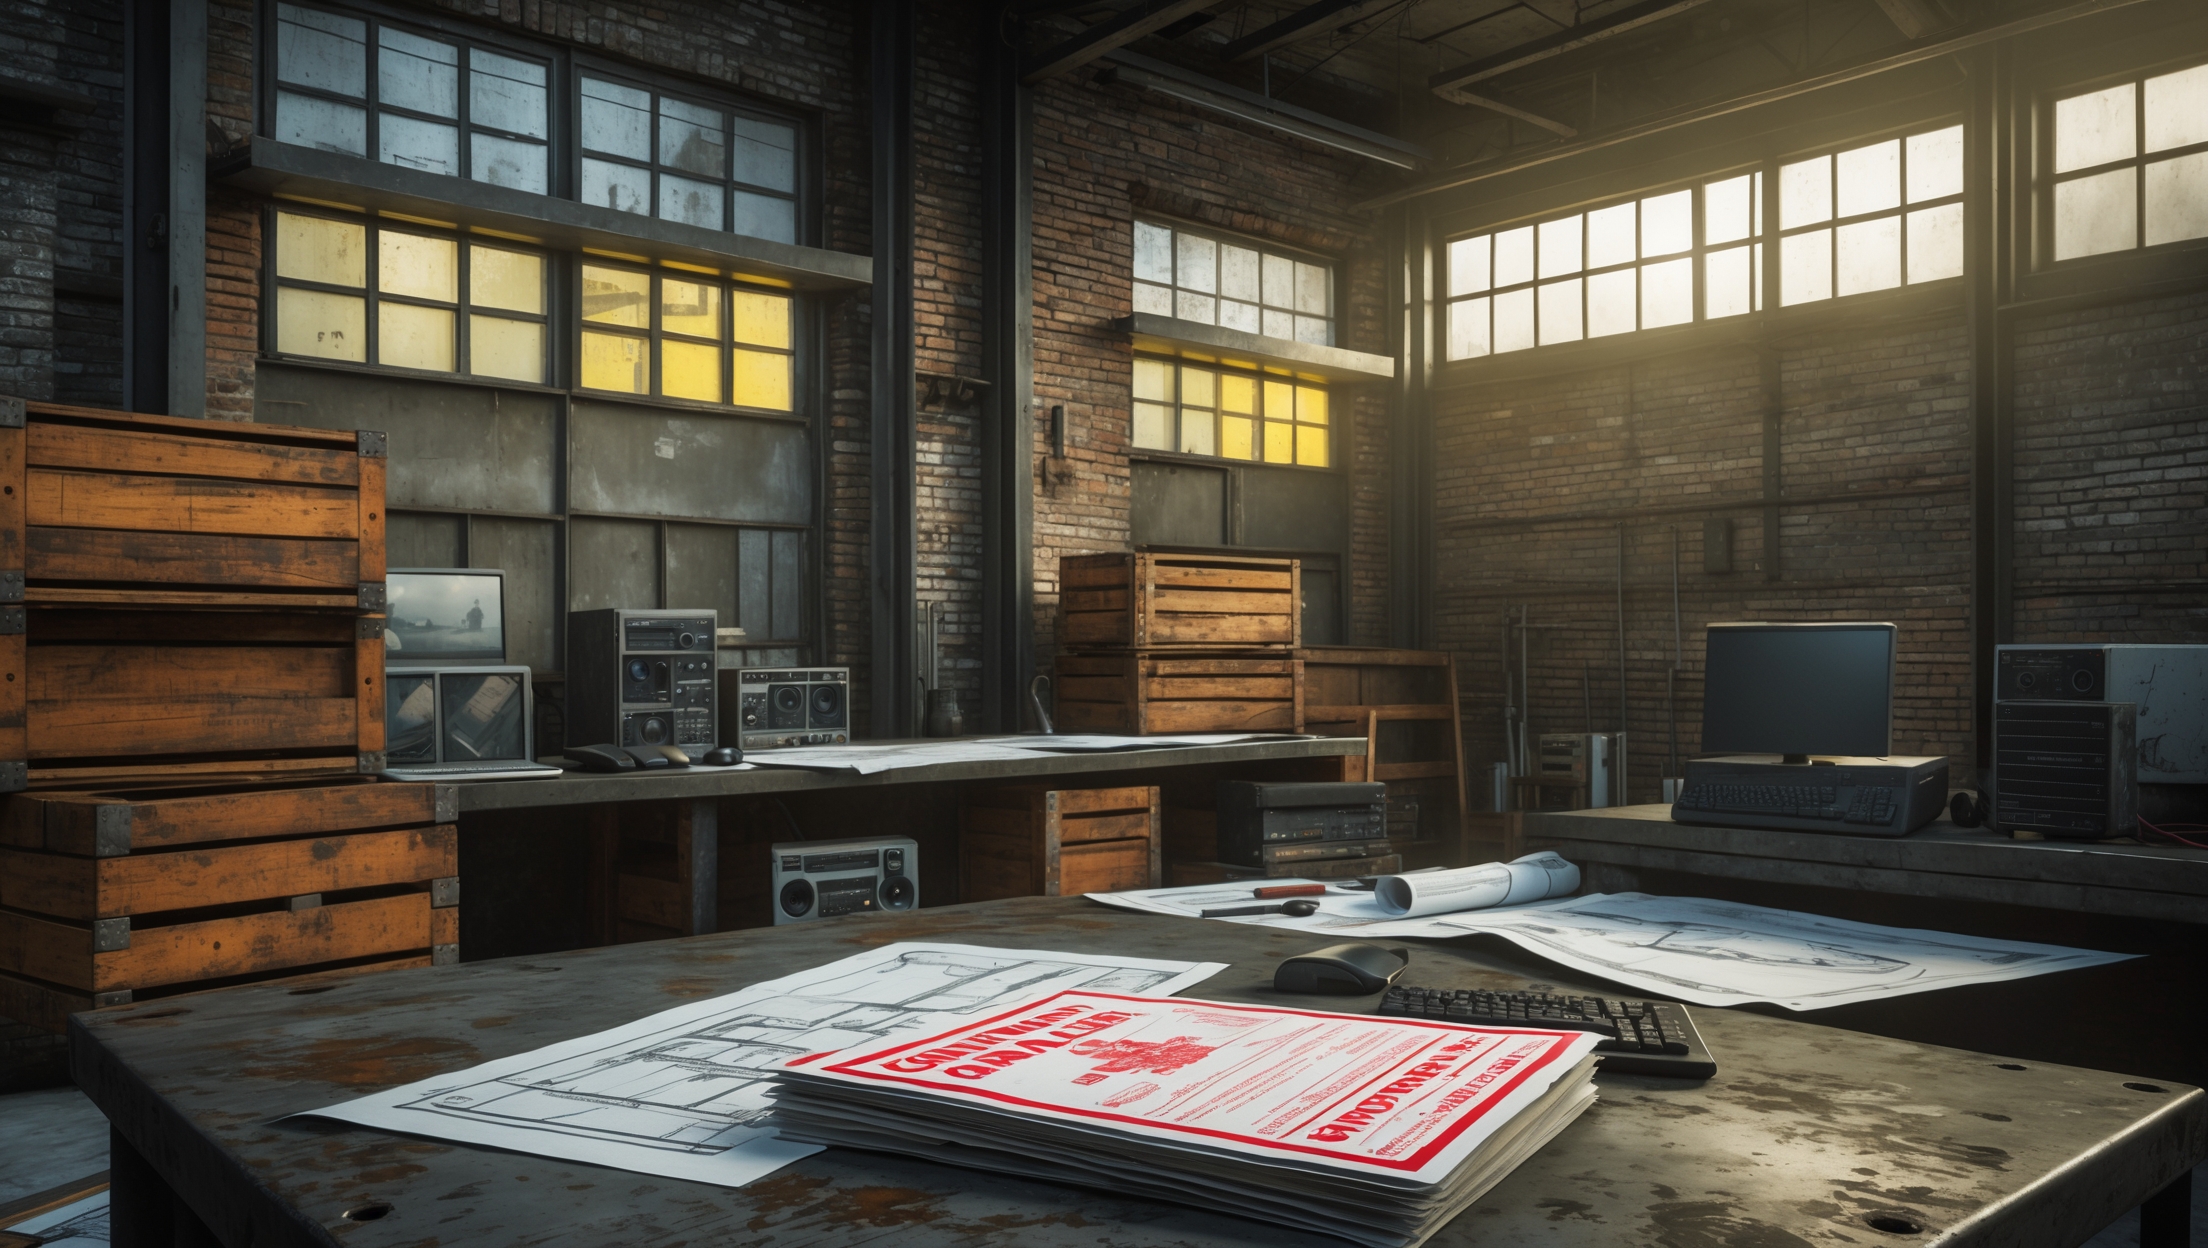
When transforming salvaged finds into sustainable treasures, your workshop’s electrical setup is more than a background detail—it’s the backbone of safe, smooth upcycling. Whether you’re rewiring a vintage lamp, running a power sander, or charging cordless tools, electricity flows through every aspect of creative salvage. Yet, electrical safety is often overlooked by passionate makers eager to bring new life to old materials. Missteps can lead to fires, tool damage, injuries, or project setbacks. This detailed guide will empower you to set up, maintain, and troubleshoot your workshop’s electrical systems confidently, so you can focus on turning discarded items into sustainable works of art.
We’ll cover proper workshop wiring, essential safety devices, tool-specific precautions, legal compliance, safe extension cord use, troubleshooting common issues, and how to plan for both current needs and future growth. Whether you’re retrofitting a garage, building out a dedicated salvage studio, or upgrading your home workspace, mastering electrical safety is a must for every upcycler who values longevity, sustainability, and peace of mind.
Understanding Your Workshop’s Electrical Needs
Assessing Power Requirements
Before plugging in your first tool or light fixture, take stock of your expected power usage. List all tools, lighting, dust extractors, chargers, and devices you’ll want to use—simultaneously and in rotation. Pay attention to:
- Tool amperage/wattage: Check labels for current draw; heavy-duty tools like table saws or air compressors require more power than hand tools.
- Total circuit load: Add up amperage; don’t exceed 80% of the circuit breaker’s rating (e.g., max 16A load on a 20A breaker).
- Specialty needs: Some equipment (e.g., kiln, welder) may need dedicated 220V circuits.
Planning Circuit Layouts
Designate multiple circuits for different workshop zones: heavy machinery, power tools, lighting, and general outlets. Spread out high-draw devices to prevent overloads and tripped breakers. Consider:
- Installing outlets at bench height for convenience.
- Ensuring GFCI protection in damp or basement spaces.
- Including more outlets than you think you’ll need—upcycling tends to expand!
Essential Electrical Safety Devices
Ground Fault Circuit Interrupters (GFCIs)
GFCIs protect you from electrical shock, especially in workshops where water and conductive materials (like metal) are common. Install GFCI outlets at all workbench locations, sinks, and any area exposed to moisture. Test them monthly using the built-in button—replace any that fail to trip.
Arc Fault Circuit Interrupters (AFCIs)
AFCIs detect dangerous arcing (which can cause fires) and are increasingly required by code. Consider AFCI breakers for your workshop, especially if you’re wiring or repairing older buildings.
Surge Protection
Power surges can fry delicate tool electronics. Use surge-protected power strips for chargers and sensitive devices. For full-room coverage, install a whole-workshop surge protector at your main panel.
Safe Workshop Wiring and Outlet Installation
DIY vs. Hiring a Professional
Basic wiring (like replacing outlets or switches) is legal for DIYers in some areas, but running new circuits or upgrading panels usually requires a licensed electrician. Always check local codes and permits before starting. When in doubt, hire a pro—improper wiring is a top fire risk in workshops.
Wire Gauge and Outlet Types
- 14-gauge wire: For 15-amp circuits (lights, small tools).
- 12-gauge wire: For 20-amp circuits (most outlets, power tools).
- 10-gauge or larger: For 30+ amp specialty tools (consult an electrician).
- Duplex outlets: Standard for general use.
- Twist-lock or specialty outlets: For stationary heavy equipment.
Best Practices for Outlet Placement
- Space outlets every 6–8 feet along workbench walls.
- Install ceiling outlets for hanging cord reels or tool chargers.
- Mark all circuits clearly in your breaker panel.
- Use commercial-grade (not residential) outlets for durability.
Extension Cords, Power Strips, and Safe Temporary Power
Choosing the Right Extension Cord
- Use heavy-duty (12/3 or 14/3) cords for power tools; light-duty cords can overheat.
- Check maximum amp rating and never daisy-chain cords.
- Inspect for nicks, frays, or crushed plugs—replace damaged cords immediately.
Power Strip Safety
- Don’t overload power strips—follow manufacturer limits.
- Never plug power strips into each other (no “daisy-chaining”).
- Mount strips off the floor to avoid water and sawdust exposure.
Reel Cords and Cord Management
Retractable cord reels reduce trip hazards and clutter. Use cord organizers to keep walkways clear and prevent accidental unplugging or tool drops.
Safe Use of Power Tools and Salvaged Electrical Items
Inspecting Salvaged Electrical Tools and Devices
- Check cords for cracks, exposed wires, or missing ground pins.
- Disassemble (if safe) to inspect for corrosion or rodent damage.
- Test with a multimeter for continuity and ground integrity.
- Clean dust and debris from vents before plugging in.
Double-Insulated vs. Grounded Tools
- Double-insulated: No ground pin, but safer for handheld use; never modify or remove insulation labels.
- Grounded: Three-prong plugs; never cut off ground pins—replace plug or cord if damaged.
Safe Rewiring of Salvaged Fixtures
- Use new, UL-listed lamp wire and sockets when upcycling vintage lamps.
- Match wire size and insulation type to the original design.
- Secure all connections with wire nuts and electrical tape.
- Test for continuity and shorts before use.
Legal Compliance and Permits: Do It Right
Know Your Local Codes
Electrical codes vary by country, state, and sometimes city. Common requirements include:
- Permits for new circuits or subpanels.
- GFCI outlets in garages, basements, and outbuildings.
- Approved conduit types for exposed wiring.
- Minimum outlet spacing and height regulations.
Check with your local building office or a licensed electrician. If you rent, get landlord approval before making changes.
Insurance Implications
Insurance claims may be denied if electrical work isn’t up to code or performed by an unlicensed person. Keep records of all upgrades and receipts for professional work. Consider a workshop-specific insurance policy if your upcycling business grows.
Electrical Safety Checklist: Daily and Monthly Habits
- Test GFCI outlets monthly.
- Visually inspect cords, plugs, and outlets for wear.
- Keep tools dry and store cords off damp floors.
- Unplug tools when changing blades or bits.
- Turn off breakers before servicing circuits.
- Label all circuits clearly.
- Don’t use damaged or overheating tools—repair or retire them.
- Keep flammable materials away from outlets and tool vents.
Common Electrical Problems and How to Troubleshoot
Tripped Breakers
If a breaker keeps tripping, unplug all devices and reset. Plug in tools one at a time. If a single tool trips the breaker, it may be faulty or draw too much current. If any outlet or switch feels warm, stop using it and schedule repairs.
Flickering Lights
Flickering can indicate overloaded circuits, loose wires, or failing fixtures. Tighten connections and balance loads across circuits; replace aging bulbs or ballasts as needed.
Burning Smell or Sizzling Sounds
Immediately shut off power at the breaker, unplug everything, and investigate. Contact an electrician if you can’t locate the issue quickly. Never ignore burning odors—fire risk is real.
Planning for the Future: Upgrading Your Workshop Safely
Anticipating Growth
As your upcycling ambitions expand, so will your electrical needs. Plan for:
- Additional circuits and outlets for new tools.
- Higher amperage service if you add heavy equipment.
- Dedicated charging stations for cordless tools.
- Smart workshop controls (timers, remote switches, energy monitors).
Energy Efficiency
- Switch to LED lighting to reduce load and heat.
- Use occupancy sensors to avoid leaving lights or dust extractors on unnecessarily.
- Consolidate high-draw activities to off-peak hours if your utility offers discounts.
Conclusion: Powering Sustainable Creativity with Confidence
Electricity is the silent partner in every successful upcycling project—lighting your workspace, energizing your tools, and breathing life into reclaimed treasures. By prioritizing electrical safety, you’re investing in your own well-being, the longevity of your tools, and the integrity of your creative salvage. From planning circuits and installing GFCIs, to inspecting cords and respecting legal requirements, every smart choice you make in your workshop setup pays dividends in peace of mind and productivity.
Remember, a safe workshop is a sustainable workshop. As you grow your upcycling practice, revisit your electrical setup regularly. Stay curious about new safety devices, and don’t hesitate to consult professionals for upgrades or troubleshooting. Your workshop is more than a space—it’s a hub for sustainable innovation. Power it wisely, and let every project be a testament to your creativity and care.
Whether you’re rewiring a vintage lamp, assembling a new workbench, or scaling up to bigger projects, let safety be your foundation. With the right knowledge and habits, you can salvage, upcycle, and restore with confidence—illuminating a brighter, greener future one project at a time.


When calculating the total circuit load for all my tools and lighting, do you recommend using a dedicated circuit just for chargers and small devices, or is it safe to group them with other low-draw equipment on the same line?
It’s usually safe to group chargers and other small devices with other low-draw equipment on the same circuit, as their combined power consumption is generally low. However, if you have several chargers running simultaneously or sensitive electronics, a dedicated circuit can help prevent overloading and electrical interference. Always ensure the total load stays well below your circuit’s rated capacity and account for any future additions.
You mention that certain equipment like kilns or welders may need a dedicated 220V circuit. For someone just starting out, how hard is it to have one of these installed, and do I need to get a professional electrician, or is it possible as a DIY project if I follow safety guidelines?
Installing a dedicated 220V circuit is a more advanced electrical project and can be risky if you’re not experienced. For safety and compliance with local codes, it’s strongly recommended to hire a licensed electrician. A professional can ensure the installation is done correctly, preventing hazards like electrical fires or code violations. If you’re just starting out, this is one area where professional help is definitely worth it.
If I’m planning to run both a table saw and a dust extractor at the same time in my garage workshop, how do I figure out if my existing circuits are enough, or if I need to add another dedicated line?
To determine if your circuits can handle both machines, first check the amperage rating of your table saw and dust extractor—this is usually listed on their labels. Add their amperages together, then check the rating of your garage’s circuit (often 15 or 20 amps). If the total is close to or exceeds your circuit’s capacity, or if you notice breakers tripping, you’ll need to add another dedicated line for safety and reliability.
If I want to set up a small upcycling studio in my basement, how can I safely plan for future tool upgrades without having to redo all the wiring later? Is there a way to keep it budget-friendly but flexible?
To keep your studio’s electrical setup both flexible and budget-friendly, consider installing a few dedicated circuits with higher amperage than your current needs. Use conduit for wiring instead of running cables inside walls—this makes future upgrades much easier. Also, leave extra spaces in your breaker panel for additional circuits. This approach saves money now and allows for straightforward expansion as your tool collection grows.
You mentioned that some tools like kilns or welders may need dedicated 220V circuits. If my workspace is in a garage with only standard outlets, what are my options for safely running heavier equipment without major rewiring or breaking the bank?
If your garage only has standard 120V outlets, you might consider portable equipment that runs on 120V, as many hobbyist welders and compact kilns are designed for this. Alternatively, you could use a step-up transformer made for workshop use, but always check the power requirements and safety recommendations for your specific tool. For heavier, sustained use, a licensed electrician can sometimes add a single 220V outlet without a full rewire, which can be more affordable than you might expect.