Introduction: Why Upcycled Storage is the Future of Sustainable Organization
Our homes are repositories for memories, treasures, and—let’s face it—a fair share of clutter. As the quest for sustainable living intensifies, finding creative, eco-friendly organizational solutions has never been more important. Upcycled storage strikes the perfect balance between utility and sustainability, transforming salvaged materials into functional, beautiful pieces that keep your spaces tidy and your conscience clear. This comprehensive guide explores practical, innovative ways to turn discarded finds into stylish storage solutions. Whether you’re an upcycling enthusiast or a DIY beginner, you’ll discover actionable tips, material sources, construction techniques, and maintenance advice that make organizing your home a rewarding, planet-friendly endeavor.
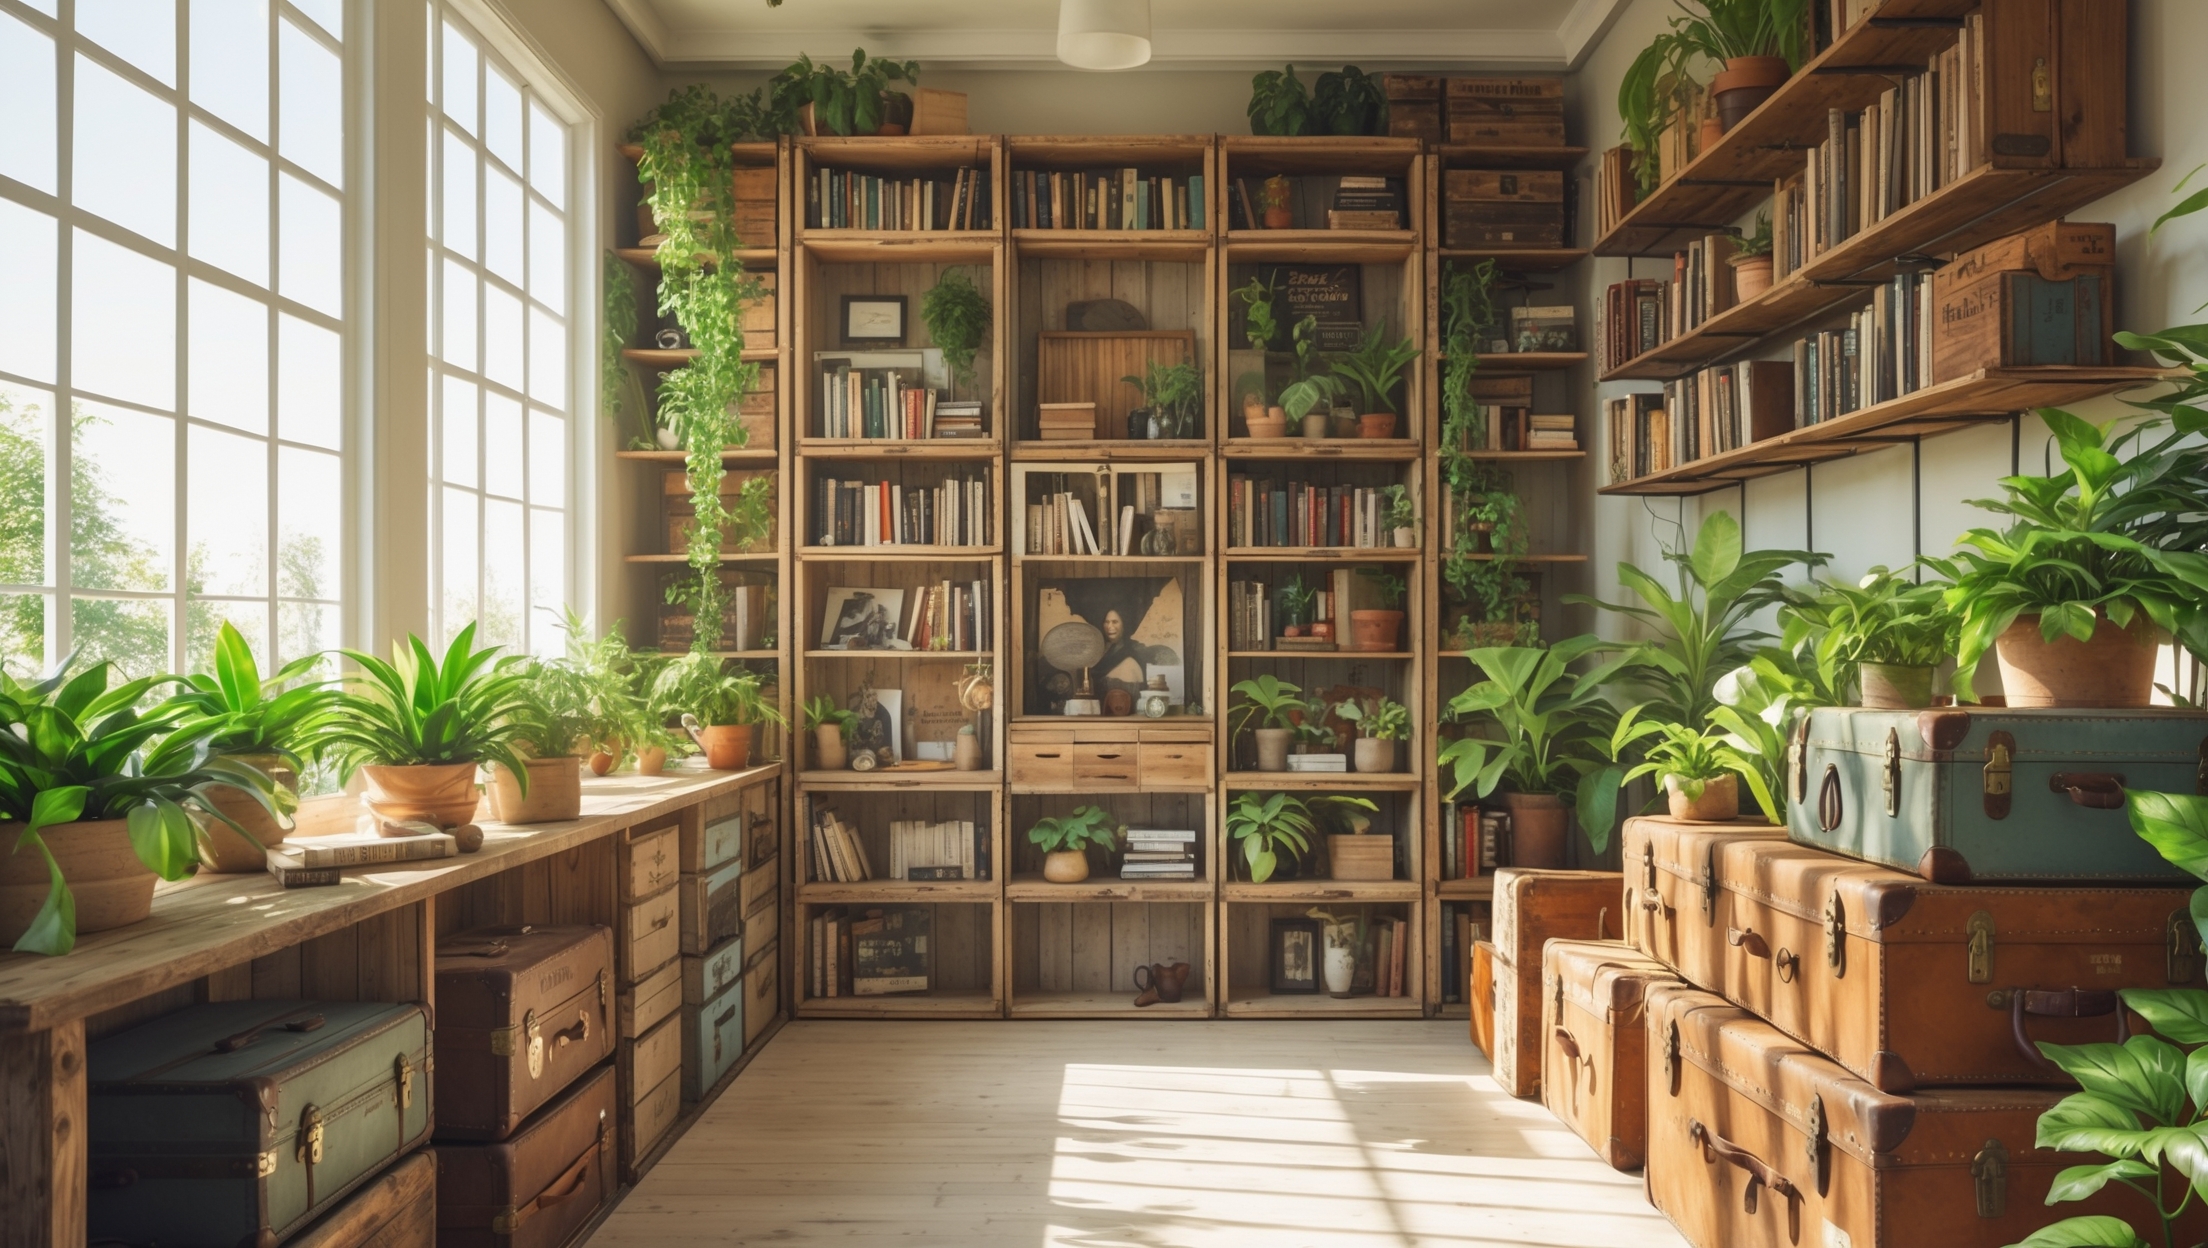
From repurposing old ladders into bookcases to converting vintage trunks into entryway benches with hidden compartments, upcycled storage allows you to express your creativity while reducing landfill waste. We’ll guide you through project planning, material selection, step-by-step builds, and even offer troubleshooting tips for common challenges. Ready to declutter sustainably? Let’s dive in and unlock the potential of creative salvage for organized living.
Planning Your Upcycled Storage Project
Assessing Your Storage Needs
Begin by identifying the areas in your home that need better organization. Is your entryway cluttered with shoes? Are your kitchen shelves overflowing? Make a list of items to store, categorizing them by size, frequency of use, and weight. This will inform your choice of salvaged materials and storage designs.
Setting Realistic Goals and Budget
Determine how much time, effort, and money you want to invest. Upcycling can be cost-effective, but some projects (like large shelving units) may require purchasing hardware or specialty finishes. Set a clear budget to guide your material sourcing and avoid overspending.
Design Inspiration and Functionality
- Browse upcycling blogs, Pinterest, and salvage yard galleries for creative ideas.
- Sketch basic designs, focusing on functionality first—think drawers for small items, open shelves for display, and closed cabinets for hidden storage.
- Consider modularity: Can your piece adapt to changing needs?
Best Salvaged Materials for Storage Projects
Wood: Versatile and Timeless
Old doors, floorboards, and pallets are excellent sources of solid wood. Look for pieces free of rot or severe warping. Sand and refinish them to create shelves, cubbies, or cabinet faces.
Metal: Durable and Industrial
Metal crates, lockers, and filing cabinets are sturdy and often discarded from schools or offices. Clean thoroughly and paint with rust-resistant finishes for long-lasting storage units.
Glass: Elegant and Practical
Salvaged windows and cabinet doors with glass panels can be transformed into display cases or cupboard doors. Use tempered glass for safety where possible.
Oddities: Unique Storage with Character
- Vintage suitcases become stackable storage or coffee tables with hidden compartments.
- Wine crates and apple boxes stack into rustic shelving units.
- Old ladders make excellent towel racks, book displays, or closet organizers.
Where to Source Salvaged Materials Ethically
- Architectural salvage yards
- Online marketplaces (local classifieds, Freecycle, Facebook Marketplace)
- Construction sites (with permission)
- Thrift shops and charity stores
- Community recycling centers
Always ask for permission and inspect materials for hazardous substances (like lead paint or asbestos).
Step-by-Step: Building an Upcycled Storage Unit
Example Project: Pallet Wood Shoe Rack
- Materials: Clean, dry pallet wood, wood screws, sandpaper, eco-friendly wood stain
- Tools: Saw, drill, measuring tape, screwdriver, safety gear (gloves, goggles)
- Disassemble the pallet: Use a pry bar and hammer, removing all nails and splinters.
- Cut boards to size: Measure your space and item dimensions. Cut shelves and side supports.
- Sand thoroughly: Smooth all surfaces to avoid splinters.
- Assemble frame: Attach side supports to shelves with screws, checking for level alignment.
- Apply stain or sealant: Choose low-VOC products. Let dry completely.
- Install and load up: Place your shoe rack and start organizing!
Troubleshooting Tips
- If wood is warped, clamp overnight after wetting to straighten before assembly.
- Fill nail holes or cracks with wood filler before finishing.
- Always drill pilot holes to prevent splitting old lumber.
Creative Upcycled Storage Ideas for Every Room
Entryway Organization
- Old lockers: Paint and install hooks for keys, bags, and outerwear.
- Vintage trunks: Add a cushion on top for a bench with secret storage inside.
- Repurposed shutters: Stand vertically with hooks for mail and hats.
Living Room & Office
- Suitcase stack: Secure vintage suitcases together for a funky side table with storage.
- Bookshelf from ladders: Two ladders and reclaimed planks create an instant shelving unit.
- Drawer wall: Mount assorted salvaged drawers directly to the wall for modular cubbies.
Kitchen & Pantry
- Wine crate shelving: Stack and secure for rustic pantry storage.
- Old cabinet doors: Add hooks or baskets for wall-mounted spice or utensil racks.
- Glass jars: Attach to the underside of shelves for dry goods storage.
Bedroom & Closet
- Pallet wardrobe: Build a freestanding rack for hanging clothes and storing shoes.
- Drawer organizers: Use sections of salvaged drawers for inside-dresser organization.
- Repurposed crates: Stack as nightstands or under-bed storage bins.
Bathroom Storage
- Old ladders: Lean against the wall for towel storage.
- Vintage tins: Attach to walls for toiletries or small item storage.
- Repurposed window frames: Add shelves between panes for a unique medicine cabinet.
Finishing, Safety, and Maintenance
Preparing Salvaged Materials
- Cleaning: Use non-toxic cleaners to remove dirt, grease, and mold.
- Paint/Finish Removal: Avoid sanding lead paint; use chemical strippers rated safe for indoor use, or encapsulate if removal isn’t practical.
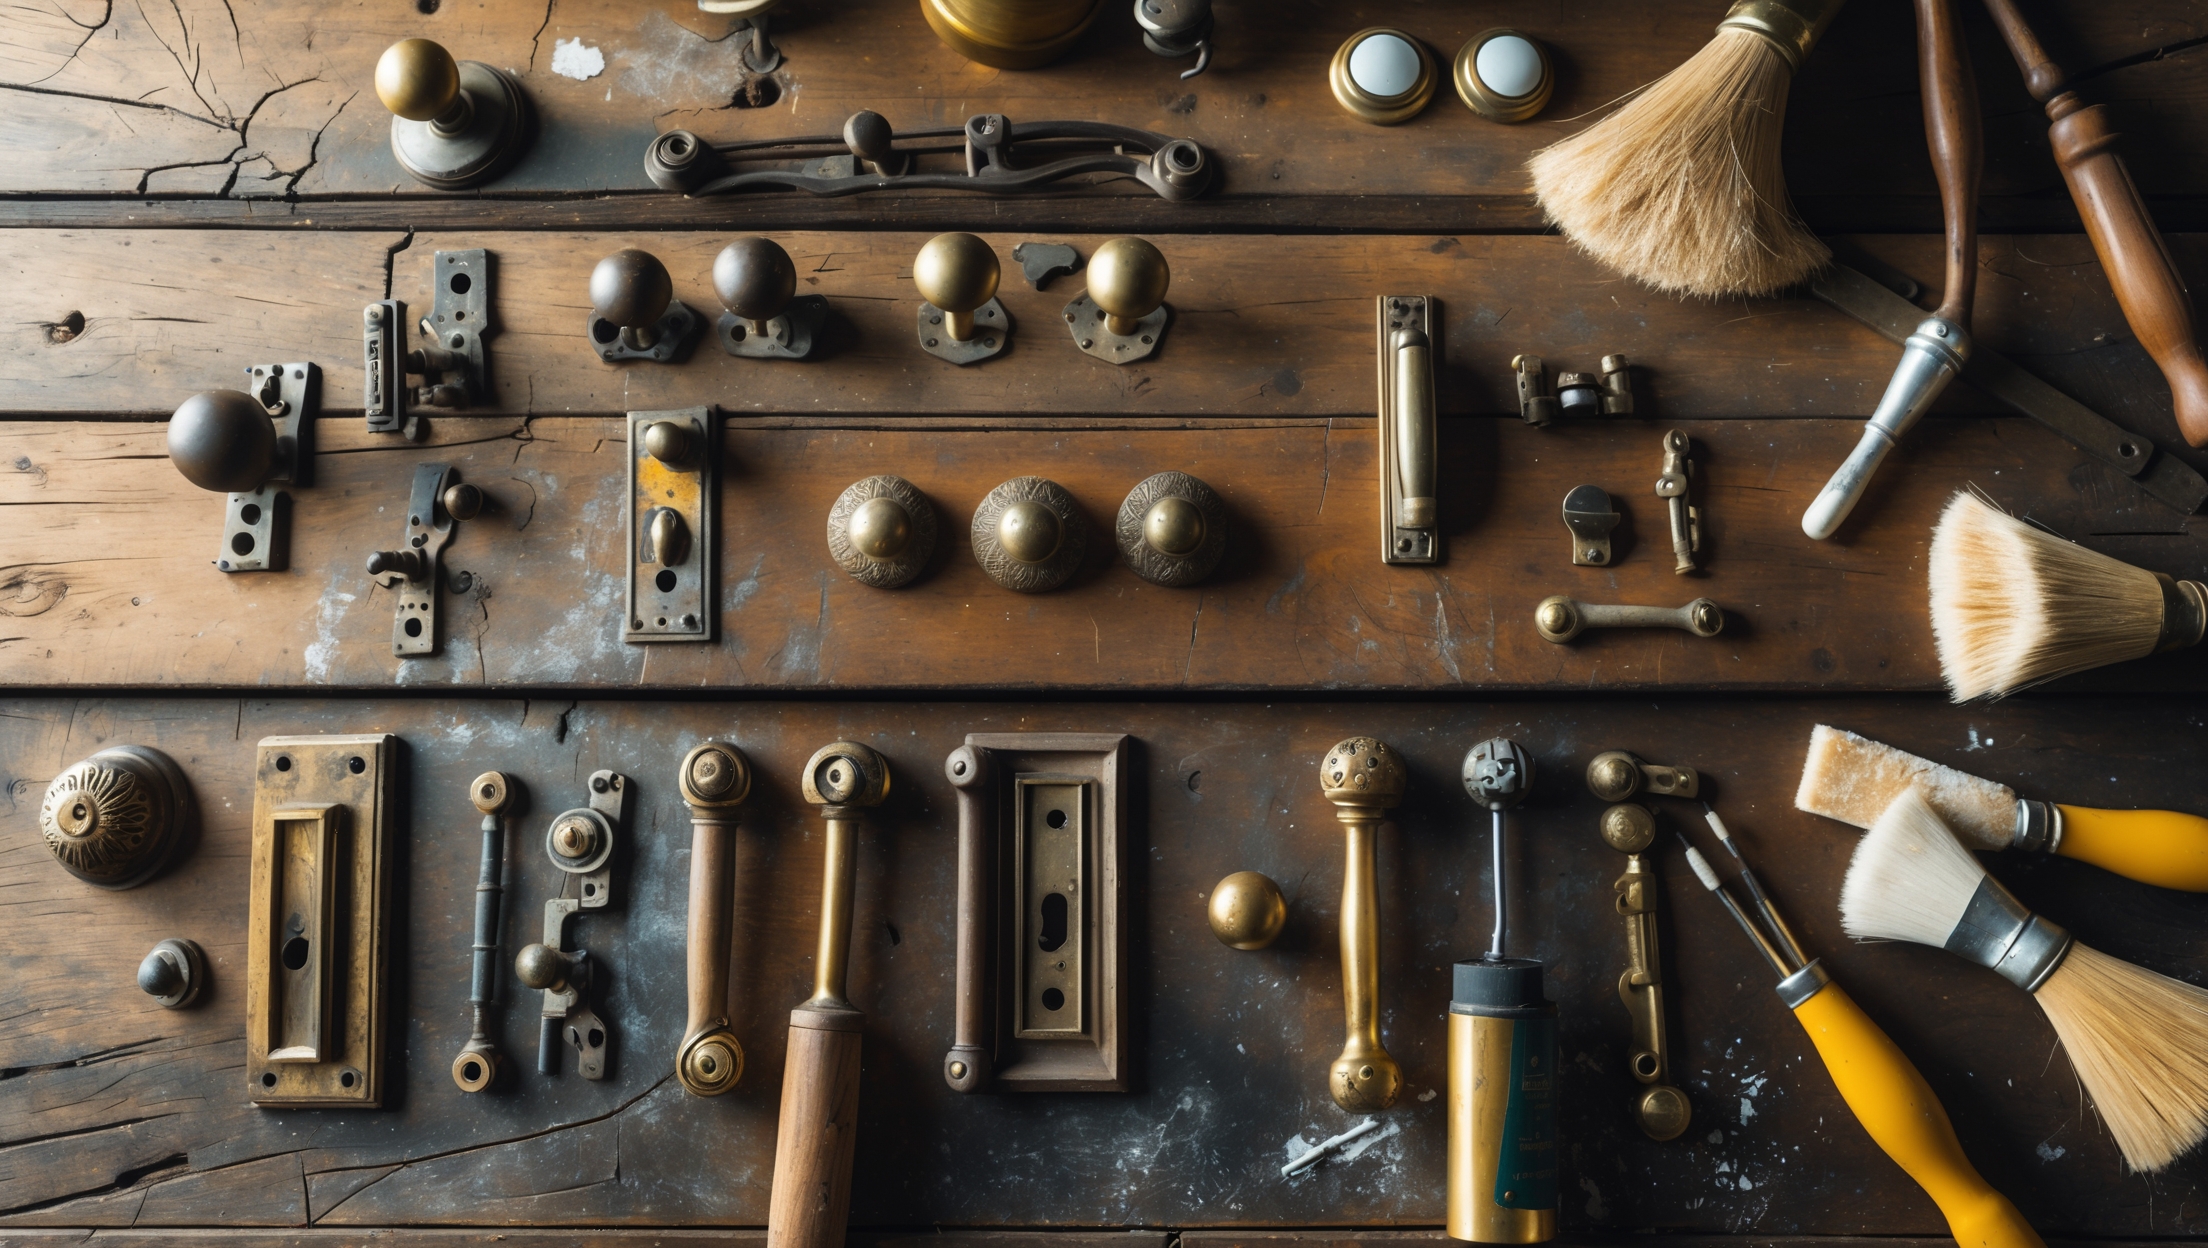
- Repair: Patch holes, reinforce weak joints, and replace missing hardware with reclaimed or eco-friendly alternatives.
Safe Construction Practices
- Wear gloves, goggles, and a dust mask when cutting or sanding.
- Work outdoors or in a well-ventilated area.
- Secure heavy pieces to studs or use anti-tip hardware, especially for tall units.
Eco-Friendly Finishes
- Choose low- or zero-VOC stains, paints, and sealants.
- Natural oils (linseed, tung) protect wood and enhance grain.
- Water-based polyurethanes for durability in kitchens and bathrooms.
Regular Maintenance
- Dust and clean surfaces with a damp cloth (avoid harsh chemicals).
- Check and tighten screws or joints every few months.
- Refresh finishes as needed to maintain protection and appearance.
Adapting Salvaged Storage for Small or Challenging Spaces
Maximizing Vertical Space
Install wall-mounted crates, floating shelves from reclaimed wood, or stackable lockers to free up floor area. Use tall, narrow units in tight entryways or bathrooms.
Custom Fit Solutions
Measure awkward corners, alcoves, or under-stair areas and build storage to fit. Salvaged cabinet doors or drawers can be adapted for custom shelving or pull-out bins.
Multi-Functional Pieces
Look for ways to combine seating, storage, and display. A salvaged trunk can serve as a coffee table and blanket chest, while a bench made from reclaimed planks offers shoe storage underneath.
Case Study: Upcycling a Vintage Filing Cabinet into a Modern Kitchen Pantry
A battered steel filing cabinet, rescued from an office closure, becomes a stylish kitchen pantry with minimal investment. After a thorough cleaning and sanding, the cabinet was primed and coated in a matte, zero-VOC paint. Each drawer was lined with peel-and-stick vinyl for easy cleaning. Adjustable shelves were added using reclaimed hardwood scraps. The top of the cabinet was finished with a salvaged butcher block, creating extra counter space. This project provided ample, organized storage for pantry goods, freed up kitchen cabinets, and introduced a bold industrial accent to the home—all for under $60.
Tips for Success and Common Pitfalls
- Don’t skip prep: Rushed cleaning or repair can lead to splinters, rust, or instability down the line.
- Measure twice: Salvaged materials are often irregular; double-check measurements before cutting or assembling.
- Test finishes: Always try stains or paints on a hidden area to ensure compatibility and color.
- Plan for weight: Reinforce shelves intended for heavy items, and anchor tall units securely.
- Embrace imperfections: Small dings or mismatched wood add character to upcycled pieces.
Conclusion: Organize Sustainably, Live Creatively
Upcycled storage solutions offer more than just a place to stash your stuff—they’re a testament to creativity, resourcefulness, and environmental responsibility. Every salvaged shelf, crate, or cabinet is a small act of defiance against disposable culture and a statement in favor of thoughtful, intentional living. By choosing to organize with upcycled materials, you’re reducing landfill waste, preserving resources, and infusing your home with unique character that can’t be bought off the shelf.
With careful planning, smart sourcing, and attention to safety, anyone can transform discarded items into beautiful, practical storage. Start small—perhaps a crate bookshelf or a ladder towel rack—and let your confidence grow with each project. Remember, the best storage solutions aren’t just functional; they tell a story and inspire others to rethink what’s possible. As you bring order to your home, you’re also contributing to a broader movement towards sustainability and creative salvage. So roll up your sleeves, open your mind to new possibilities, and watch as your spaces—and your relationship with the things you own—are transformed, one upcycled project at a time.


The article mentions setting a clear budget since some upcycled storage projects might require buying extra hardware or finishes. For someone completely new to upcycling, can you give some ballpark figures on what a basic project like a vintage trunk bench might end up costing overall?
For a basic vintage trunk bench, costs can vary, but here’s a rough idea: a secondhand trunk might be $30–$60, foam or cushion fabric for the seat $20–$40, and hardware like hinges or paint another $15–$25. Altogether, you could expect to spend anywhere from $65 to $125, depending on the materials and finishes you choose.
I noticed you mention budgeting for upcycled storage projects, especially if specialty finishes or hardware are needed. Can you give a ballpark estimate of what a typical project like turning an old ladder into a bookcase might cost if you don’t already have most materials?
Turning an old ladder into a bookcase can cost anywhere from $40 to $120 if you need to purchase most materials. The ladder itself (if not found for free) might be $20–$50 at a thrift store. Add $15–$30 for paint or specialty finishes, and $10–$40 for brackets or hardware. Prices vary by region and the look you want, but this gives a reasonable estimate.
When repurposing vintage trunks or old ladders as storage solutions, what are some common issues with structural stability or safety that I should watch out for, especially if the finished pieces will be used in a high-traffic retail environment?
When using vintage trunks or old ladders for storage in a busy retail space, check for weak joints, loose rungs, or cracked wood, as these can compromise stability. Reinforce any weak areas with screws, brackets, or wood glue. For ladders, ensure they won’t tip or shift by securing them to a wall or using anti-slip pads. Always sand rough edges and check for protruding nails to prevent injuries.