Introduction: Why Paint and Finishes Matter in Creative Salvage
Upcycling and restoring salvaged treasures isn’t just about creative vision—it’s about understanding the materials and finishes that bring your projects to life. Whether you’re rescuing a battered wooden chair from the curb or transforming a rusted metal toolbox into a one-of-a-kind planter, the way you strip, prep, and finish surfaces determines both the look and longevity of your work. But there’s more at stake than aesthetics: many salvaged finds are coated in old paints, varnishes, or finishes that may contain toxic substances such as lead or VOCs. Handling these materials requires careful planning, safe removal techniques, and a commitment to sustainable practices. This comprehensive guide will walk you through the essentials of upcycling paint and finishes—covering safe paint removal, eco-friendly prepping, selecting sustainable finishes, and ensuring your restored pieces are both beautiful and safe for your home. Whether you’re a beginner or a seasoned creative salvager, these detailed strategies will help you restore with confidence, protect your health, and reduce your project’s environmental impact.
Understanding Old Paints and Finishes: Risks and Rewards
Common Types of Salvaged Surface Coatings
Before diving into restoration, it’s important to recognize the types of finishes you’ll encounter:
- Oil-based paints and varnishes: Common in pre-1970s furniture; durable but often contain high VOCs.
- Milk paint: Found on antique or primitive pieces; made from casein, lime, and pigment. Non-toxic but can be fragile.
- Shellac and lacquer: Offer glossy finishes, popular in mid-century pieces; sensitive to solvents.
- Lead-based paint: Used before 1978. Highly toxic, especially dangerous for children and pets.
- Modern acrylics and polyurethanes: More common on recent salvage; easier to identify and remove.
Why Safe Removal is Essential
Many vintage and antique items are coated in materials now known to be hazardous. Lead paint, for example, can cause severe health problems if dust is inhaled or ingested. VOCs (volatile organic compounds) released from stripping old finishes can trigger respiratory issues. Safe, sustainable removal isn’t just best practice—it’s non-negotiable for healthy workshops and homes.
Safe Paint and Finish Removal: Tools, Techniques, and Best Practices
Personal Safety Musts
- Respirators: Use a NIOSH-approved respirator (not just a dust mask) when sanding or stripping old finishes.
- Gloves and Eye Protection: Chemical-resistant gloves and goggles protect skin and eyes from strippers and dust.
- Ventilation: Work outdoors or in a well-ventilated area with exhaust fans if possible.
- Containment: Use plastic sheeting to contain dust and debris. Clean up thoroughly after each session.
Testing for Lead and Asbestos
Lead paint is most likely on items painted before 1978. Use EPA-recognized lead test kits to swab surfaces. If positive, follow certified lead-safe removal guidelines—never dry-sand or use heat guns over 1100°F, as these can release toxic dust and fumes. For rare materials (like old floor tiles or insulation), consider asbestos testing if you suspect risk.
Eco-Friendly Paint Removal Methods
- Citrus-based strippers: These biodegradable gels soften paint without harsh fumes. Apply, cover with plastic wrap, wait, and gently scrape.
- Soy-based removers: Slow-acting but less toxic. Ideal for indoor use or when working with children or pets nearby.
- Infrared heat plates: Gently loosen paint without burning or creating toxic fumes, unlike heat guns.
- Manual scraping and sanding: Effective for small areas; use a HEPA vacuum to control dust. Wet sanding minimizes airborne particles.
- Never use open-flame torches: They pose extreme fire risk and can volatilize toxic substances.
Disposal of Hazardous Waste
Collect paint chips, used stripper, and contaminated rags separately. Most municipalities offer hazardous waste drop-off; never dispose of lead-paint debris in household trash. Label containers clearly.
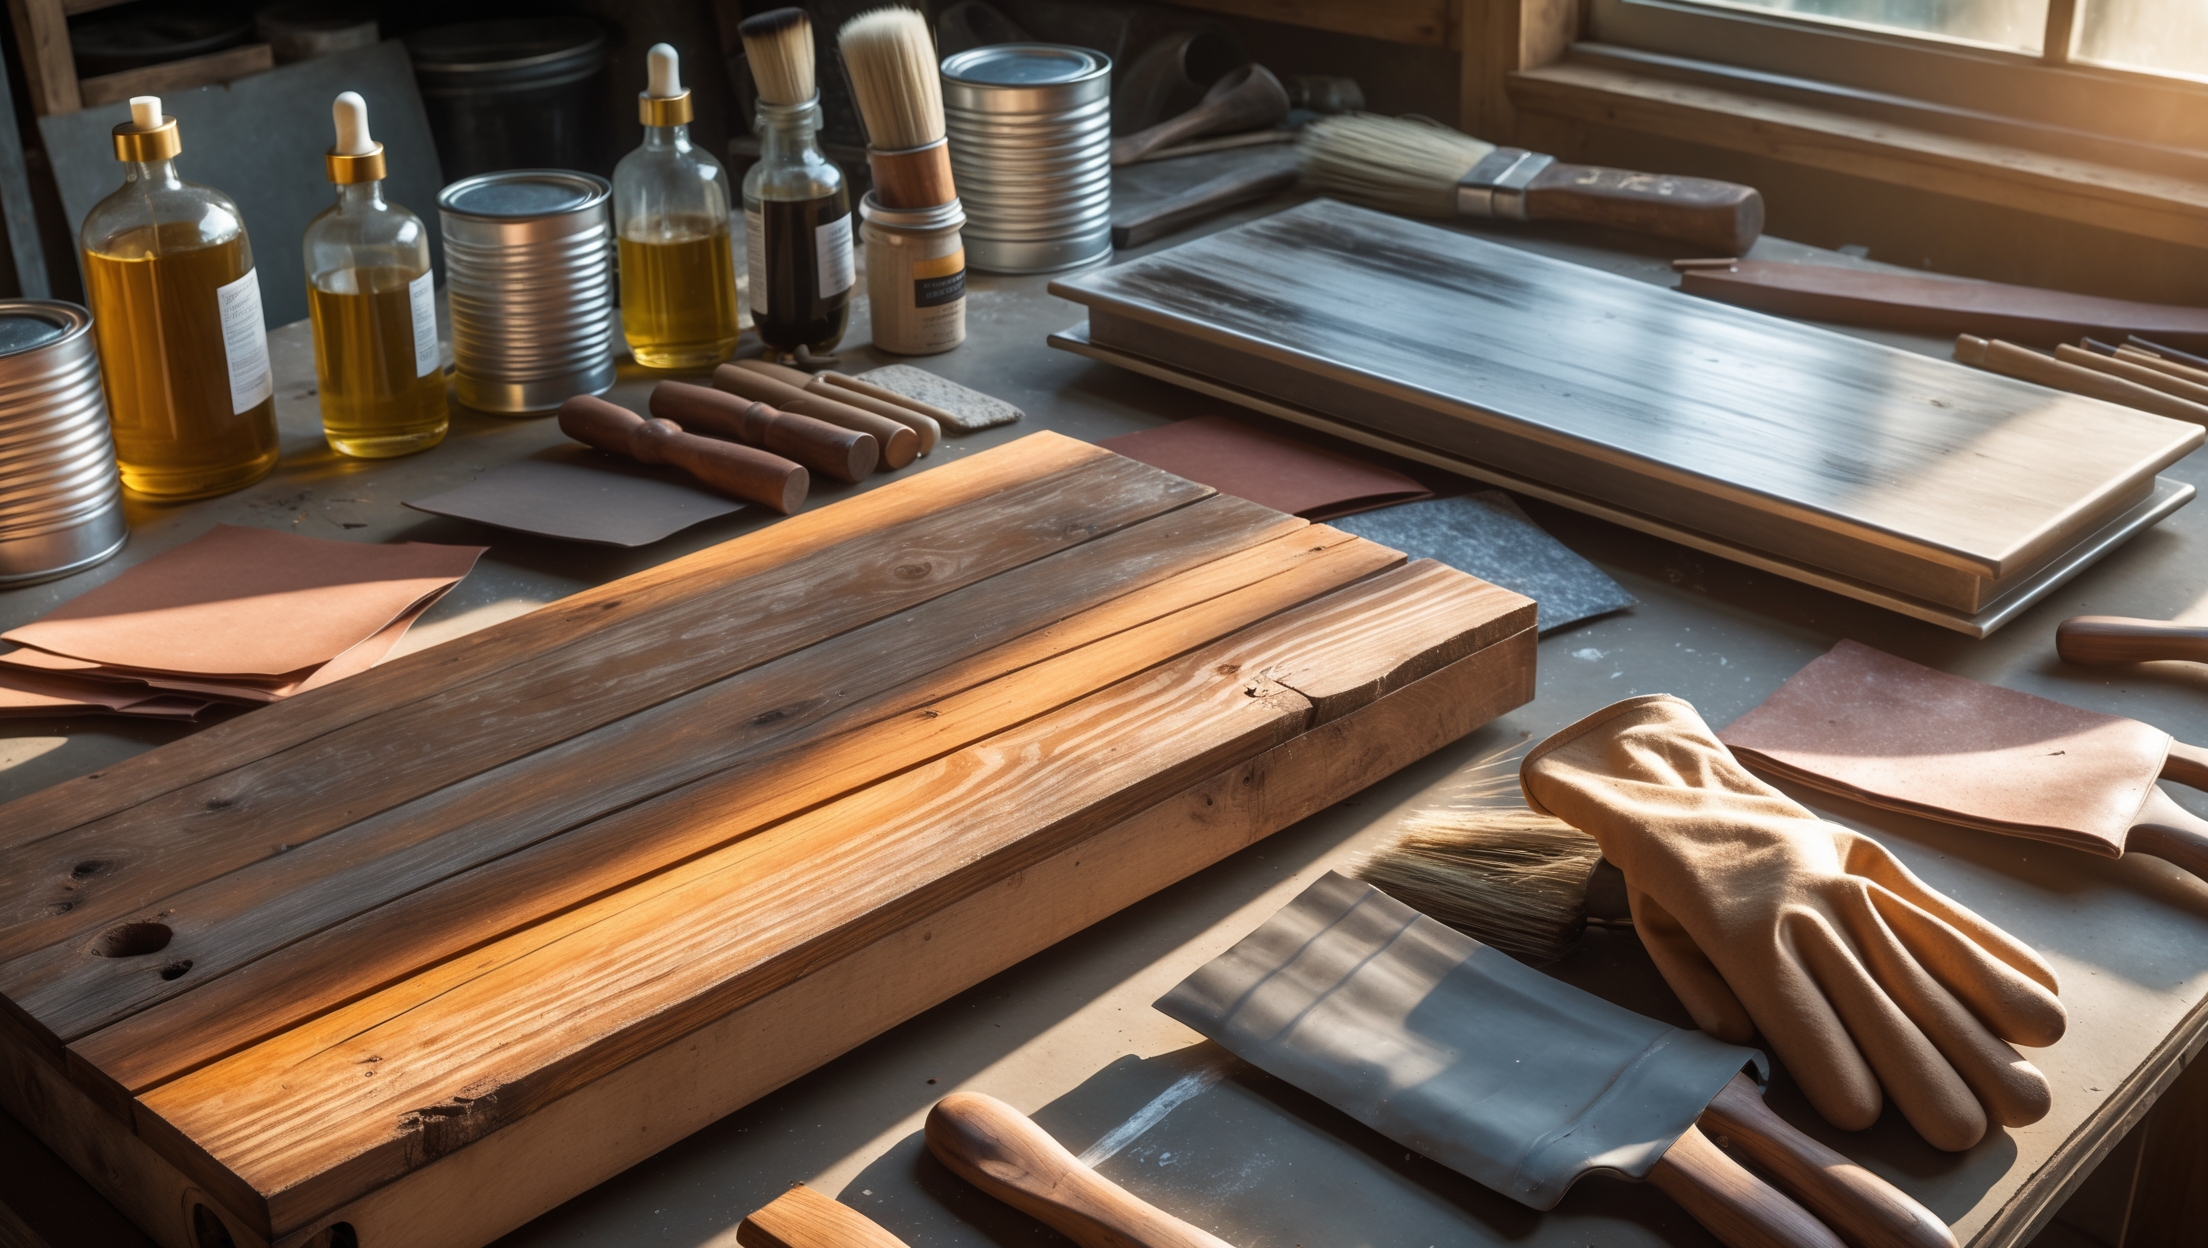
Prepping Salvaged Surfaces for Sustainable Restoration
Assessing the Substrate
The key to a professional, durable finish is proper surface prep. After safe paint removal, inspect the underlying material for damage:
- Wood: Check for rot, splits, or insect holes. Hardeners or wood filler can save moderately damaged areas.
- Metal: Remove rust using a wire brush or eco-friendly rust converters. Fill pitting with metal epoxy if needed.
- Stone or tile: Clean with pH-neutral cleaners. Avoid acids that can etch the surface.
Cleaning and Neutralizing
After stripping, wash surfaces with mild soap and water, then rinse thoroughly. For wood, allow to dry fully before proceeding. If using chemical strippers, follow with a manufacturer-recommended neutralizer (often vinegar or water) to prevent finish adhesion issues.
Sanding and Smoothing
- Start with coarse grit (80–100) to remove remnants.
- Progress to finer grits (150–220) for a smooth, paint-ready surface.
- Always sand with the grain on wood to prevent scratches.
- For intricate details, use hand sanding blocks or flexible sanding sponges.
Choosing Sustainable Paints, Stains, and Finishes
Why Sustainable Finishes Matter
Traditional paints and varnishes can off-gas VOCs for weeks, affecting indoor air quality. Many upcyclers are shifting to greener alternatives that are safer for health and the planet. Sustainable finishes use renewable resources, contain minimal toxins, and often allow for easier future refinishing.
Eco-Friendly Paint and Stain Options
- Low-VOC or Zero-VOC Acrylic Paints: Widely available, durable, and safe for indoor use.
- Milk Paint: Biodegradable, non-toxic, and offers an authentic vintage look. Must be sealed with wax or oil.
- Natural Oil Finishes (Tung, Linseed, Hemp): Penetrate wood, enhance grain, and cure to a water-resistant finish. Choose raw or polymerized versions for best environmental profile.
- Eco-Friendly Wood Stains: Water-based or plant-based stains minimize solvent use and odor.
- Beeswax and Carnauba Wax: Offer a soft, renewable surface finish for wood and some metals.
Considerations for Metal and Other Materials
- Water-based metal primers and paints: Provide rust protection and come in a range of finishes.
- Powder coating: Durable but requires professional application; many facilities now use non-toxic powders.
- Natural waxes: Polish and protect metal without harsh chemicals.
Application Techniques for Lasting, Beautiful Results
Tools for a Professional Finish
- High-quality brushes: Invest in angled, synthetic brushes for water-based finishes and natural bristle brushes for oils and waxes.
- Foam rollers: Great for large, flat surfaces like tabletops or doors.
- Lint-free cloths: Essential for applying stains, waxes, and buffing out excess finish.
- Detail tools: Small artist brushes or cotton swabs help reach tight corners and carvings.
Step-by-Step Application Process
- Prime (if needed): For bare wood or metal, apply a sustainable primer to improve adhesion and block stains.
- First coat: Apply thin, even layers; overloading leads to drips and extended drying times.
- Allow to dry fully: Follow manufacturer guidance—eco-friendly paints often require longer curing.
- Lightly sand between coats: Use 220–320 grit to remove imperfections for a silky-smooth finish.
- Repeat as needed: Two to three coats usually suffice for most upcycling projects.
- Seal: After the final coat, apply a clear, low-toxicity sealer for durability. Choose matte, satin, or gloss to suit your project.
Creative Effects and Preservation: Advanced Restoration Tips
Distressing and Layering Techniques
- Two-tone layering: Apply a base coat, then a second color. Sand edges for a timeworn look.
- Dry brushing: Use a nearly dry brush to add highlights or accentuate texture.
- Wax resist: Rub candle wax on areas before painting, then wipe or sand topcoat off for a chipped effect.
- Stenciling: Use low-VOC paints to add detail or faux inlays for custom designs.
Preserving Patina and Character
Sometimes, the most sustainable finish is minimal intervention. Preserve original patina on metal or wood with a simple coat of natural oil or wax. Avoid harsh scrubbing—gentle cleaning with diluted soap and a soft brush preserves age and story.
Addressing Special Challenges
- Bleed-through: If wood tannins or stains seep through paint, use a shellac-based spot primer (available in low-VOC formulas).
- Odor control: For musty salvaged items, seal with shellac or a dedicated odor-blocking primer before finishing.
- Outdoor use: Finish with exterior-grade, eco-friendly sealers to guard against moisture and UV damage.
Maintaining Your Restored Pieces—Sustainably
Routine Care
- Dust with a soft, damp cloth: Avoid harsh cleaners that can strip natural finishes.
- Re-wax or oil annually: Refresh protective coatings with the same product you used originally.
- Check for chips and scratches: Spot-repair promptly to prevent deeper damage.
Refinishing Down the Road
One great benefit of sustainable, natural finishes is that they’re easier to repair and reapply than synthetic varnishes. When wear shows, lightly sand and add a new coat—no need for complete stripping.
Conclusion: Upcycling Paint and Finishes for a Healthier Home and Planet
Restoring salvaged materials with safe, sustainable paints and finishes is both an art and a responsibility. By choosing non-toxic products, using careful removal and prep methods, and focusing on the longevity of your work, you’re not just creating beautiful pieces—you’re protecting your health and the environment for years to come. Every time you strip away an old, hazardous coating and replace it with a low-impact, renewable finish, you contribute to a cycle of mindful consumption and creative renewal. This approach transforms upcycling from a trend into a truly sustainable lifestyle practice, where craftsmanship and stewardship go hand in hand.
As you embark on your next creative salvage project, remember: the right paint or finish doesn’t just make your piece shine—it preserves its story and ensures your space remains safe, eco-friendly, and uniquely yours. Whether you’re tackling a curbside find or a family heirloom, embrace the extra steps of safe removal, thorough prep, and thoughtful finishing. The reward is a piece that’s as good for your home as it is for the planet. Happy upcycling!


If I come across a piece of furniture that might have lead-based paint, what are the key signs to look for before I start stripping it, and are there safe, beginner-friendly removal methods you recommend?
Lead-based paint is often found on furniture made before 1978. Signs include thick, brittle layers that may crack in a ‘alligator skin’ pattern or chip off in large flakes. For safety, use a disposable lead test kit to confirm. If lead is present, avoid dry sanding or scraping. Instead, try a chemical paint stripper labeled as non-toxic and work in a well-ventilated area while wearing gloves and a mask. Always clean up thoroughly to prevent spreading dust.