Introduction: Why Salvaged Wood Is the Heart of Creative Upcycling
Salvaged wood is more than just reclaimed material—it’s a canvas for creativity, a nod to sustainability, and a testament to craftsmanship. Whether you’re drawn to the rich patina of barn beams, the quirky character of pallet boards, or the robust utility of old floor joists, working with salvaged wood allows you to create unique projects while reducing waste and environmental impact. But upcycling salvaged wood is far from grabbing a board and hammering it into something new. Success demands an understanding of sourcing, preparation, restoration, and finishing methods tailored to the wood’s unique history. This in-depth guide explores the techniques, finishing tips, and inspiring project ideas that will help you transform discarded timber into enduring, functional art—no matter your skill level. Expect actionable insights for every stage, from safe de-nailing to creative finishing, and discover new ways to unlock the full potential of salvaged wood in your upcycling journey.
Sourcing Salvaged Wood Responsibly
Where to Find Quality Salvaged Wood
- Demolition Sites: Contact local contractors, or check city listings for buildings slated for demolition. Always get permission before salvaging.
- Reclamation Yards: These businesses specialize in harvesting and reselling architectural salvage, including beams, flooring, and paneling.
- Community Giveaways: Online marketplaces, neighborhood groups, and “free stuff” boards often list leftover building materials.
- Pallets and Crates: Many businesses discard wooden pallets or crates. Seek heat-treated (marked HT) pallets for safety.
- Storm or Tree Removal Services: Downed trees or limbs can be milled into usable boards.
What to Look For (and What to Avoid)
- Check for Rot and Infestation: Avoid wood with soft spots, powdery residue, or active insect holes.
- Lead Paint and Chemical Treatments: Pre-1978 paint may contain lead. Use a lead test kit if uncertain, and steer clear of pressure-treated wood for indoor use.
- Structural Integrity: Look for splits, excessive warping, or deep cracks that could compromise your project.
- Nails and Hardware: Removable hardware is a plus, but be prepared for hidden fasteners.
Preparing Salvaged Wood for Upcycling
Cleaning and Decontamination
Begin with basic cleaning: brush off loose dirt, then scrub with a stiff brush and a mix of warm water and mild soap. For deeply embedded grime or residues, a solution of vinegar and water can help. Rinse thoroughly and allow the wood to dry completely before further handling.
De-Nailing and Removing Hardware
- Tools Needed: Flat pry bar, nail puller, pliers, metal detector (optional for large batches).
- Technique: Tap exposed nail ends back through to minimize wood splintering. Use pliers to twist out stubborn nails. For hidden metal, scan with a metal detector or run a magnet along the surface.
Assessing and Addressing Damage
- Surface Checks: Mark cracks, rot, or deep gouges with chalk. Minor defects can add character; severe damage may require cutting down the board or using epoxy fillers.
- Flattening and Straightening: Slightly warped boards can be straightened by clamping and moistening, but excessive warping may not be salvageable for structural use.
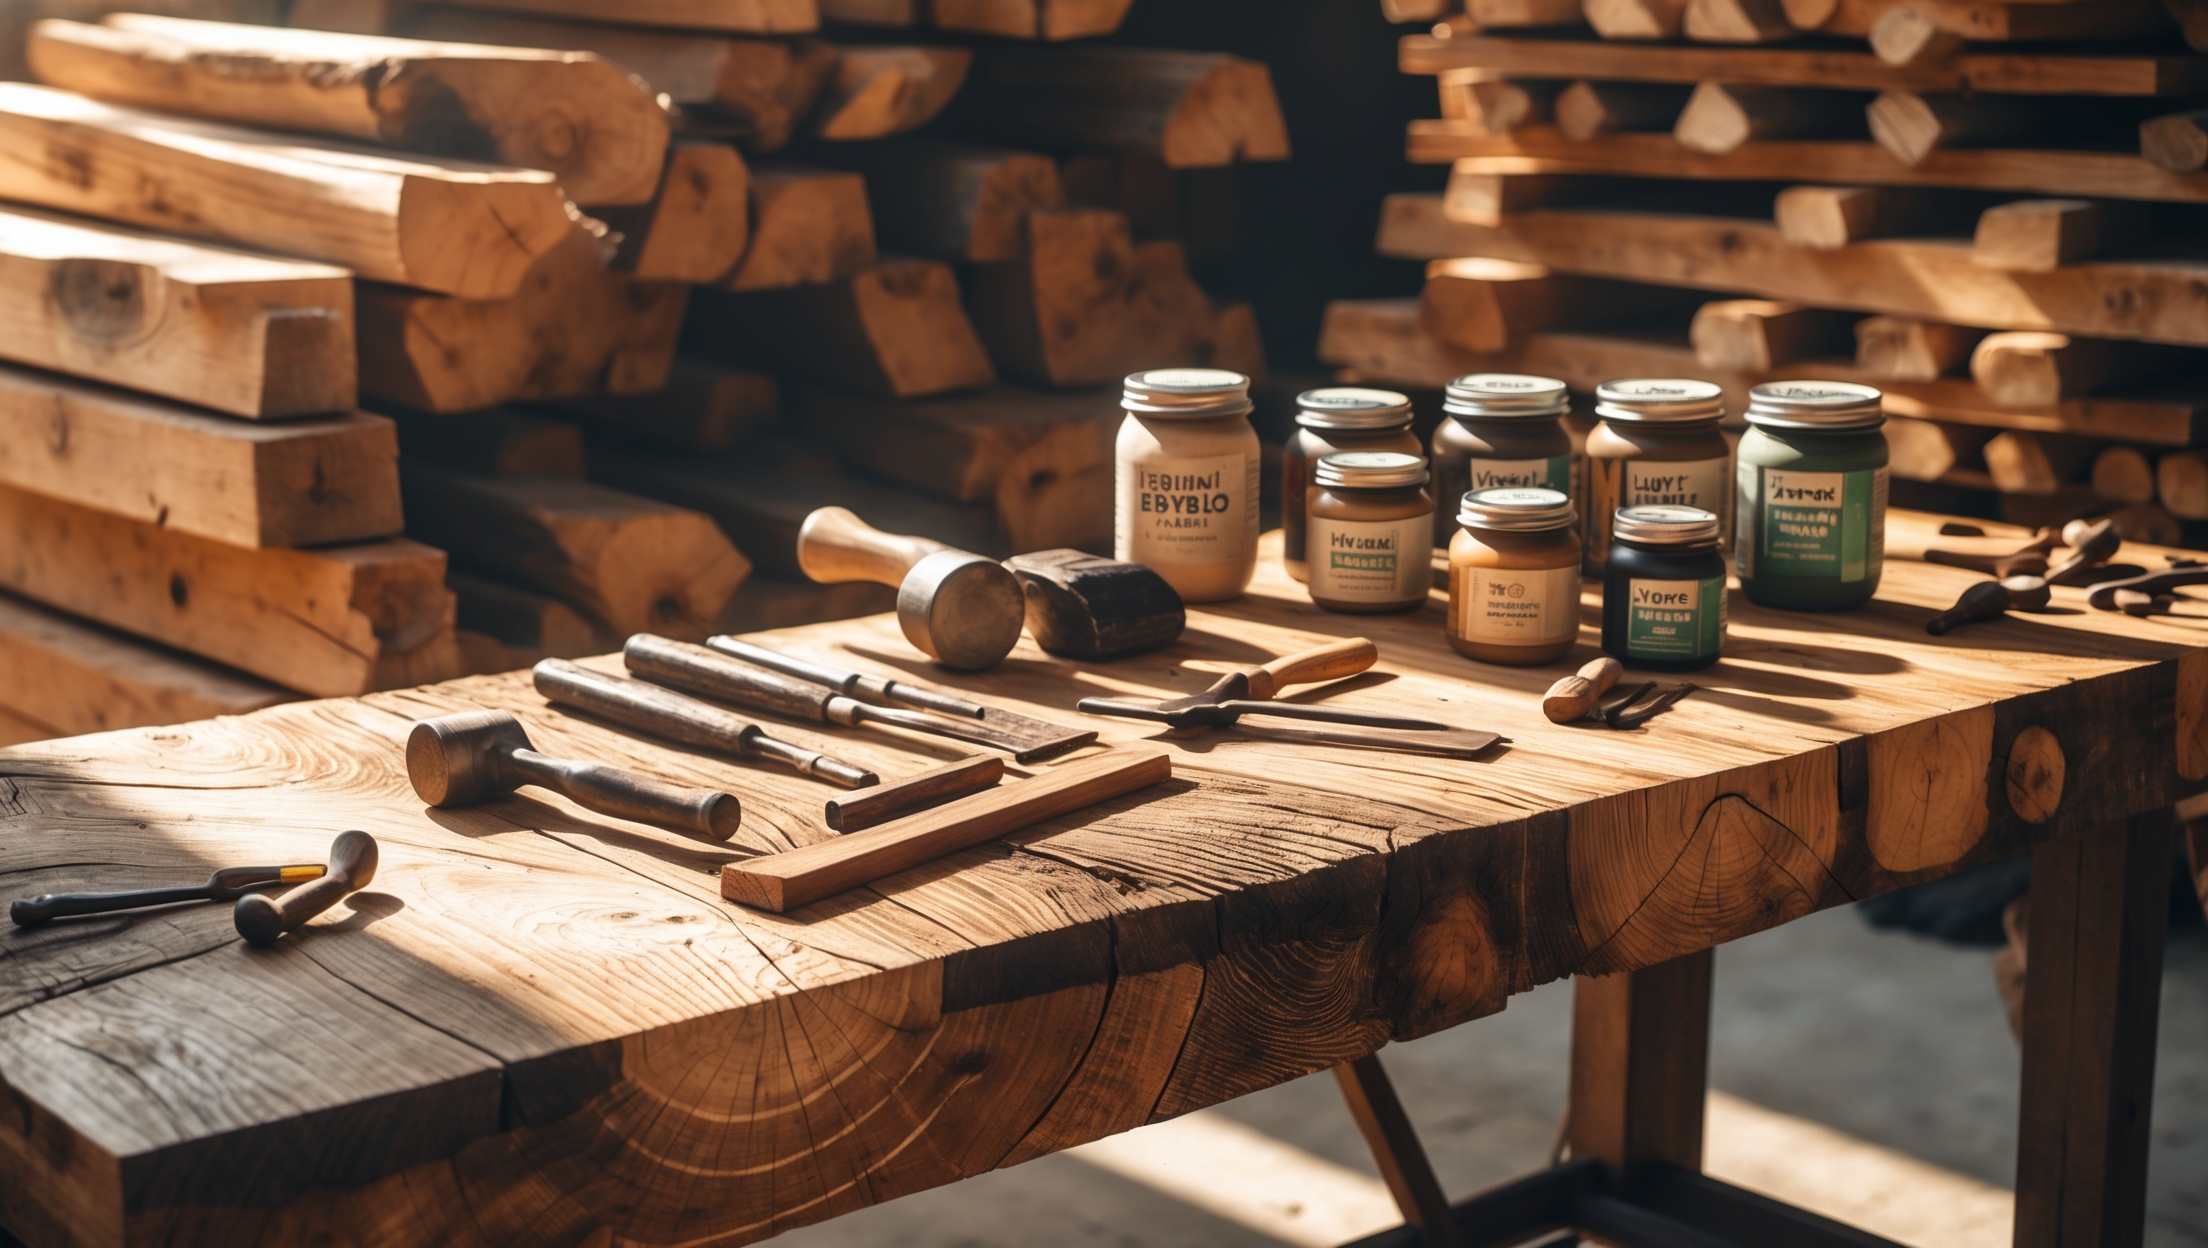
Restoration Techniques for Salvaged Wood
Sanding and Smoothing
Start with a coarse grit (60–80) to remove surface roughness, old finishes, and stains. Progress to medium (120) and finish with fine (180–220) grit for a smooth touch. Always sand with the grain to preserve the wood’s natural lines and prevent scratches. For detailed or curved pieces, consider sanding sponges or flexible sanders.
Repairing Holes and Splits
- Wood Filler: Use eco-friendly wood filler for small holes and cracks. Apply with a putty knife, let dry, then sand flush.
- Epoxy Repair: For larger voids or structural repairs, two-part epoxy putty can be shaped and sanded after curing. Tint with wood dust for a better color match.
- Butterfly Keys or Bowties: For visible splits, inlaying a contrasting hardwood key adds strength and visual interest.
Dealing with Stains and Odors
- Tannin or Water Stains: Oxalic acid (wood bleach) removes dark stains. Follow instructions carefully and wear gloves.
- Odors: Sprinkle baking soda on surfaces and let sit for 24–48 hours. For persistent smells, wipe with diluted vinegar and ensure thorough drying.
Finishing Salvaged Wood for Longevity and Beauty
Choosing the Right Finish
- Natural Oils: Tung oil, linseed oil, or walnut oil penetrate deep, highlighting grain while offering basic protection. Ideal for food-contact surfaces if using food-safe oils.
- Hard Wax Oils: These blend oils and waxes for a durable, matte finish suitable for furniture and flooring.
- Water-Based Polyurethane: Offers a clear, non-yellowing, and low-VOC protective coat. Good for high-traffic areas.
- Shellac and Lacquer: Fast-drying and repairable, but best for decorative pieces due to lower water resistance.
Application Tips for Salvaged Wood
- Test First: Always try your chosen finish on a hidden area to check for unexpected color changes or reactions with old stains.
- Fill Grain (Optional): For a glass-smooth finish, use a wood grain filler before sealing.
- Layering: Apply thin coats, allowing full drying between each. Lightly sand with fine grit (320) between coats for a flawless result.
- Highlighting Patina: Don’t over-sand if you value the weathered look. Use a clear oil or wax to preserve patina while protecting the wood.
Project Inspiration: Creative Ways to Upcycle Salvaged Wood
Functional Furniture
- Rustic Shelving: Use thick beams or planks as floating shelves. Pair with industrial brackets or hidden supports for a modern touch.
- Dining or Coffee Tables: Combine several boards with biscuit joints or dowels. Use steel hairpin legs or reclaimed metal bases for stability and style.
- Benches and Stools: Mix wood species for a patchwork aesthetic, or use sturdy beams for a minimalist bench.
Decor and Accent Pieces
- Wall Paneling: Install mixed-width planks for a feature wall. Stagger lengths and tones for visual interest.
- Picture Frames and Mirrors: Salvaged trim and moldings make distinctive frames. Sand edges for a softened, vintage look.
- Headboards: Arrange boards vertically or horizontally; combine with metal accents or upholstery for a custom effect.
Garden and Outdoor Uses
- Planter Boxes: Build raised beds or window boxes. Apply outdoor oil or exterior-grade polyurethane for weather resistance.
- Garden Paths: Use thick planks set into gravel for rustic stepping stones.
- Tool Sheds and Storage: Salvaged wood can clad small outdoor structures, adding charm and reducing material costs.
Small-Scale and Gift Projects
- Coat Racks and Key Holders: Mount hooks to a sanded board. Retain nail holes for character.
- Serving Boards and Trays: Use food-safe finishes and rounded edges. Combine contrasting wood species for visual pop.
- Tablet or Phone Stands: Stack and glue offcuts with a groove for devices—a simple yet useful upcycle.
Safety and Sustainability in Salvaged Wood Upcycling
Personal Protective Equipment (PPE)
- Wear safety glasses and dust masks when cutting, sanding, or stripping old finishes.
- Use gloves to protect from splinters and chemical exposure.
Lead and Chemical Awareness
- Always test for lead paint if the provenance is unknown and the wood is painted.
- Dispose of hazardous materials (e.g., lead paint chips, chemical strippers) according to local regulations.
Sustainable Practices
- Opt for water-based or natural finishes to minimize VOC emissions.
- Recycle or compost wood shavings and sawdust, provided the wood was untreated.
- Document wood origins when possible—this adds value and transparency to your projects, especially if you sell them.
Conclusion: Embracing the Beauty and Potential of Salvaged Wood
Upcycling salvaged wood is a rewarding intersection of sustainability, ingenuity, and craftsmanship. Each plank carries a story—of the building it once supported, the hands that shaped it, and the journey it now takes in your creative vision. With the right techniques, salvaged wood can be transformed into pieces that are not only functional and beautiful but also environmentally responsible. By sourcing wisely, preparing thoroughly, and finishing with care, you ensure your upcycled projects stand the test of time—both structurally and aesthetically. The possibilities are as limitless as your imagination: from rustic tables that anchor a room to small accent pieces that spark conversation and reduce waste. As you continue your journey in creative salvage, remember that every nail removed, every stain sanded, and every finish applied brings new life to materials once destined for landfill. In doing so, you become part of a movement that values history, sustainability, and the enduring art of making something new from what others have left behind.


The article mentions using pallets and crates for upcycling projects, but I’m always worried about safety. Besides looking for the HT stamp, are there any other signs that a pallet might have been chemically treated or contaminated?
Besides checking for the HT (heat-treated) stamp, avoid pallets marked with MB, which stands for methyl bromide—a chemical treatment. Watch for stains, strong odors, or signs of spills, as these could indicate contamination. Pallets used to transport chemicals or food products might absorb residues, so it’s best to choose clean, dry pallets with clear markings and only use them for indoor projects if you’re sure of their history.
When checking salvaged wood for things like rot or insect damage, what are the best methods to make sure you haven’t missed hidden issues inside the wood? Are there specific tools or signs I should be looking for before starting a project?
To catch hidden problems in salvaged wood, start by looking for soft spots, discoloration, or small holes—these can signal rot or insect infestation. Use a screwdriver or awl to probe the wood; if it sinks in easily, that area may be damaged. For a more thorough check, tap the wood with a mallet and listen for hollow sounds, which can indicate internal decay. Inspect end grain and cracks closely, and if you suspect termites, look for fine dust or mud tunnels. Moisture meters can also help detect dampness inside the wood.
You mention the unique history of each piece of salvaged wood. Are there any finishing techniques that really help bring out the character of materials from different sources, like barn beams versus old floor joists?
Finishing techniques like wire brushing and gentle sanding can highlight the grain and patina unique to each piece, especially for barn beams with deep textures. For old floor joists, using a clear oil finish or a matte polyurethane preserves saw marks and color variations. A light stain can also help unify mixed woods while keeping their individual character visible.
How do you actually go about testing salvaged wood for lead paint if you’re not sure about its origin, and are there affordable kits you recommend using for someone just getting started?
To test salvaged wood for lead paint, you can use home lead test kits, which are simple and affordable. Kits like 3M LeadCheck or D-Lead are popular options and available at most hardware stores. Just follow the kit instructions—usually, you swab the painted area and watch for a color change to indicate lead. It’s a good idea to test several spots to be thorough, especially if the wood’s history is uncertain.