Introduction: The Overlooked Art of Salvage Maintenance
Upcycling and creative salvage have become essential practices for anyone passionate about sustainable living, interior design with character, and reducing waste. Yet, while much is said about sourcing, restoring, and repurposing salvaged materials, one crucial aspect often gets overlooked: long-term maintenance. The real magic of upcycled creations isn’t just in their dramatic before-and-after transformations, but in their ongoing durability, beauty, and function as the years go by. Whether you’ve turned a battered door into a statement table, revived cast-off metalwork for modern use, or saved a unique architectural element from landfill, every upcycled piece requires a tailored maintenance approach to ensure its longevity.
Unlike mass-produced items, upcycled salvage pieces are often a patchwork of different ages, materials, and finishes. They can react unpredictably to changing environments, daily use, or benign neglect. Without a clear, strategic approach to care and preservation, even the most lovingly restored item can quickly lose its charm—or worse, become unusable. This guide takes a deep dive into expert strategies for maintaining upcycled and salvaged creations, from preventative maintenance and cleaning to repairs, refinishing, and choosing the right protective treatments. Whether you’re a hobbyist or a professional creative salvager, these best practices will help you keep your upcycled treasures beautiful and functional for decades to come.
Understanding the Unique Challenges of Upcycled Salvage
Material Diversity and Mixed Surfaces
Salvaged and upcycled projects often include a combination of woods, metals, glass, ceramics, and plastics—all with different care requirements. It’s vital to identify the materials in each piece and understand how they interact. For example, moisture that’s harmless to metal hardware could warp or stain reclaimed wood. Similarly, cleaning solutions that are safe for glass might corrode certain paints or finishes. Always catalog the materials used and note any unknowns so you can research or test maintenance methods before applying them broadly.
Age and Previous Treatments
Older salvaged elements may have layers of finishes, residues, or hidden damage. Paints or stains could contain lead or other hazardous substances, and some adhesives may deteriorate or become unstable over time. Before beginning any maintenance regimen, inspect your upcycled piece closely for signs of instability, flaking, or chemical odors. If you suspect hazardous materials, consult local guidelines for safe handling and remediation.
Environmental Stressors
Temperature changes, humidity, sunlight, and even indoor pollutants can all affect the long-term health of upcycled salvage. Wood expands and contracts, metals rust or tarnish, and certain plastics may become brittle. Understanding where and how your piece will be used allows you to anticipate which stressors are most relevant and plan your maintenance accordingly.
Preventative Maintenance: Setting Up for Success
Placement and Environment
- Avoid Direct Sunlight: UV rays can fade finishes and degrade many materials. Place upcycled items out of direct sunlight or use UV-blocking window films.
- Stabilize Humidity: Use a dehumidifier in damp areas, or a humidifier in overly dry spaces, especially for wood and certain metals.
- Protect from Temperature Extremes: Keep salvage pieces away from radiators, vents, or exterior walls prone to condensation.
- Safe Placement: Use felt pads or rubber feet to prevent scratching floors and reduce moisture transfer from below.
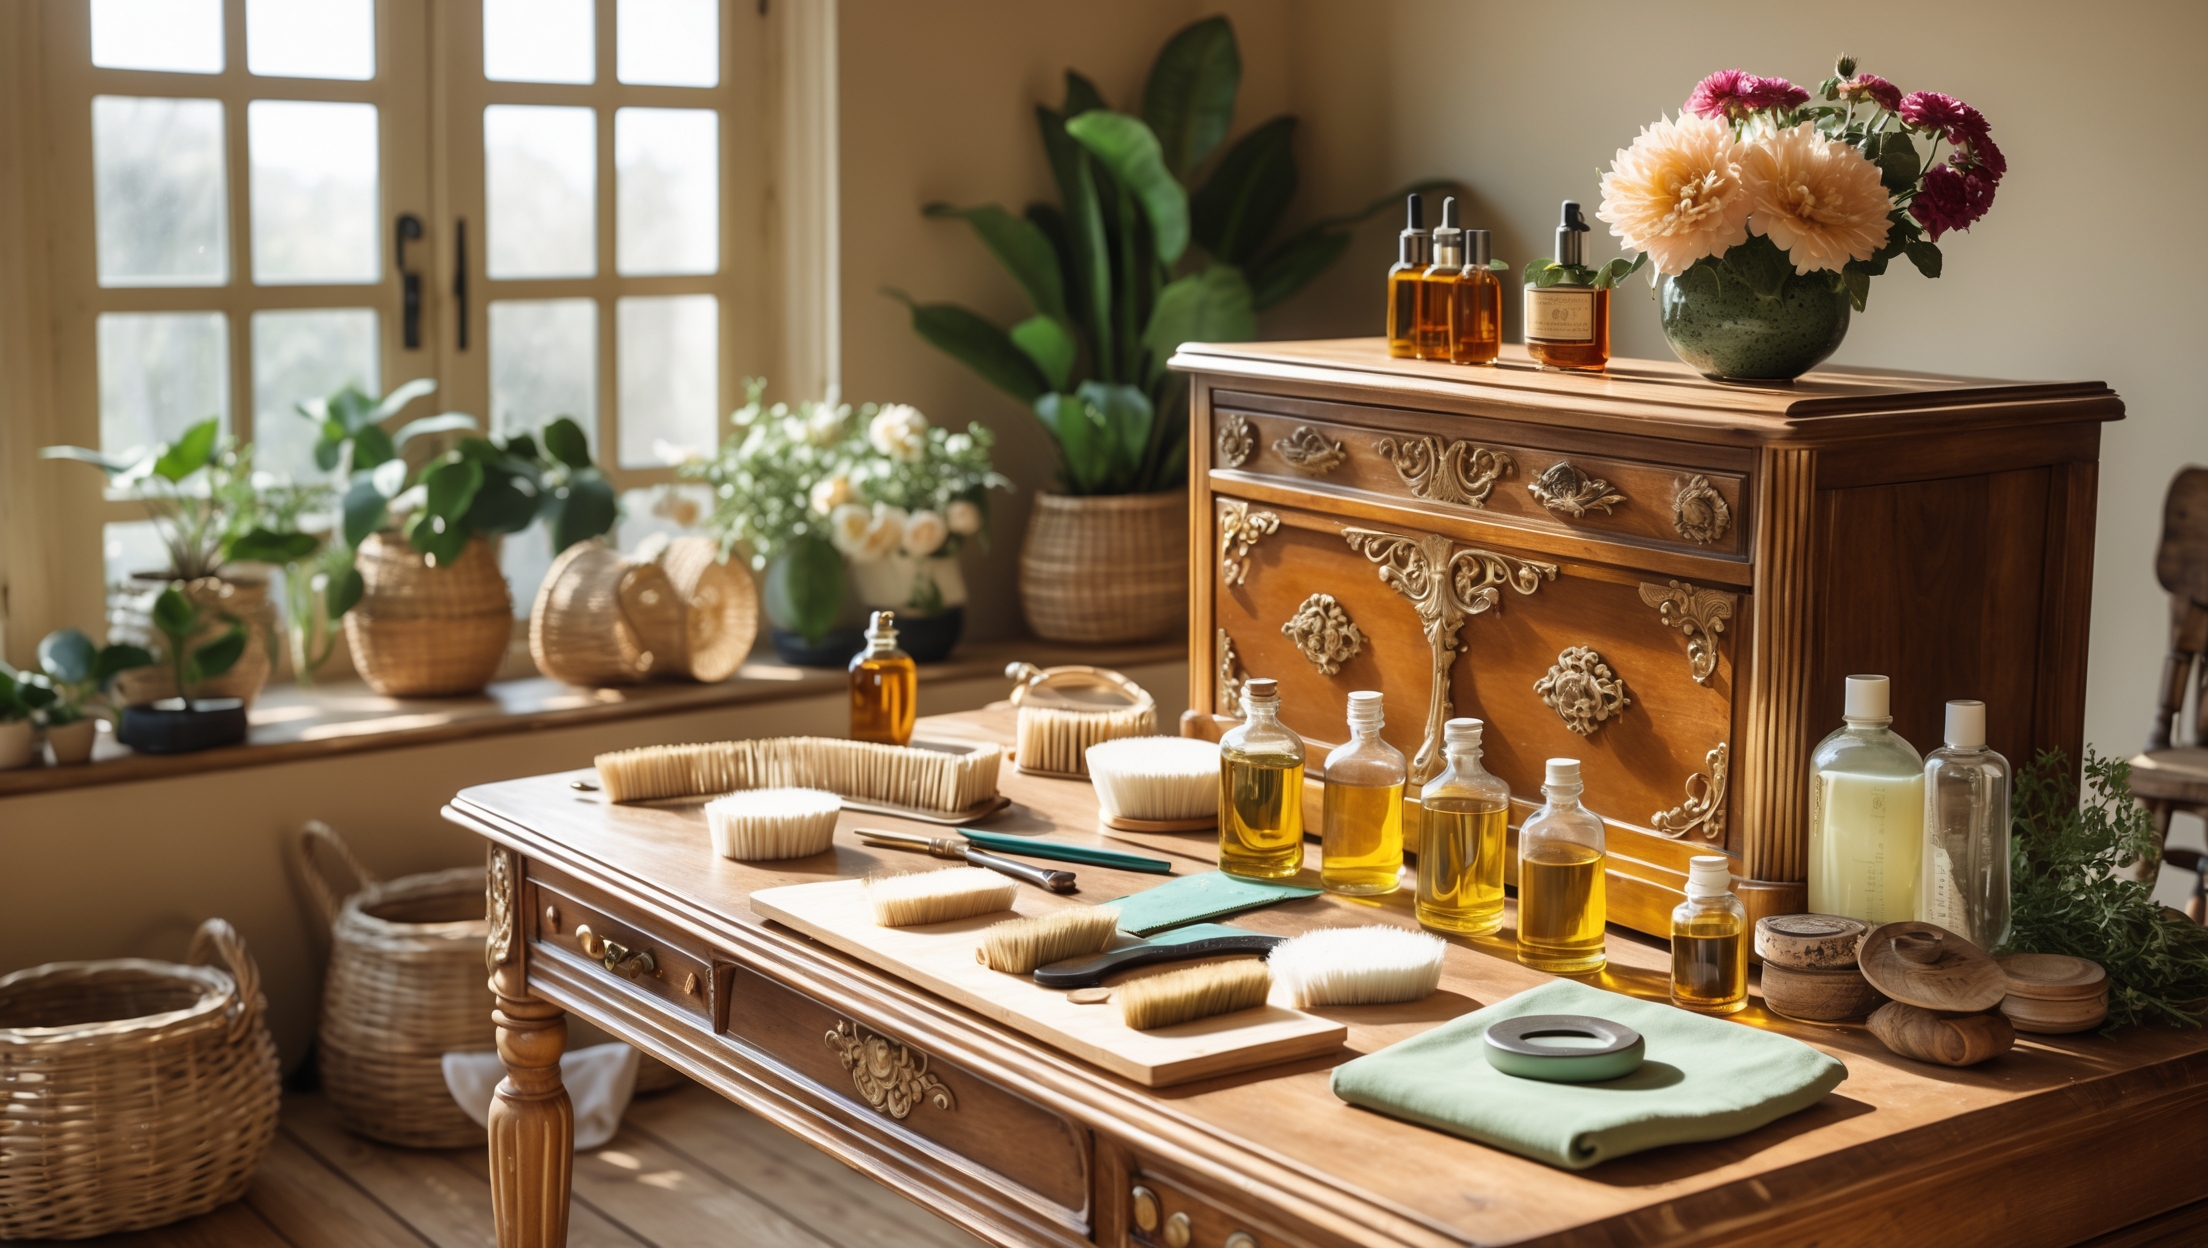
Protective Coatings and Finishes
- Wood Surfaces: Apply high-quality wax or oil regularly to nourish and protect reclaimed wood. Consider polyurethane or water-based finishes for pieces that see heavy use.
- Metal Components: Use rust inhibitors or apply clear lacquer to exposed metal. For decorative patinas, use beeswax or microcrystalline wax for gentle protection.
- Glass and Ceramics: Clean with mild, non-abrasive solutions. For pieces with painted details, avoid ammonia-based cleaners to prevent fading.
Routine Inspection Schedule
Set a quarterly or biannual calendar reminder to check all joints, fasteners, and surfaces. Look for signs of wear, movement, or damage. Early intervention prevents small problems from becoming major repairs.
Cleaning Salvaged and Upcycled Pieces
General Cleaning Guidelines
- Dust First: Use a soft, dry microfiber cloth to remove surface dust. Avoid feather dusters, which can snag on rough edges or splinters.
- Test Cleaners: Always spot-test cleaning solutions on an inconspicuous area before full application.
- Gentle Is Best: Start with the mildest cleaning method—usually a slightly damp cloth—and escalate only if necessary.
Material-Specific Cleaning Tips
- Wood: Use a barely damp cloth, followed by immediate drying. For sticky residues, mix a mild soap with water. Avoid soaking, as water can warp or stain wood.
- Metal: For rust, gently rub with fine steel wool or a baking soda paste. For tarnish, use a specialized metal polish appropriate for the metal type (brass, copper, iron, etc.). Always follow up with a protective wax or oil.
- Glass: Clean with a vinegar-water solution and a lint-free cloth. Remove old paint carefully with a razor blade, working slowly to avoid scratches.
- Ceramics and Porcelain: Wipe with a damp cloth; avoid abrasive pads. For stubborn stains, try a paste of baking soda and water, applied gently.
- Fabrics: Vacuum upholstery using an upholstery attachment. Spot clean with fabric-appropriate detergent, and avoid overwetting to prevent mold or mildew.
Handling Common Repairs
Loose Joints and Structural Instability
Many upcycled pieces rely on old joints, dowels, or fasteners that may loosen over time. To correct:
- Carefully disassemble the affected joint if possible.
- Remove old glue residues with sandpaper or a scraper.
- Apply fresh, material-appropriate adhesive (wood glue for wood, epoxy for mixed materials).
- Clamp and allow to cure fully before use.
Scratches, Dents, and Surface Damage
- For wood, use a matching wood filler or wax stick for small scratches. For deeper dents, steam them out with a damp cloth and a hot iron (test first!).
- Metal surfaces can be gently buffed with steel wool, then re-waxed or re-lacquered.
- For painted surfaces, carefully touch up with matching paint and seal as needed.
Dealing with Rust and Corrosion
Rust is common with salvaged metal. Address it early:
- Remove surface rust with wire brushes or steel wool.
- Apply rust converter for deep corrosion.
- Finish with a rust-inhibiting primer and, if desired, a durable topcoat.
Replacing Missing or Damaged Parts
For non-structural elements (like hardware or decorative trims), consider sourcing period-appropriate replacements from salvage yards or online marketplaces. Alternatively, upcycle new materials to mimic the original look and feel. Always document modifications for future reference.
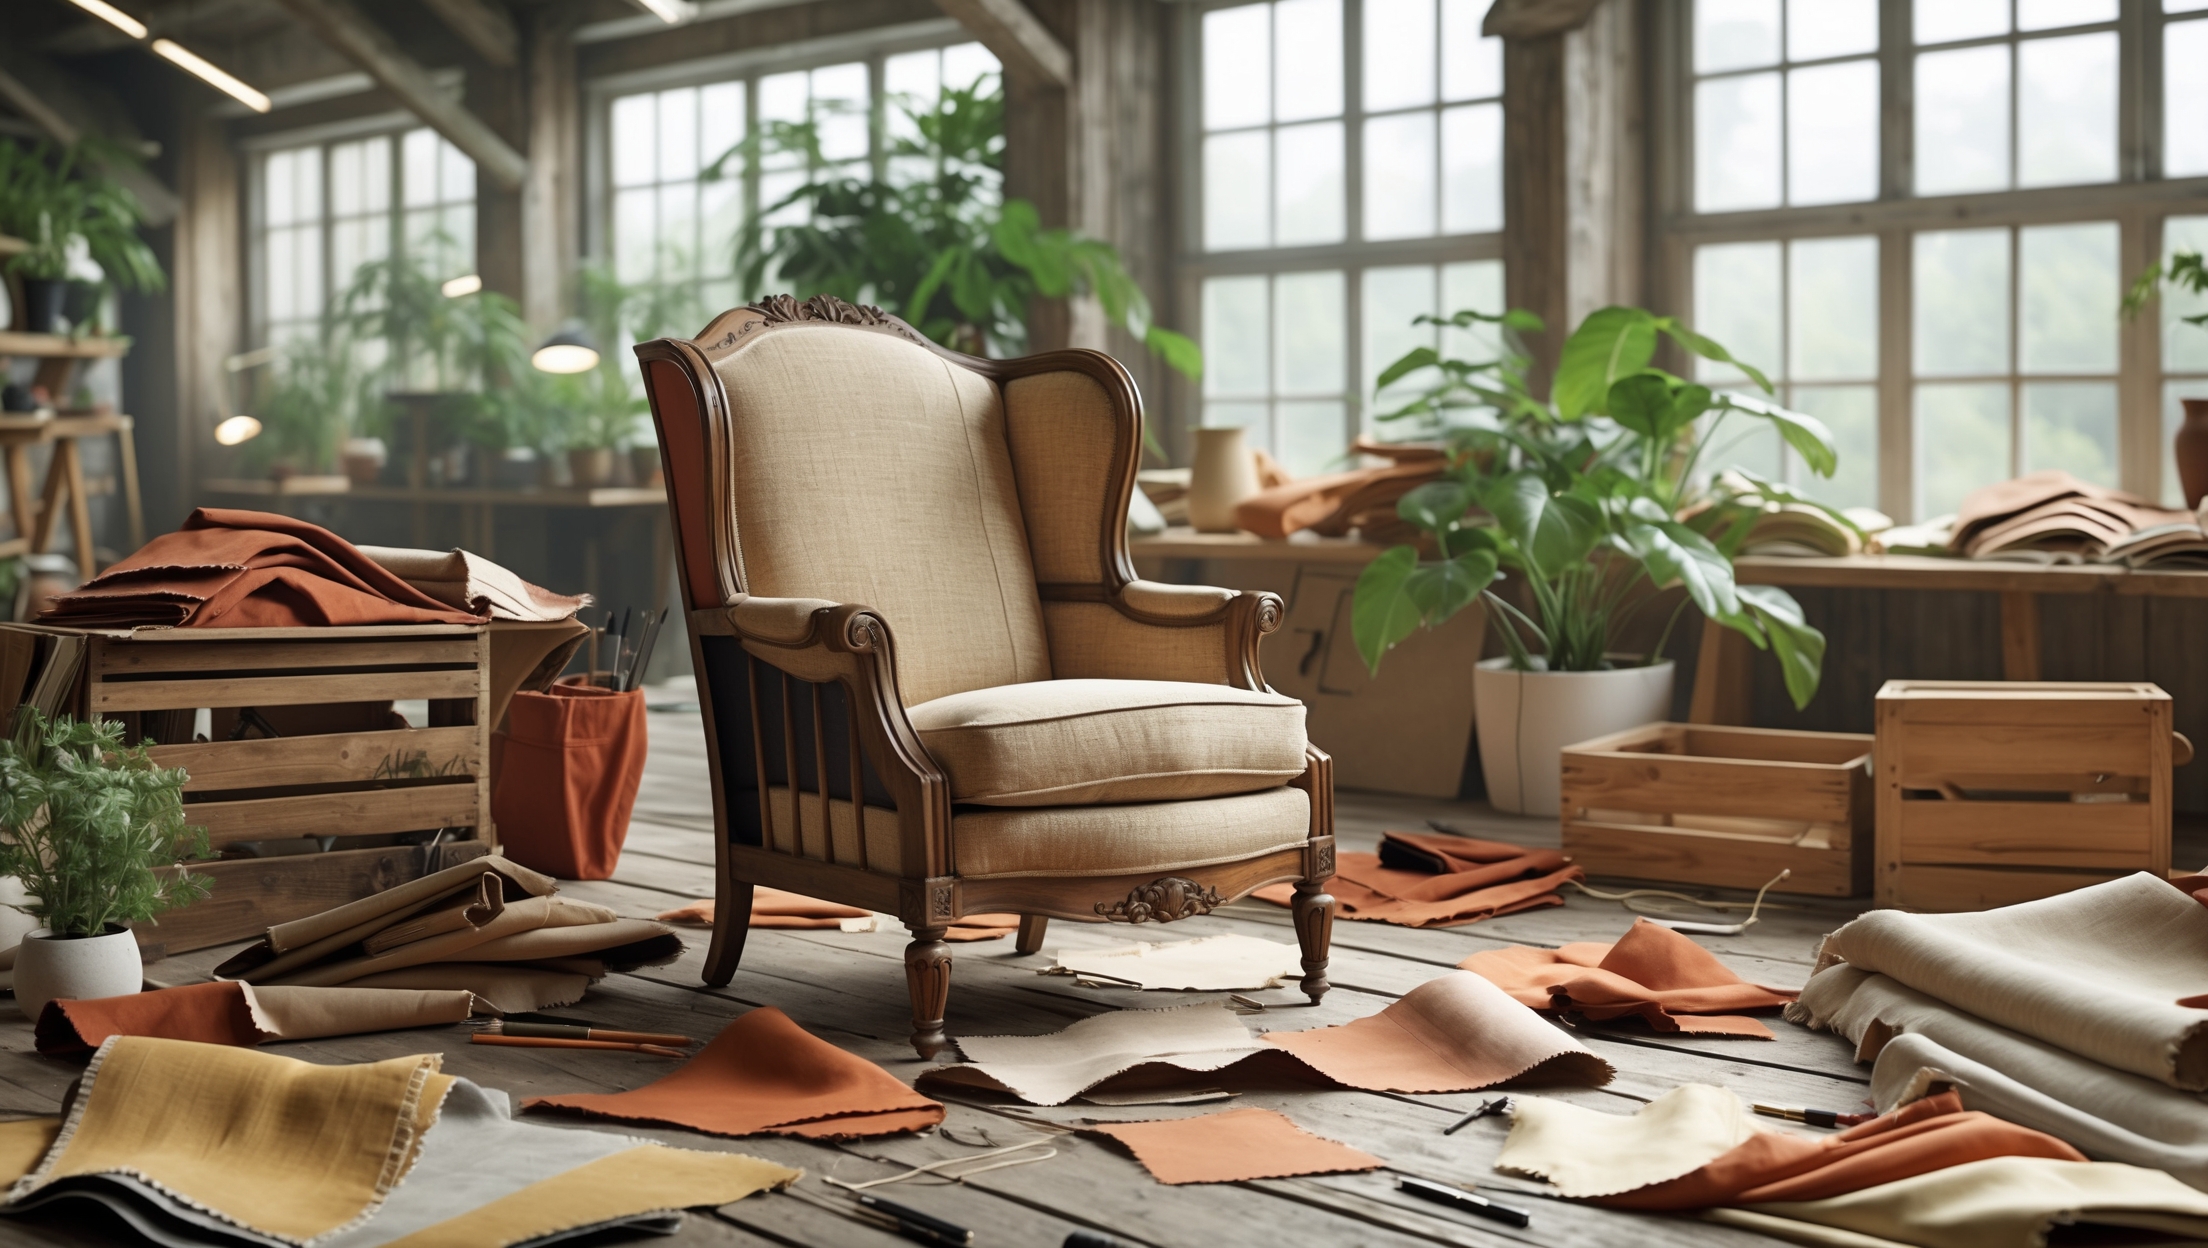
Refinishing and Resealing Upcycled Surfaces
When to Refinish
If the finish on your upcycled piece is peeling, flaking, or no longer protective, it’s time to refinish. Frequent touch is another indicator—surfaces that feel rough, sticky, or uneven benefit from fresh treatment.
Eco-Friendly Refinishing Options
- Natural Oils: Linseed, tung, or hemp oil penetrate and protect wood while enhancing its natural beauty. Apply with a lint-free cloth, allow to soak in, and buff excess.
- Wax Finishes: Beeswax or carnauba wax provide a soft sheen and moisture resistance. Ideal for low-traffic surfaces.
- Water-Based Polyurethane: Low-VOC and durable, this is suitable for high-use surfaces where environmental impact is a concern.
Step-by-Step Refinishing Process
- Clean the surface thoroughly and allow to dry.
- Sand lightly to remove old finish, working with the grain (for wood) or in small circles (for metal).
- Wipe away all dust with a tack cloth.
- Apply your chosen finish in thin, even coats.
- Allow proper drying time between coats, lightly sanding as needed.
- Buff or polish for a final luster.
Preserving Character: Patinas, Distress, and Aging Gracefully
Respecting the Story
One of the joys of creative salvage is the unique character built up over years. Don’t feel compelled to erase every sign of age. Instead, embrace patinas, minor dents, and wear as part of the piece’s narrative. Focus on structural integrity and surface protection, not artificial perfection.
Sealing Patinas and Decorative Finishes
To preserve patinas or intentional distressing:
- Apply a thin coat of clear wax or matte varnish to stabilize the finish without adding gloss.
- Avoid aggressive cleaning or solvents on decorative surfaces.
- For metals, use a microcrystalline wax to lock in patinas and prevent further corrosion.
Documenting Your Work
Keep a log of all treatments, repairs, and refinishes. Note materials used, dates, and results. This record will be invaluable for future maintenance or if you pass the piece along to someone else.
Storage and Off-Season Care
Short-Term Storage
- Cover pieces with breathable fabric (never plastic) to protect from dust while allowing airflow.
- Elevate off damp floors using blocks or pallets.
- Store in climate-controlled environments whenever possible.
Long-Term Storage
- Apply a fresh coat of wax or oil before storage to guard against drying or moisture.
- Disassemble large pieces if possible to reduce stress on joints.
- Inspect periodically for pests, mold, or changes in condition.
Maintenance Tools and Supplies: Your Essential Kit
- Soft microfiber and lint-free cloths
- Non-abrasive brushes
- Nontoxic cleaning solutions (e.g., vinegar, mild soap)
- Wood and metal polishes
- Natural oils and waxes
- Fine sandpaper (320 grit or higher)
- Small hand tools for tightening or repairs
- Protective gloves and dust masks
- Storage containers for small parts
Frequently Asked Questions
How often should I re-oil or wax upcycled wood furniture?
Frequency depends on use and environment, but a general rule is every 6 to 12 months. If the wood looks dry, dull, or feels rough, it’s time for treatment.
Can I use commercial all-purpose cleaners on upcycled items?
Generally, it’s best to avoid harsh commercial cleaners, as they may damage vintage finishes or react unpredictably with mixed materials. Stick to pH-neutral, mild solutions and always spot-test first.
What’s the safest way to deal with suspected lead paint?
If you believe old paint contains lead, avoid sanding or scraping. Consult your local health department for safe removal or encapsulation. Never use heat guns on lead paint.
Conclusion: Ensuring the Legacy of Creative Salvage
Proper maintenance is the key to extending the life and beauty of your upcycled and salvaged treasures. By understanding the unique material challenges, practicing preventative care, and using appropriate cleaning and refinishing methods, you ensure that your creative salvage projects not only endure but also grow richer in character with age. Each piece tells a story—not just of its original life and your restoration efforts, but of the care and stewardship invested over time.
Remember, sustainable living doesn’t end when the upcycling project is complete. It’s an ongoing commitment to resourcefulness, respect for materials, and thoughtful preservation. The satisfaction of seeing your salvaged work stand the test of time, weathering everyday life while retaining its charm, is a reward that far outlasts the thrill of the initial transformation. Whether you’re maintaining a single favorite find or an ever-expanding collection, these best practices will help you build a lasting, eco-conscious legacy—one carefully cared-for piece at a time.

I’m interested in how you choose protective treatments for upcycled furniture with both metal and wood components. Is it better to use separate products for each material, or are there any protective coatings that work well across different surfaces without causing damage over time?
For upcycled furniture combining metal and wood, it’s usually best to use treatments suited to each material. Metal often needs rust-preventing primers or sealants, while wood benefits from oils, varnish, or polyurethane. Some clear acrylic or polyurethane finishes can cover both surfaces, but check the label to ensure compatibility and test a small area first to avoid damage or discoloration over time.
Your article highlights the complexity of caring for upcycled pieces made from different materials. Do you have any recommendations for identifying unknown finishes or coatings on old salvage, especially when you’re not sure what you’re dealing with and need to choose safe cleaning products?
When you’re unsure about the finish or coating on a salvaged piece, start by testing a small, inconspicuous area with a mild soap and water solution to check for any adverse reactions. Avoid harsh chemicals until you know more. Observing the surface—whether it’s glossy, matte, or tacky—can give clues about possible finishes. If you still can’t identify it, consider consulting a local restoration professional or taking a sample to a hardware store for advice.
I have a few upcycled furniture pieces at home that combine old wood and vintage metal handles, and I struggle with keeping them both clean without damaging one or the other. What cleaning products or methods do you recommend for mixed-material items like these, especially for busy households?
For mixed-material pieces like yours, use a soft, damp cloth with mild soap and water to gently clean both wood and metal surfaces. Avoid harsh chemicals or abrasive sponges, as they can harm finishes. For wood, dry immediately and occasionally apply a wood conditioner. For metal handles, after wiping, use a small amount of metal polish on a cloth, making sure it doesn’t touch the wood. Regular dusting helps prevent buildup, which makes cleaning easier in busy homes.
I recently made a coffee table using an old barn door and some reclaimed metal legs. Since the materials are so different, how do I figure out the best cleaning and protective treatments that won’t damage either the wood or metal over time?
To care for your upcycled coffee table, clean the wood and metal separately using products made for each material. For the wood, use a gentle wood cleaner or a damp cloth, then apply furniture wax or oil for protection. For the metal legs, wipe with a dry or slightly damp cloth, and apply a metal protectant like clear wax or a rust inhibitor. Avoid harsh chemicals or abrasive tools on both surfaces. Testing treatments on a small hidden area first can help ensure compatibility.