
Introduction: The Art and Impact of Upcycling Bathroom Fixtures
Bathrooms are often overlooked in sustainable living conversations, yet they’re among the most resource-intensive rooms in any home. From water consumption to frequent renovations, the environmental footprint can be significant. Fortunately, upcycling salvaged bathroom fixtures—particularly sinks and faucets—offers a smart, stylish, and eco-friendly alternative to buying new. More than just a design trend, restoring and repurposing these fixtures keeps valuable materials out of landfills, preserves vintage craftsmanship, and infuses character into your home while reducing costs and environmental impact. This comprehensive guide will walk you through the entire process of sourcing, restoring, and safely installing salvaged sinks and faucets. Whether you’re a seasoned upcycler or just starting out, you’ll discover practical advice, essential tools, safety considerations, and step-by-step restoration techniques to achieve a functional, beautiful, and sustainable bathroom. Ready to turn cast-off fixtures into eco-chic showpieces? Let’s dive deep into the creative salvage process for bathrooms.
Why Choose Salvaged Sinks and Faucets?
Environmental Benefits
Upcycling bathroom fixtures directly reduces landfill waste and conserves the energy and raw materials required for manufacturing new products. Vintage porcelain, cast iron, and brass fixtures were crafted with longevity in mind—restoring them extends their lifecycle, lessening your carbon footprint.
Unique Aesthetics
Salvaged sinks and faucets often feature designs, materials, and craftsmanship rarely found in modern mass-produced options. From art deco pedestal sinks to farmhouse cast iron basins, these pieces add instant personality and history to your bathroom.
Cost Savings
With strategic sourcing and DIY restoration, salvaged fixtures can cost a fraction of their new counterparts—especially for quality materials like porcelain, enamel, and solid brass. Plus, creative upcycling allows you to customize finishes and hardware to match your vision.
Sourcing Quality Salvaged Sinks and Faucets
Where to Find Salvage
- Architectural salvage yards: The best option for variety, including vintage and antique fixtures with provenance.
- Online marketplaces: Websites like Craigslist, Facebook Marketplace, eBay, and local classified ads.
- Demolition sales: Contractors sometimes let the public salvage fixtures before demolition.
- Thrift stores and ReStores: Habitat for Humanity ReStores and similar shops often carry plumbing fixtures at bargain prices.
What to Look For
- Material integrity: Check for major cracks in porcelain, excessive rust on metal sinks, or deep pitting on brass faucets.
- Complete components: Ensure the fixture includes mounting brackets, stoppers, strainer baskets, and faucet internals where possible.
- Standard sizing: Measure carefully—older sinks and faucets may not match modern plumbing dimensions. Adapters are available, but non-standard fixtures may require more extensive modification.
- Lead and asbestos check: Especially for pre-1970s items, confirm the absence of hazardous materials.
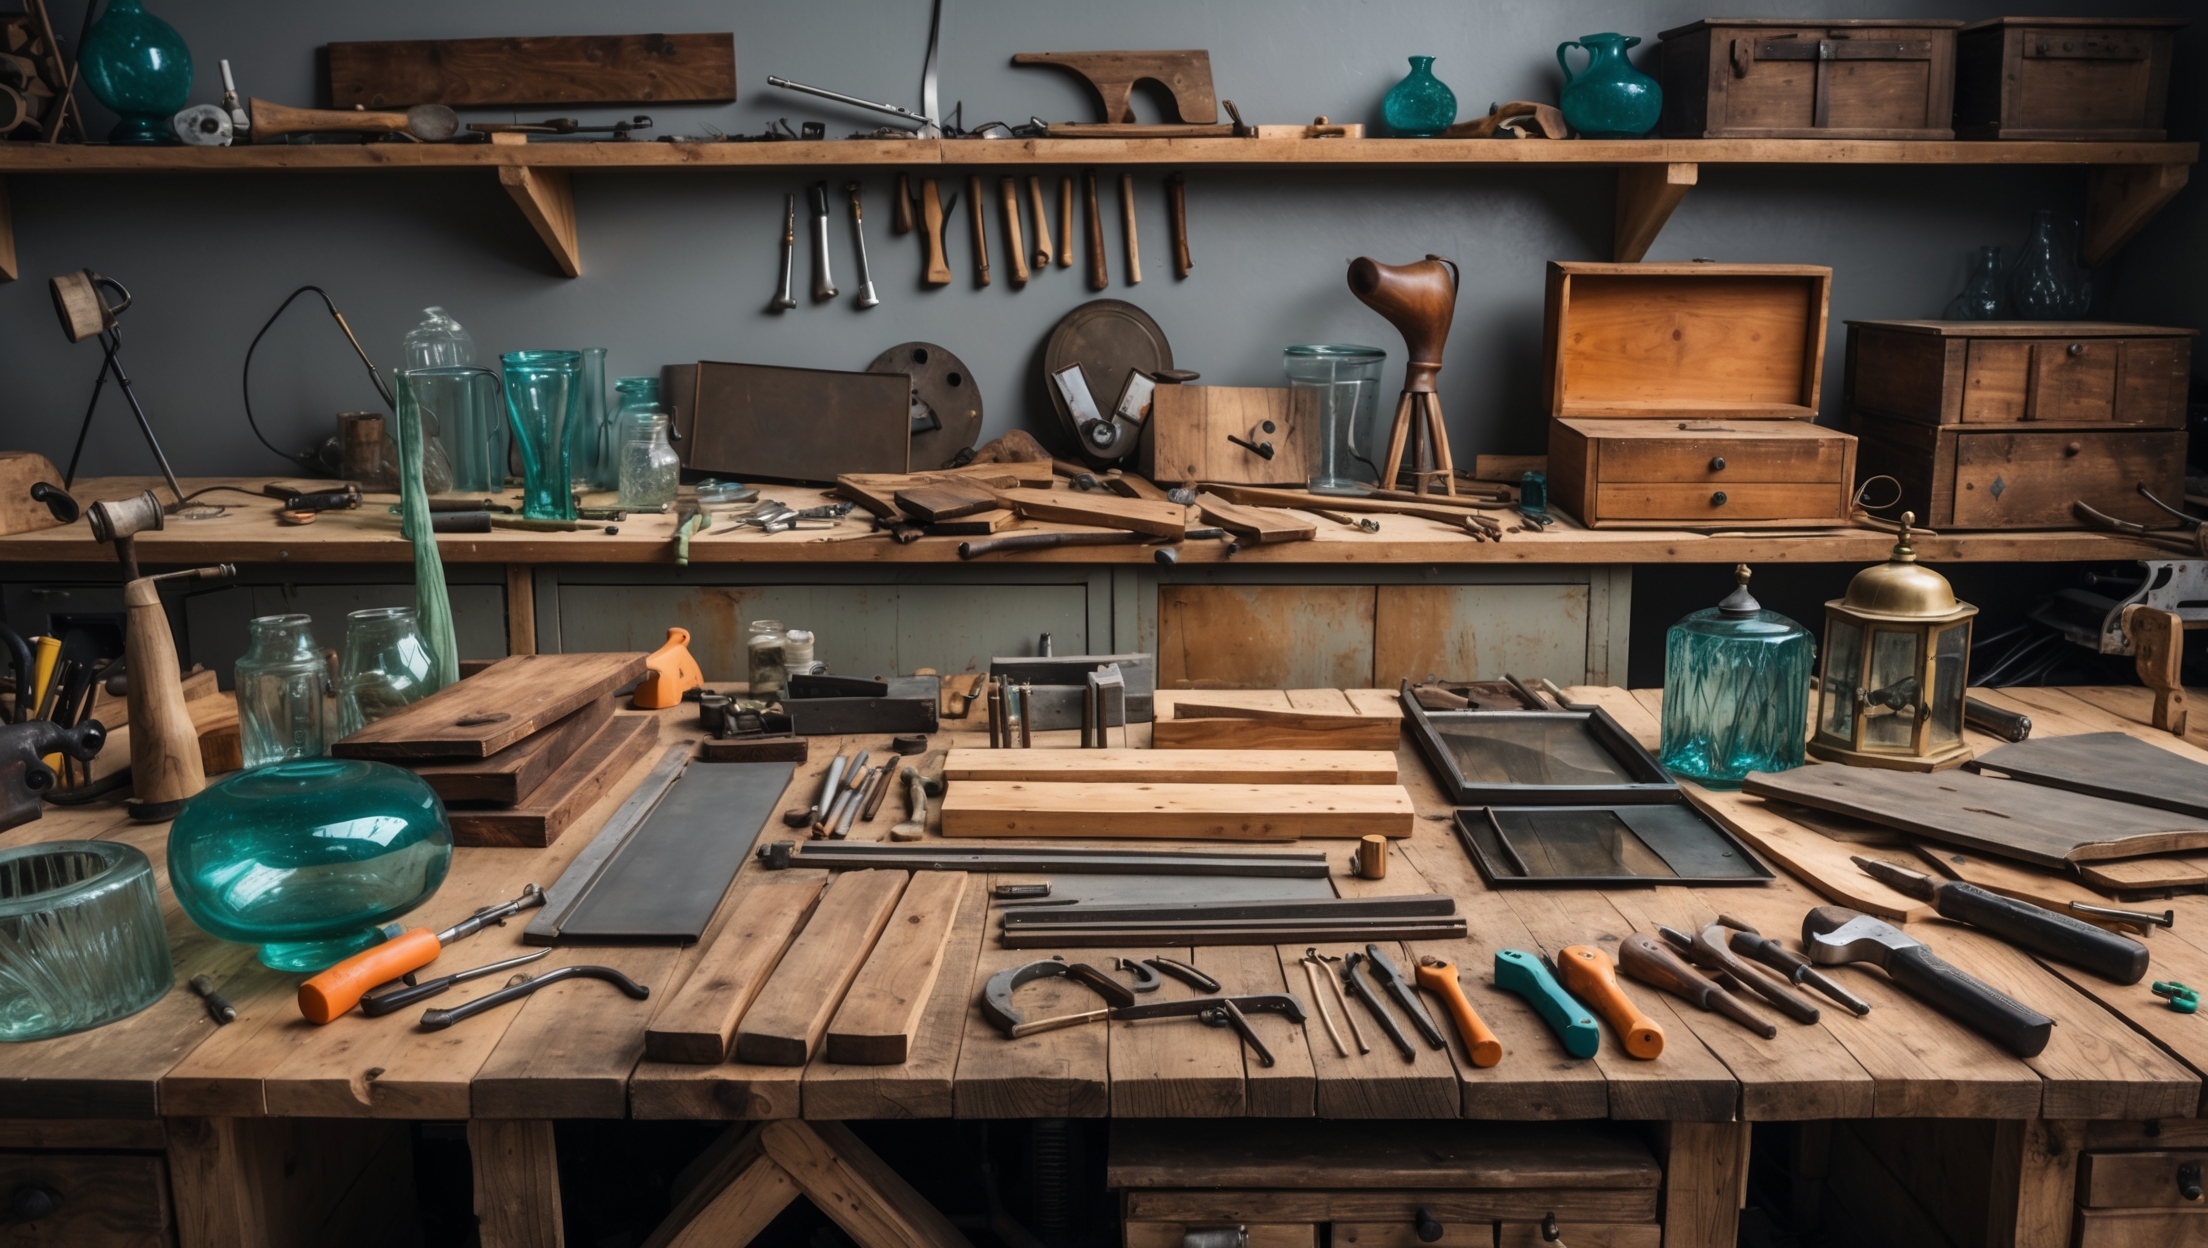
Essential Tools and Materials for Restoration
- Adjustable wrenches and basin wrenches
- Plumber’s putty and Teflon tape
- Assorted screwdrivers (flat and Phillips)
- Brass and nylon brushes
- Non-abrasive cleaners (baking soda, vinegar, eco-friendly degreasers)
- Porcelain repair kits or enamel touch-up paint
- Replacement washers, O-rings, and seals
- Silicone sealant (mildew-resistant)
- Fine-grit sandpaper (400–1200 grit) and steel wool
- Safety gear: gloves, goggles, dust mask
Step-by-Step Restoration: Salvaged Sinks
1. Initial Assessment and Cleaning
Begin by inspecting the sink for chips, cracks, or stains. Remove any old caulk, debris, or mineral buildup using plastic scrapers and a mild vinegar solution. For stubborn stains, a paste of baking soda and water works wonders. Avoid harsh abrasives that could damage porcelain or enamel.
2. Addressing Damage
- Porcelain chips: Clean the area thoroughly. Use a porcelain repair kit, following manufacturer instructions. Build up thin layers, allowing each to dry before adding the next.
- Minor cracks: Superficial cracks can often be filled with epoxy resin or specialized repair compound.
- Rust stains (cast iron/enamel sinks): Remove surface rust with a brass brush, then apply a rust converter. For deep pits, consider a two-part epoxy filler.
3. Restoring Shine
Once repairs are set, polish the surface using a non-abrasive compound or car polish. Buff with a soft microfiber cloth. Avoid waxes that could make the sink slippery.
4. Plumbing Preparation
Check drain openings and mounting hardware. Replace any missing or corroded parts with new, compatible pieces. Dry-fit the sink in its intended location to ensure a proper fit before final installation.
Step-by-Step Restoration: Salvaged Faucets
1. Disassembly and Soaking
Carefully disassemble the faucet, taking note of how parts fit together. Photograph each stage if needed. Soak metal components in a solution of vinegar and water (1:1) to loosen mineral deposits and old grime.
2. Cleaning and Polishing
- Scrub each part with brass or nylon brushes. For stubborn scale, use fine steel wool sparingly.
- Rinse and dry thoroughly. For tarnished brass, polish with a paste of lemon juice and baking soda, then buff dry.
3. Replacing Seals and Washers
Replace all rubber washers, O-rings, and seals with new components compatible with your faucet’s make and model. This is crucial for leak-free performance. Most hardware stores carry universal plumbing repair kits.
4. Reassembly and Leak Test
Reassemble the faucet, applying plumber’s grease to moving parts. Install the faucet on a test rig or at the sink, then turn on the water to check for leaks. Tighten as needed, but avoid over-tightening, which can crack vintage brass or create stress on threads.
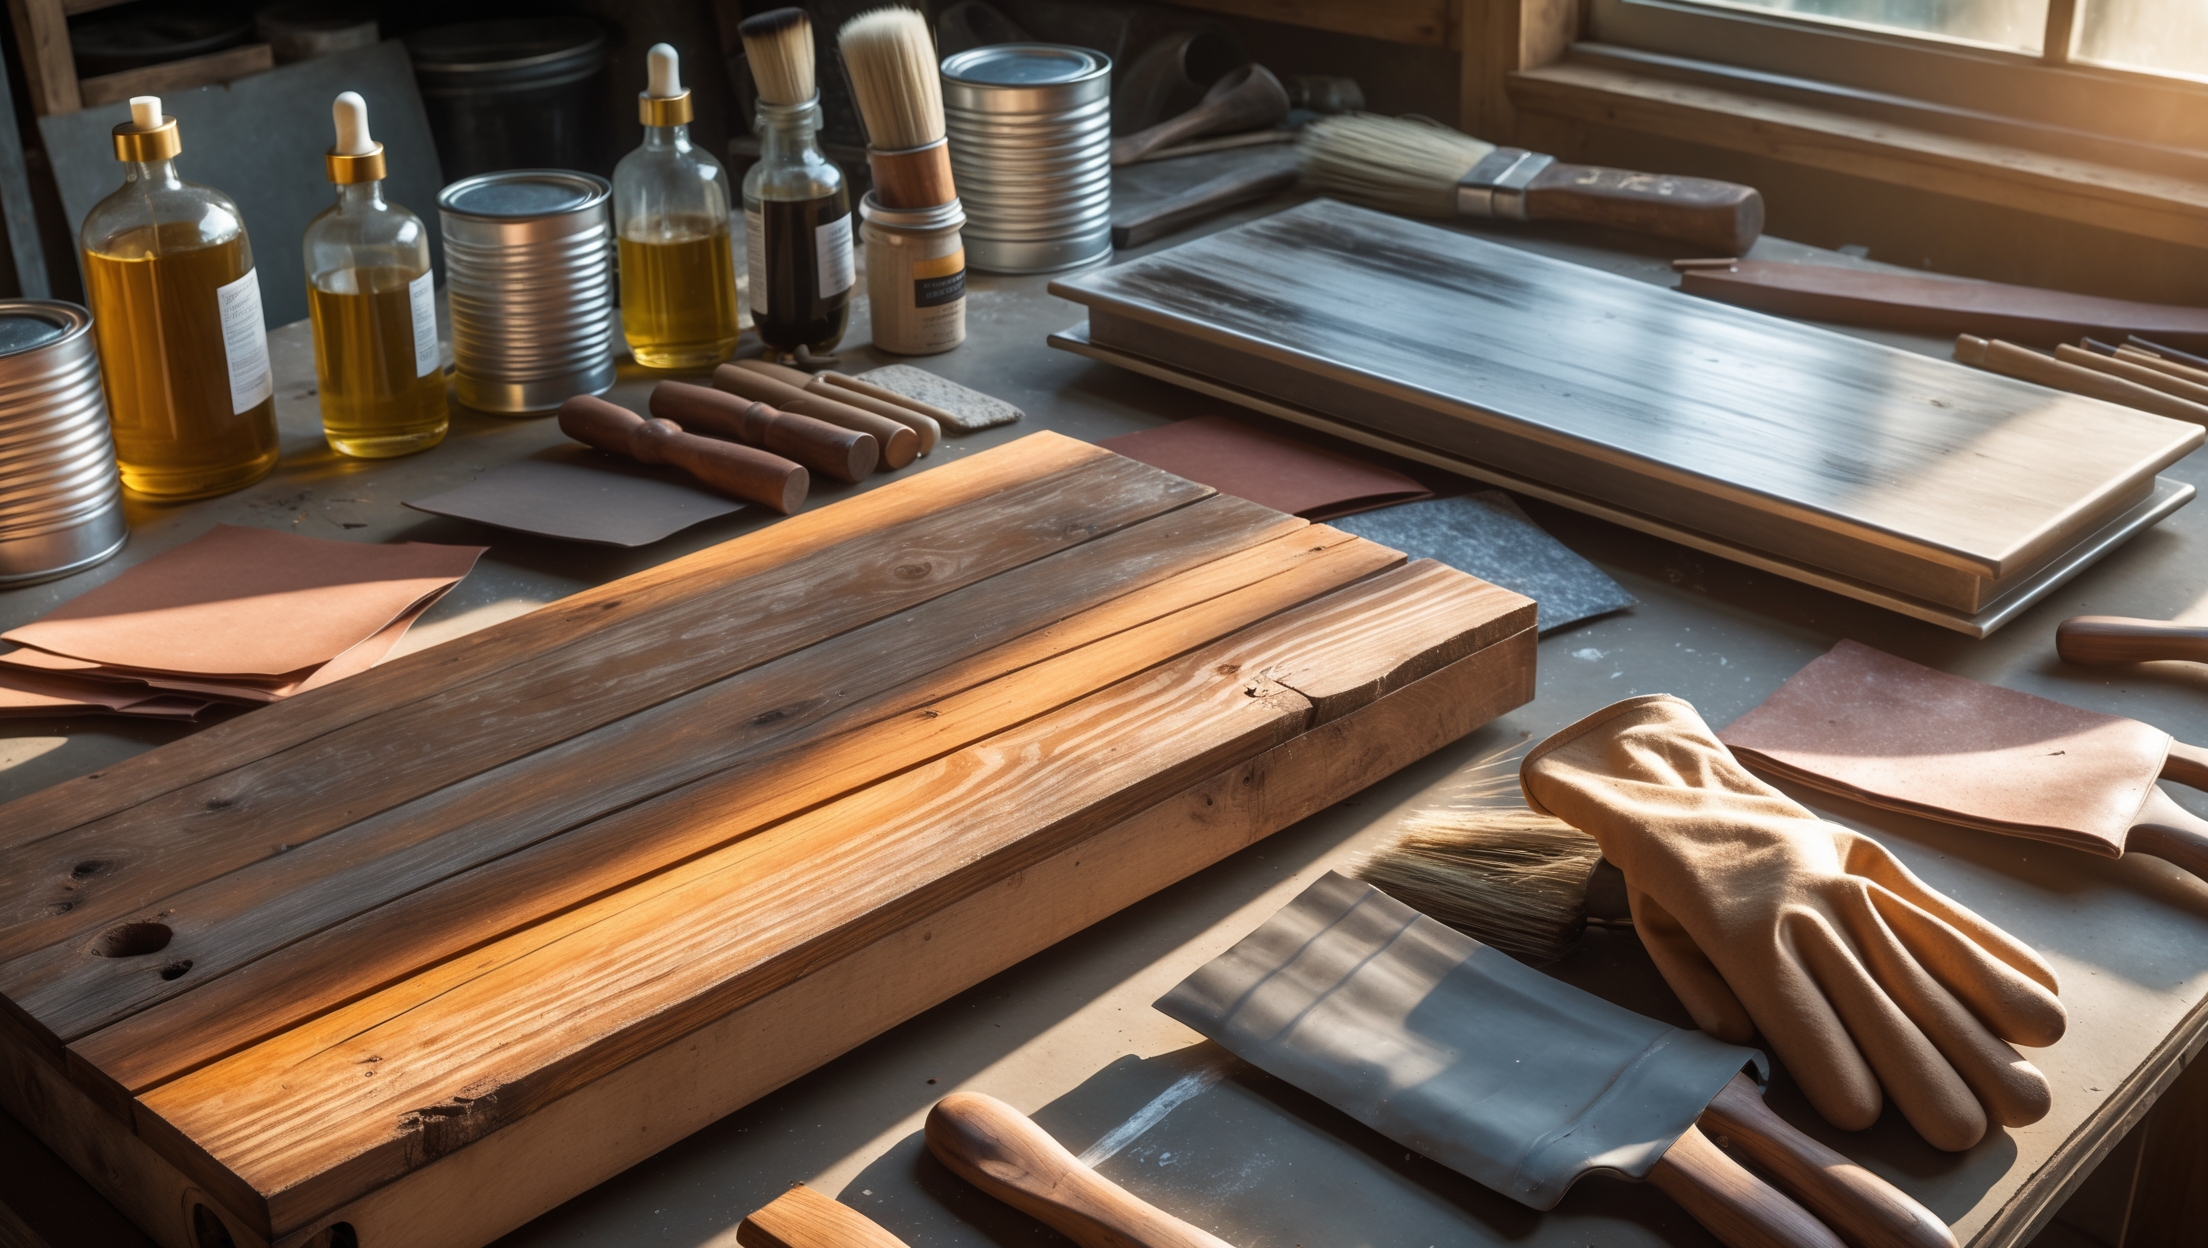
Eco-Friendly Finishing Techniques
Choosing Sustainable Materials
- Sealants: Opt for low-VOC, mildew-resistant silicone caulk for sink edges.
- Paints and repair kits: Use water-based, non-toxic options for enamel and porcelain touch-ups.
Enhancing Durability
Apply a natural wax or oil finish (such as carnauba wax for metal or mineral oil for wood vanities) to protect surfaces and highlight original patina without creating waste or introducing toxins.
Safe Installation: Plumbing Considerations for Salvaged Fixtures
Adapting to Modern Plumbing
Older sinks and faucets may use outdated threading or pipe sizes. Use adapters to connect to modern supply lines. Flexible braided hoses simplify installation and reduce stress on antique fixtures.
Preventing Leaks and Water Damage
- Always use Teflon tape on threaded connections to ensure watertight seals.
- Apply plumber’s putty or silicone around flange and drain openings.
- Test all connections before finalizing installation. Check for drips under pressure.
Building Code Compliance
Verify that your installation meets local plumbing codes, especially regarding backflow prevention and lead content. Many jurisdictions require lead-free fixtures (post-2014). If unsure, consult a licensed plumber for final hookup.
Creative Upcycling Ideas for Salvaged Sinks and Faucets
Repurposed Vanity Units
Pair a vintage wall-mount or pedestal sink with a reclaimed wood cabinet or table for a unique vanity. Secure the sink with appropriate brackets and reinforce the top to support weight.
Utility and Laundry Rooms
Install a deep salvaged sink as a utility basin. These are perfect for laundry, gardening, or pet washing. Use heavy-duty wall mounts or legs for support.
Outdoor Sinks
Enamel or cast iron sinks are durable enough for outdoor use. Incorporate them into garden potting benches, outdoor kitchens, or as rustic hand-washing stations. Use weather-resistant plumbing fittings and ensure proper drainage.
Two-Tone Faucet Finishes
Mix and match handles, spouts, and escutcheons from different salvaged faucets to create a bespoke look. Refinish with eco-friendly metal paints or polishes for a cohesive appearance.
Maintenance Best Practices for Upcycled Fixtures
Routine Cleaning
- Use gentle, non-abrasive cleaners to avoid scratching restored finishes.
- Wipe down metal surfaces after use to prevent water spots and corrosion.
Periodic Inspections
- Check for leaks under sinks and around faucet bases every few months.
- Inspect caulk and seals for integrity—reapply as needed to prevent water intrusion.
Dealing with Hard Water
Install an aerator or water softener if your area has hard water. Regularly soak faucet aerators in vinegar to remove mineral buildup and maintain smooth flow.
Common Pitfalls in Salvaged Fixture Restoration
- Skipping thorough inspection: Overlooking fine cracks or missing parts can lead to leaks or structural failure down the line.
- Improper cleaning agents: Avoid bleach and harsh chemicals that can erode finishes and compromise repairs.
- Forcing new parts onto vintage threads: Forcing mismatched adapters or overtightening fittings can damage irreplaceable fixtures.
- Neglecting code and safety: Always check for lead content and plumbing compliance, especially on pre-1980s brass and solder.
Conclusion: Elevating Your Bathroom with Sustainable Style
Upcycling salvaged sinks and faucets is more than a creative hobby—it’s a practical, impactful way to foster sustainable living. These fixtures, once headed for the landfill, can be reborn as durable, beautiful, and functional centerpieces in your eco-friendly bathroom. With the detailed restoration steps and best practices outlined above, you’ll be able to tackle even challenging salvage finds with confidence, ensuring they perform as well as they look. Remember to prioritize safety, use non-toxic materials, and respect the unique quirks of vintage design. Every restored sink or faucet is a testament to craftsmanship and environmental stewardship, blending history with modern needs. Whether you’re revamping a powder room, outfitting a utility space, or creating an outdoor washing station, your upcycled fixtures will inspire conversation and admiration for years to come. Through mindful restoration, you’re not only saving money and resources—you’re also setting a new standard for sustainable design that’s as creative as it is responsible. So next time you spot a neglected sink or faucet at the salvage yard, see beyond the grime: envision the eco-friendly masterpiece waiting to emerge in your home.

Restoring old faucets sounds eco-friendly and cost-effective, but I’m curious how the process compares in terms of time and effort versus just buying new. For a parent with limited DIY skills, would you recommend tackling a restoration or sticking with newer, less unique options?
Restoring old faucets can be rewarding, but it often takes more time and effort than installing new ones, especially if you have limited DIY experience. Tasks like cleaning, removing rust, and replacing internal parts can be tricky. If convenience is a priority, new faucets are usually quicker and easier to install. However, if you enjoy learning new skills and want a unique piece, tackling a simple restoration could still be worthwhile.
When restoring salvaged bathroom fixtures, what are the typical costs for materials and tools involved, and are there certain repairs or finishes that tend to eat up more time or money than others?
Restoring salvaged bathroom fixtures usually involves costs for cleaning supplies, rust removers, sandpaper, primer and paint, replacement washers, and possibly new hardware. These materials generally range from $30 to $100, while basic tools like wrenches and screwdrivers are often already owned. If refinishing—such as re-glazing sinks or re-chroming faucets—is needed, this can be the most expensive and time-consuming part, sometimes costing $100 or more per fixture if done professionally. Extensive rust removal or fixing leaks can also require more time and expense.
I love the idea of upcycling vintage sinks and faucets to make our bathroom more eco-friendly, but I’m a little worried about lead or other contaminants in older fixtures. What should I look out for when picking something safe, especially with young kids in the house?
Your concern is very valid—older sinks and faucets, especially those made before 1986, can contain lead or other unsafe metals. When choosing vintage fixtures, check if they’re certified lead-free or marked as safe for potable water. If unsure, consider having them professionally tested, or opt to reline or replate the interior. Replacing old faucet aerators with new, lead-free ones is also a smart safety step for families with young kids.
I’m interested in restoring a vintage porcelain sink as you mentioned, but I’m worried about potential lead or other hazardous materials in older fixtures. Does your guide cover how to test for and address these safety concerns during the restoration process?
You raise an important concern about lead and hazardous materials in vintage fixtures. While the guide highlights restoration techniques, it doesn’t go into detail about testing for lead or other toxins. For safety, I recommend using a home lead test kit on your sink’s surface and consulting a professional if results are positive. Always wear protective gear when sanding or stripping old finishes, and consider sealing the sink with a lead-safe coating if needed.
Could you elaborate on any specific safety concerns that come up when restoring vintage sinks or faucets, especially when dealing with materials like porcelain or cast iron? Are there any common health hazards people should be aware of during the upcycling process?
When restoring vintage sinks or faucets, especially porcelain or cast iron, watch for lead in old glazes and finishes, as well as rust or sharp edges on damaged surfaces. Old plumbing or solder might contain lead, so avoid using vintage faucets for drinking water unless they’ve been properly restored. When sanding or stripping surfaces, wear a mask and gloves to protect from dust and potential toxins. Always ventilate your workspace and handle any cleaning chemicals with care.
Could you elaborate on the safety considerations for installing older salvaged faucets? For example, are there common issues with lead or outdated plumbing standards that homeowners should be aware of before repurposing these vintage fixtures?
Absolutely, safety is important with older salvaged faucets. Many vintage faucets—especially those made before 1986—may contain high levels of lead or other materials that don’t meet modern plumbing codes. Before installing, check for lead content (sometimes stamped or labeled), and consider having your fixture tested if you’re unsure. It’s also wise to replace any old supply lines or washers with new, lead-free parts to meet current safety standards and avoid leaks.
I love the character of vintage brass faucets, but I’m worried about lead or other safety issues. Are there specific ways to ensure salvaged fixtures are safe for everyday use, especially with kids in the house?
That’s a very valid concern. For vintage brass faucets, you can have them professionally tested for lead content, and if necessary, re-plated with a lead-free finish. Another option is to install certified lead-free internal components, like new valves or aerators. This way, you can keep the vintage look while making sure water stays safe, especially for kids.
You mention cost savings with upcycling compared to buying new, but I’m wondering what kind of budget I should expect for a DIY restoration project. Are there any hidden expenses with salvaged sinks or faucets, like special tools or repairs, that first-timers should plan for?
For a DIY restoration, you might spend $50–$200 on basic tools, cleaning supplies, and replacement parts if needed. Common hidden costs include plumbing sealants, new washers, or if the fixture has unexpected damage, minor repairs like patching chips. If you need specialty tools (like basin wrenches or plumber’s putty), factor in an extra $20–$50. Planning for a small contingency fund helps with surprises first-timers often encounter.
If I want to restore a vintage porcelain sink, are there specific cleaning products or methods I should avoid to prevent damaging the finish or original craftsmanship during the upcycling process?
To protect the finish and craftsmanship of a vintage porcelain sink, avoid harsh abrasive cleaners, scouring pads, or bleach-based products, as these can scratch or dull the porcelain. Stick with gentle liquid dish soap, warm water, and a soft sponge or cloth. For tougher stains, a baking soda paste can be used gently, but always test on a small, hidden area first. Avoid any acidic or highly alkaline cleaners.
I’m interested in trying this with an old porcelain sink I found on Craigslist, but I’m worried about dealing with small chips and stained areas. Does your restoration process cover how to safely repair or refinish these imperfections, or is it better to leave some of the patina for character?
The restoration process described in the article does include tips on repairing small chips and handling stains—gentle sanding and porcelain repair kits work well for minor flaws. If the stains are only cosmetic and not deep, a good cleaning or mild abrasive can help. Many people choose to leave some imperfections to preserve the sink’s vintage character, so it really depends on your preference for a pristine versus a lived-in look.
I’m intrigued by the idea of restoring vintage sinks and faucets, but I’m worried about lead or other safety issues with older materials. Does the article go into how to test for or safely seal these older fixtures before installing them in a family bathroom?
The article does mention concerns about lead and other potential hazards found in vintage sinks and faucets. It suggests having older fixtures tested for lead, especially if they are intended for use in a family bathroom. While the article doesn’t provide a step-by-step guide, it recommends using certified lead test kits and consulting professionals if you’re unsure. It also discusses sealing options for certain materials to help make them safer for everyday use.
For a first-time DIYer, what kind of tools should I absolutely have on hand before starting to restore a vintage porcelain sink? Are there any beginner-friendly tricks to avoid chipping the enamel during the cleaning or installation process?
For restoring a vintage porcelain sink, you’ll want to have a soft sponge, non-abrasive cleaner, putty knife, adjustable wrench, plumber’s tape, and safety gloves. Avoid harsh scrubbing pads or steel wool since they can chip the enamel. When moving or installing the sink, lay down thick towels or a cushioned mat to protect the finish, and always lift carefully—never drag the sink across hard surfaces.
You mention that salvaged sinks and faucets can offer major cost savings compared to buying new, but are there certain types or brands that tend to be easier or more affordable to restore for someone who’s not an experienced DIYer?
Older porcelain sinks and standard chrome faucets from well-known brands like Kohler, American Standard, and Delta are generally easier and more affordable to restore, especially for beginners. These items often have readily available replacement parts and straightforward mechanisms. Avoid highly ornate, unusual, or antique fixtures if you’re new to DIY, since restoring them can require specialized skills or hard-to-find components.
The article mentions restoring vintage porcelain, cast iron, and brass sinks and faucets. Are there specific cleaning products or techniques you would recommend for each of these materials to avoid damaging them during the restoration process?
For vintage porcelain, use a non-abrasive cleaner and a soft sponge to avoid scratching the glaze—baking soda with water often works well. Cast iron sinks (with enamel coating) should also be cleaned gently with mild soap; avoid harsh scrubbers that can chip the enamel. For brass, use a mixture of lemon juice and baking soda or a commercial brass polish, but always test on a small area first to ensure it won’t discolor or damage the finish.
You mentioned unique vintage designs like art deco pedestal sinks and farmhouse basins—are there any challenges when it comes to finding replacement parts for older fixtures, especially if they’re not a standard size or shape?
Finding replacement parts for older or uniquely shaped fixtures like art deco sinks or farmhouse basins can be tricky. Many of these pieces used non-standard fittings and dimensions that aren’t compatible with modern parts. You might need to search architectural salvage shops, specialty plumbing suppliers, or online auctions for compatible pieces. In some cases, custom fabrication at a local metal or ceramic shop may be necessary for rare parts.
As a small business owner looking to renovate my restrooms sustainably, I’m curious about sourcing vintage sinks and faucets. Are there specific places or online platforms you recommend for finding high-quality salvaged fixtures, especially for commercial use?
For sourcing quality salvaged sinks and faucets suited for commercial spaces, try checking architectural salvage yards, Habitat for Humanity ReStores, and local building material reuse centers. Online, platforms like eBay, Craigslist, and Facebook Marketplace often list vintage fixtures. For more curated selections or bulk needs, look into sites like Olde Good Things or Historic Houseparts. Always verify the condition and dimensions, and confirm that the fixtures meet relevant plumbing codes for commercial settings.
When restoring a vintage porcelain sink, what’s the best way to deal with minor chips or stains without compromising the original finish or safety? I’ve seen a lot of advice about touch-up kits but am unsure what really lasts in a bathroom environment.
For minor chips on vintage porcelain sinks, high-quality porcelain touch-up kits can work well, especially those designed for bathroom fixtures—they resist moisture and last longer. For stains, use a non-abrasive cleaner or a baking soda paste to avoid scratching. Be sure to let any repair cure fully before using the sink. Avoid generic paint or shortcuts, as they may not withstand constant moisture.
I love the idea of using salvaged faucets to cut down on waste, but I’m concerned about finding parts for older models. Are there any common compatibility issues when installing restored vintage faucets with modern plumbing lines, or tips to make the installation process smoother?
Vintage faucets can have different thread sizes or connection types compared to modern plumbing, so adapters might be needed. Before installing, check if the faucet uses standard 1/2-inch connections, which are common today. If not, most hardware stores carry adapters to bridge the gap. Also, inspect washers and seals for wear, and replace them with modern equivalents to prevent leaks. Bringing the faucet to a local plumbing supply shop can help you find the right parts and advice for a smooth installation.
When it comes to restoring old brass faucets, how much time should I realistically budget if I’m doing the work myself with basic tools? I want to plan out our bathroom refresh, but I’m not sure if a DIY approach is practical for our busy schedule.
Restoring old brass faucets yourself with basic tools will usually take about 3 to 6 hours per faucet, depending on their condition and your experience. This includes removing the faucet, cleaning, soaking off any mineral deposits, polishing, and re-installation. If you have multiple fixtures or run into stubborn corrosion, plan for extra time. It’s definitely doable as a weekend project, but pacing yourself over a couple of days might make it more manageable for a busy schedule.
Do you have advice on how to safely check older salvaged faucets or sinks for lead or other hazardous materials before installing them, especially since many vintage pieces were made before current regulations?
To check older salvaged faucets or sinks for lead or hazardous materials, use a lead test kit available at hardware stores—swab the surface and follow the kit’s instructions. For a more thorough assessment, consider having the item tested by a certified lab. Avoid using pieces with visible corrosion or damaged finishes, as these increase risk. If in doubt, consult a professional plumber familiar with vintage fixtures before installation.
In your process of restoring salvaged sinks or faucets, how do you handle older fixtures that have significant rust or mineral buildup? Are there eco-friendly cleaning products or specific tools you recommend that won’t damage delicate vintage finishes?
For older fixtures with heavy rust or mineral buildup, gentle cleaning is key. I suggest using eco-friendly products like distilled white vinegar or baking soda, which are effective yet safe for most vintage finishes. For stubborn spots, try scrubbing with a soft-bristled brush or non-abrasive pad. Avoid harsh chemicals or steel wool, as these can damage delicate surfaces. Always test a small area first to ensure the finish isn’t affected.
You mention that salvaged sinks and faucets can save money compared to buying new fixtures. Could you give a rough idea of what someone might expect to spend on average for sourcing and restoring a quality vintage sink, including basic tools and materials?
For a quality vintage sink, sourcing costs can range from $50 to $200 if buying from salvage yards or online marketplaces. Restoration supplies—like cleaners, paint, new washers, and sealant—typically add $30 to $80. Basic tools such as wrenches, screwdrivers, and plumber’s tape might cost $20 to $50 if you don’t already have them. Altogether, expect to spend roughly $100 to $330 for the whole process.
I love the idea of having a unique vintage sink in my bathroom, but how do you check if an old cast iron or porcelain fixture is safe to use and free of lead or other hazards? Do you recommend any specific testing kits or precautions?
To ensure an old cast iron or porcelain sink is safe, inspect for cracks, chipping, and rust, as damage may make cleaning difficult or expose hazardous materials. For lead concerns, you can use home lead test kits available at hardware stores; they’re simple swab kits that will indicate if lead is present in the glaze or paint. If you’re unsure, consider having a professional test the fixture. Always refinish or seal older surfaces if they show significant wear, and avoid using them if hazards can’t be mitigated.