Introduction: The Lost Art of Salvaged Hardware Restoration
When it comes to creative salvage and upcycling, most people’s minds wander to statement pieces like reclaimed wood furniture or repurposed architectural elements. But the details—those gleaming (or once-gleaming) knobs, hinges, and handles—hold the power to transform a project from merely eco-friendly to truly extraordinary. Salvaged hardware not only brings historic character and tactile delight, but it also embodies the sustainability ethos at the heart of upcycling. However, many upcyclers overlook these small treasures, either discarding them for modern replacements or losing patience with rust, grime, or mismatched finishes. This comprehensive guide will help you uncover, restore, and creatively reuse vintage hardware, whether you’re refurbishing a chest of drawers, building a one-of-a-kind coat rack, or simply adding period charm to a modern space. We’ll cover practical restoration techniques, essential tools, troubleshooting, and inventive ideas for giving old hardware new life. Whether you’re a seasoned upcycler or just beginning your journey, revitalizing salvaged hardware can add soul, sustainability, and savings to your projects.
Why Salvaged Hardware Matters in Sustainable Upcycling
Environmental Benefits
Restoring and reusing hardware keeps metal and other materials out of the waste stream and reduces the demand for new manufacturing. Most vintage knobs and handles are made from high-quality metals like brass, iron, or bronze—materials with a significant environmental footprint if produced new. Every salvaged hinge reused is a small act of resource conservation.
Historic Character and Craftsmanship
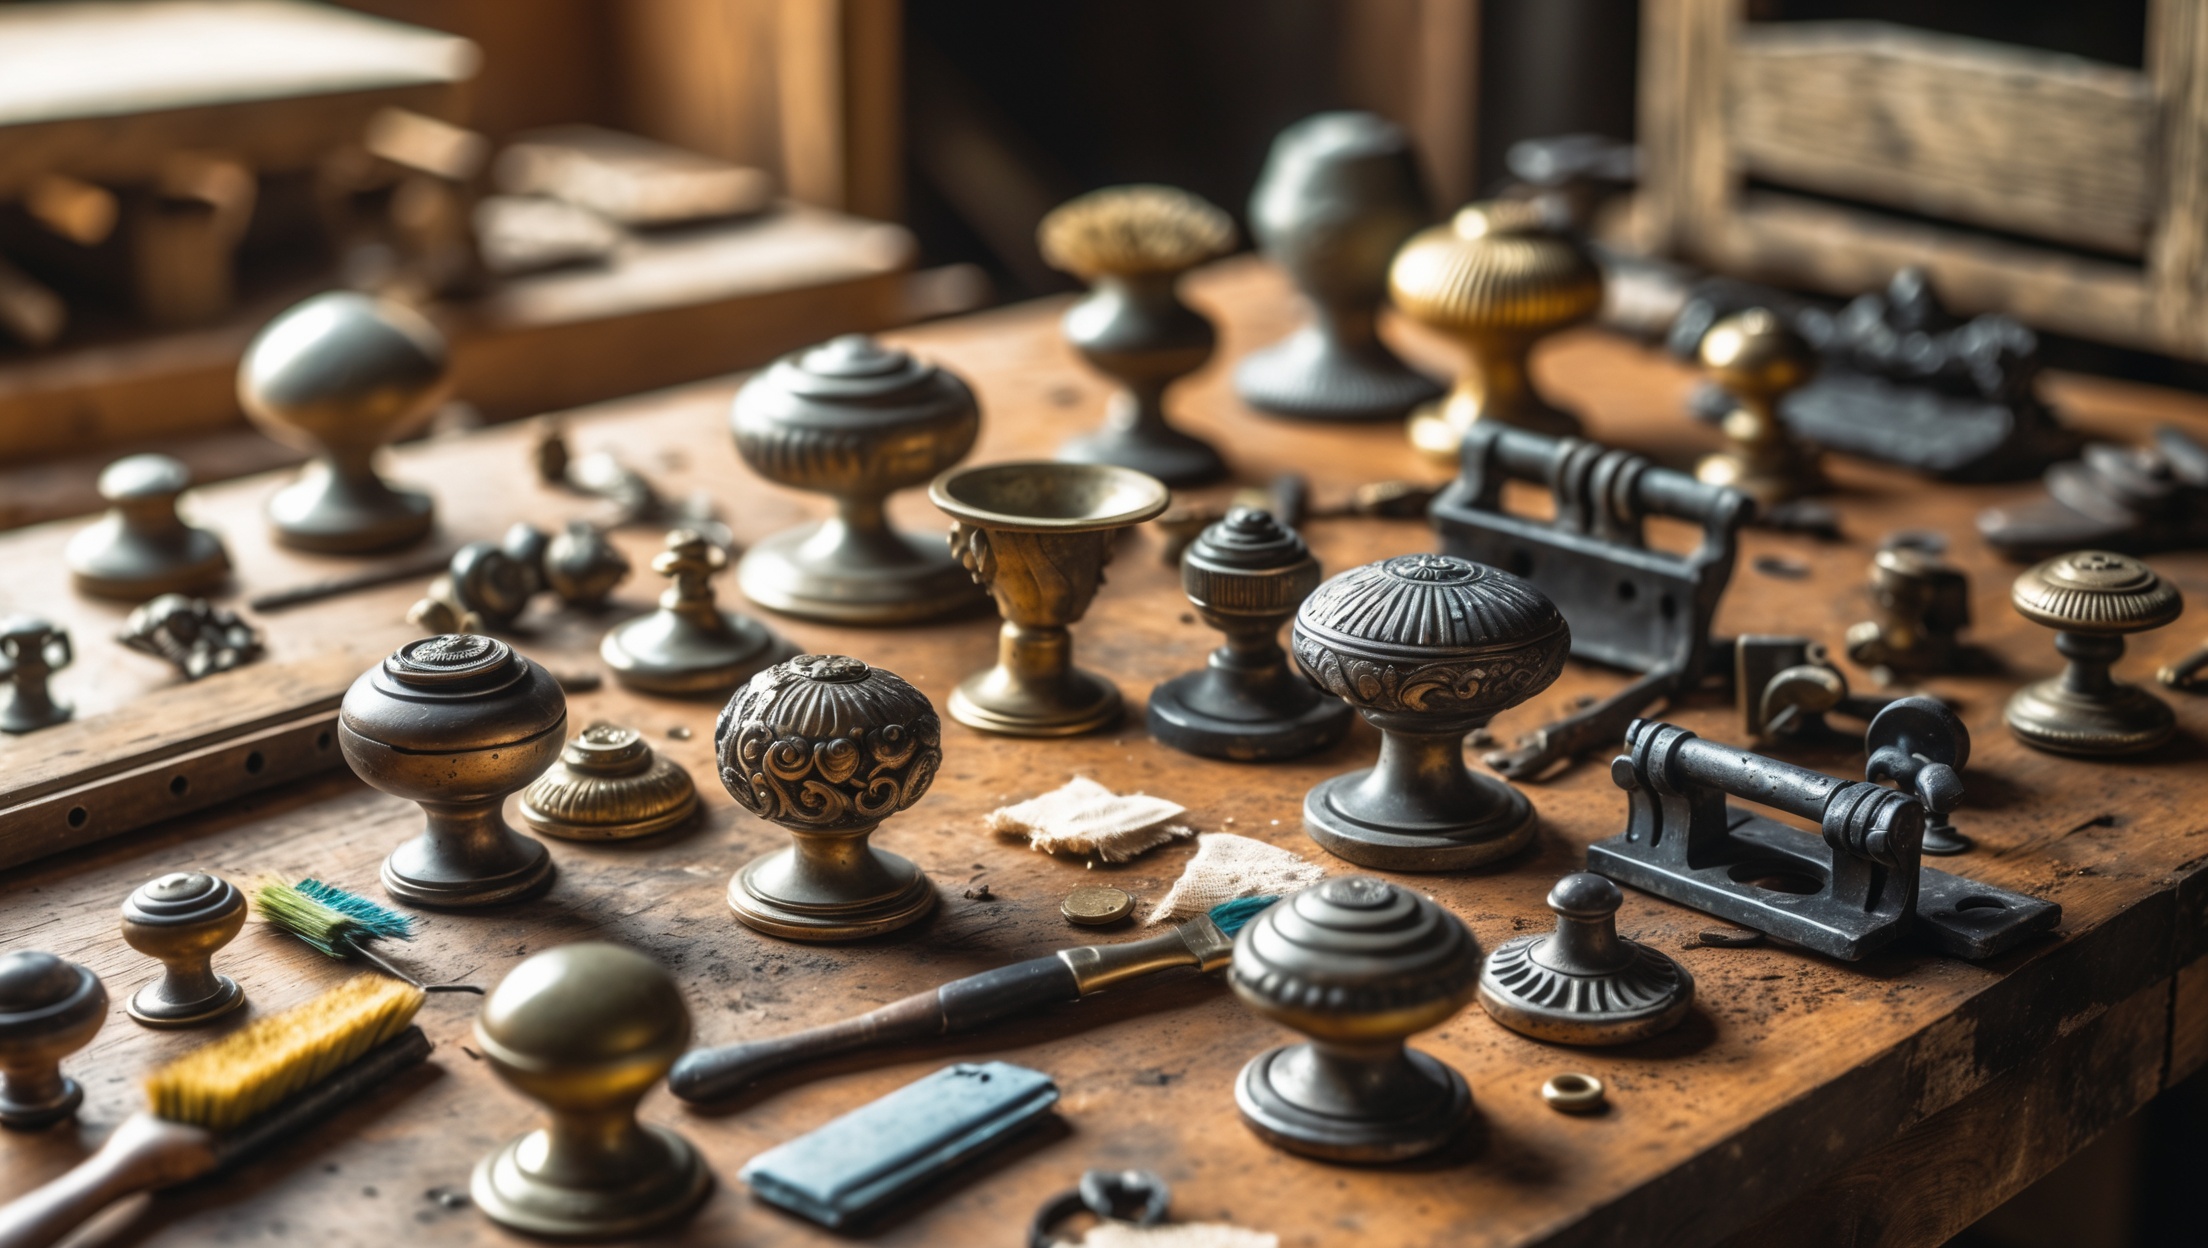
Unlike mass-produced modern hardware, salvaged pieces often feature detailed craftsmanship, unique patinas, and robust construction. These elements add a sense of authenticity and storytelling to upcycled furniture and home projects.
Cost Savings
New, high-quality hardware can be surprisingly expensive. Salvaged finds—often purchased in bulk at architectural salvage shops, flea markets, or online—offer a budget-friendly way to elevate your projects.
Where to Find Salvaged Hardware Gems
- Architectural Salvage Yards: These are treasure troves for vintage hardware, often organized by type and style.
- Flea Markets and Antique Shops: Look for boxes of mixed hardware—sorting through them can yield rare finds.
- Online Marketplaces: Sites like eBay, Etsy, and specialty forums offer access to hardware from around the world.
- Deconstruction Projects: Salvage hardware from old furniture, doors, or cabinetry before disposal.
- Community Swaps or Freecycle: Join local groups to find or trade unwanted hardware.
Assessing Salvaged Hardware: What’s Worth Saving?
Material Matters
Solid brass, bronze, iron, and steel hardware are the best candidates for restoration. Avoid pieces with significant structural damage, excessive corrosion, or hazardous finishes (like lead paint on some older items).
Signs of Quality
- Weight: Heavier pieces are typically solid metal, not plated.
- Joinery: Look for screws or rivets rather than glued or spot-welded joints.
- Detailing: Intricate patterns, maker’s marks, and ornate designs hint at value and craftsmanship.
Common Pitfalls to Avoid
- Severe Deformation: Bent or broken parts may be irreparable.
- Missing Components: If a set requires matching pieces, check for completeness.
- Hazardous Finishes: Test for lead paint, especially on painted hardware from pre-1978 sources.
Essential Tools and Supplies for Hardware Restoration
- Soft and Brass-Bristle Brushes: For gentle cleaning and rust removal.
- Mild Detergent and Vinegar: For degreasing and cleaning.
- Fine Steel Wool (#0000): For polishing without scratching.
- Microfiber Cloths: For drying and buffing.
- Small Files: For removing burrs or smoothing edges.
- Protective Gear: Gloves, goggles, and masks—especially when working with dust or chemicals.
- Lubricants: Light machine oil or graphite powder for stuck hinges or moving parts.
- Paint Stripper (Citrus-Based Preferred): For removing old paint or lacquer.
- Replacement Screws/Nails: Preferably era-appropriate for authenticity.
Step-by-Step: Cleaning and Restoring Salvaged Hardware
1. Initial Assessment and Documentation
Photograph each piece before disassembly—this helps with reassembly and tracking sets. Note any maker’s marks or unique features.
2. Removing Hardware Safely
Use the correct screwdriver or drill bit to avoid damaging slots. If screws are rusted or stuck, apply penetrating oil and allow it to soak before gently loosening.
3. Cleaning Off Dirt and Grime
- Soak hardware in warm water with a drop of mild detergent for 15-30 minutes.
- Scrub gently with a soft brush to remove surface dirt.
- For stubborn grease, use diluted vinegar or a degreaser.
4. Rust and Paint Removal
- Rust: Use a brass-bristle brush or fine steel wool to remove surface rust. For severe rust, soak in a 50/50 vinegar and water solution for 1-4 hours, checking periodically.
- Paint: Apply a citrus-based paint stripper following the manufacturer’s directions. For stubborn layers, multiple applications may be necessary. Use a brush or plastic scraper to remove paint.
5. Polishing and Finishing
- Polish the hardware with #0000 steel wool or a metal polish suitable for the alloy.
- Buff with a microfiber cloth to restore shine or highlight the patina (many upcyclers prefer to leave some aged character).
- If desired, apply a clear wax or lacquer to protect the finish.
6. Repairing and Reconditioning Moving Parts
- For sticky hinges, soak in penetrating oil and flex repeatedly.
- Replace missing or broken pins with cut-to-fit finish nails or brass rods.
- Lubricate moving parts with a tiny amount of machine oil or graphite powder.
7. Reassembly and Testing
- Use original screws if possible; otherwise, select replacements that match in size and finish.
- Test all moving parts for smoothness and fit.
Creative Upcycling Ideas for Salvaged Hardware
- Eclectic Coat Racks: Mount a row of mismatched knobs and pulls on a salvaged wood board for a functional entryway accent.
- Furniture Revivals: Swap modern hardware for vintage pieces to instantly elevate dressers, cabinets, and desks.
- Wall Art and Sculpture: Arrange ornate handles, hinges, and escutcheons into framed assemblages or abstract wall art.
- Jewelry and Key Holders: Use hooks and pulls mounted on small wood planks for creative storage solutions.
- Custom Hooks: Repurpose robust handles as towel or curtain hooks in bathrooms and kitchens.
- Upcycled Drawer Organizers: Attach small knobs to drawer trays for easy-lift compartments.
- Garden Gates and Sheds: Salvaged hinges and latches add historic charm to exterior projects.
Finishing Touches: Matching Hardware to Your Upcycled Project
Mixing and Matching Styles
Don’t be afraid to combine hardware from different eras or finishes. Eclectic mixes can add playful character. Use a unifying element—such as shape, color, or patina—to tie together disparate pieces.
Achieving a Cohesive Finish
- Unified Patina: Use antiquing wax or a chemical patina solution to harmonize mismatched metals.
- Painted Hardware: For a bold look, paint hardware in a single color using durable spray paint formulated for metal.
- Clear-Coating: Seal finished hardware with a matte or gloss clear coat for durability and easy cleaning.
Troubleshooting: Common Salvaged Hardware Challenges
- Stripped Screw Heads: Use a screw extractor or pliers. If all else fails, carefully drill out the screw.
- Broken or Missing Set Screws: Replace with modern equivalents, or source period-appropriate parts online.
- Non-Standard Sizing: Use adapters, bushings, or custom-cut wood plugs to fit vintage hardware to modern doors or drawers.
- Corrosion Under Finishes: Strip back to bare metal, clean, and refinish as needed.
Maintaining Restored Hardware for Long-Lasting Beauty
- Wipe down hardware regularly with a dry or slightly damp cloth to prevent buildup of grime or moisture.
- Reapply wax or oil finishes every 6–12 months, especially on frequently touched surfaces.
- Inspect hinges and moving parts annually and lubricate as needed.
- Address chips or scratches in protective coatings promptly to prevent corrosion.
Conclusion: Elevate Your Upcycling with Salvaged Hardware
Restoring and repurposing salvaged hardware is a rewarding practice that blends sustainability, creativity, and craftsmanship. By giving new life to vintage knobs, handles, and hinges, you not only reduce waste and conserve resources but also infuse your projects with personality and history that new hardware simply can’t replicate. Whether you’re updating a single drawer pull or outfitting an entire kitchen with rescued hardware, the process cultivates skills in cleaning, repair, and creative problem-solving. The satisfaction of turning a rusted, forgotten hinge into a functional work of art is unmatched.
Embrace the quirks and patina that make salvaged pieces unique. With thoughtful restoration and imaginative reuse, humble hardware can become the defining detail in your upcycling story. So next time you spot a box of old knobs at a market or remove antique handles from a discarded cabinet, see them not as scrap, but as sustainable treasures awaiting revival. Happy salvaging—and may your next project shine with both character and conscience!