
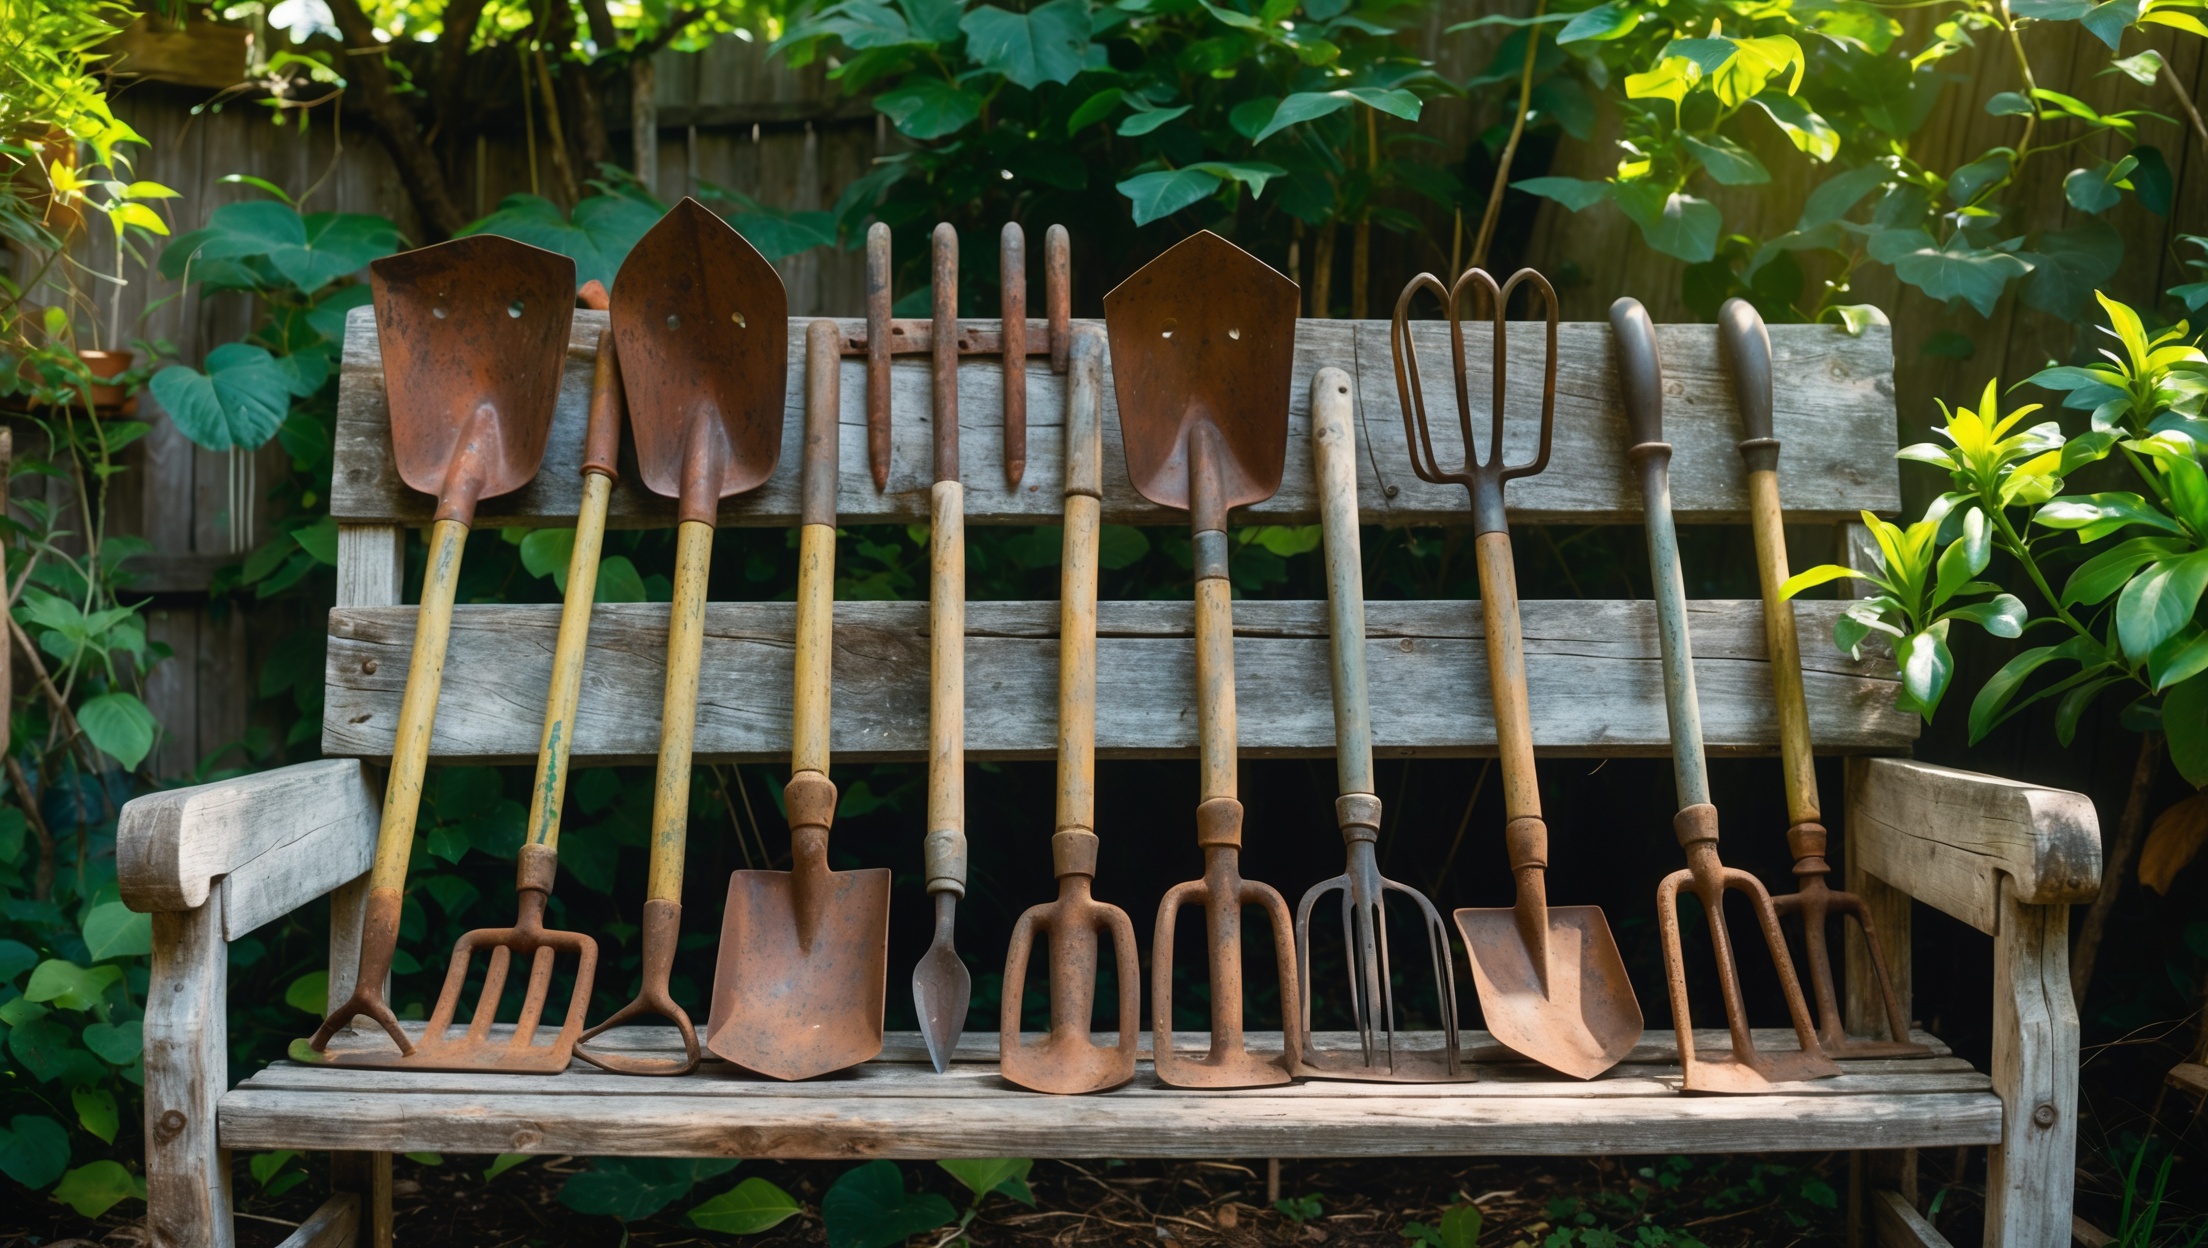
Introduction: Why Salvaged Garden Tools Deserve a Second Chance
Modern sustainable living is as much about the choices we make in our gardens as in our homes. While new garden tools are readily available, restoring and upcycling salvaged implements is an often-overlooked way to reduce waste, save money, and infuse your outdoor space with character and history. Every year, countless old shovels, rakes, and hoes end up in landfills or languish forgotten in sheds. Yet, many of these castoffs have decades of life left—if you know how to revive them. In this guide, we’ll explore, step-by-step, how to identify promising salvaged tools, the best restoration techniques for different materials, and creative upcycling ideas. Whether you’re a seasoned gardener or a DIY novice, you’ll find practical advice for bringing neglected tools back into daily use or transforming them into unique garden features. By giving these implements a new lease on life, you’ll not only foster a greener garden but contribute to a more sustainable world—one tool at a time.
Assessing Salvaged Garden Tools: What’s Worth Restoring?
Where to Source Salvaged Tools
- Local thrift stores, flea markets, and estate sales
- Online classifieds and auction sites
- Community clean-up events or recycling centers
- Abandoned sheds or barns (with permission)
Look for sturdy materials—solid wood, forged steel, or brass parts. Avoid tools with deep cracks, missing key components, or significant warping, as these may not be safe or cost-effective to restore.
Evaluating Condition: A Quick Checklist
- Handles: Check for rot, splinters, or splits. Minor surface damage is fixable; structural instability is not.
- Metal Heads: Surface rust is normal, but avoid excessive pitting, thin spots, or deep corrosion at joints.
- Joints and Fasteners: Wobbly or missing rivets/bolts can often be replaced. Severely bent or broken connections may not be worth the effort.
Cleaning and De-Rusting: Preparing Tools for Restoration
Safety First
Wear gloves, eye protection, and a dust mask when dealing with rusty or dirty tools. Work in a well-ventilated area.
Step 1: Remove Dirt and Debris
- Scrub with a stiff brush to remove caked soil and plant matter.
- Wash with warm soapy water; rinse and dry thoroughly.
Step 2: Rust Removal Techniques
- Manual Methods: Use wire brushes, steel wool, or abrasive pads. For intricate areas, try a rotary tool with a wire brush attachment.
- Chemical Soaks: Submerge metal parts in white vinegar for 8–24 hours to loosen heavy rust, then scrub clean.
- Electrolysis (Advanced): For severe rust, an electrolysis bath can be highly effective. Research safety protocols before attempting.
Step 3: Neutralize and Protect
- After rust removal, rinse thoroughly and dry.
- Apply a light coat of mineral oil or linseed oil to metal surfaces to prevent future rust.
Repairing and Restoring Handles
Wooden Handles: Sanding and Sealing
- Sand with medium, then fine-grit sandpaper to remove splinters and old finishes.
- For minor cracks, fill with wood glue and clamp until dry.
- Wipe down and apply boiled linseed oil, tung oil, or a natural beeswax blend for protection and grip.
Replacing Broken Handles
If a handle is beyond repair, measure the original and source a replacement from a hardware store or salvage yard. Install using the correct fasteners—usually rivets, pins, or bolts. Ensure a tight, secure fit before use.
Metal and Composite Handles
- Inspect for bends or cracks. Minor bends can sometimes be straightened using clamps and gentle pressure.
- Clean as with metal heads; lubricate moving parts with machine oil.
Sharpening and Functional Restoration
Sharpening Blades and Edges
- Use a flat file or sharpening stone to restore the edge on shovels, hoes, and pruners.
- Maintain the original bevel angle; always file away from your body.
- For pruners or shears, disassemble first, sharpen both blades, then reassemble and lubricate the pivot.
Tightening and Reassembling
- Replace missing or rusted fasteners with new, corrosion-resistant hardware.
- Ensure all joints are snug; use thread-locking compound if needed for vibration-prone parts.
Creative Upcycling: Beyond Basic Restoration
Garden Art and Functional Decor
- Old rakes or hoes make excellent wall-mounted tool racks or trellises for climbing plants.
- Shovel heads can become quirky garden signs—paint plant names or fun messages.
- Tool handles can be turned into stakes, curtain rods for outdoor spaces, or birdhouse posts.
Planters and Vertical Gardens
- Line shallow tool heads with coco coir or burlap to create rustic succulent planters.
- Mount multiple small hand tools on a fence or wall for a vertical herb garden—fill with soil and seeds.
Compost Tools and Soil Sifters
- Repurpose damaged forks or rakes as compost turners.
- Attach fine mesh to a shovel head to create a DIY soil sifter for potting mix and seed starting.
Maintenance Tips for Longevity
Post-Use Care Routine
- Brush off soil after every use.
- Wipe metal surfaces with an oily rag to inhibit rust.
- Store tools off the ground in a dry, sheltered area.
Seasonal Maintenance Checklist
- Inspect for loose fasteners, cracks, or rust spots each season.
- Refresh oil on handles and blades in spring and fall.
- Sharpen edges as needed—dull tools are less safe and less effective.
Sourcing Sustainable Restoration Materials
Whenever possible, choose eco-friendly supplies: natural oils instead of synthetic varnishes, recycled fasteners, and non-toxic cleaners. Check salvage yards or online swaps for replacement handles or hardware before buying new.
Common Pitfalls and How to Avoid Them
- Over-Restoring: Removing all signs of age can strip tools of character. Embrace minor scars and patina as part of the story.
- Neglecting Safety: Test restored tools gently before full use, and retire any that show signs of structural failure.
- Improper Storage: Even restored tools will deteriorate quickly if left outdoors or in damp conditions.
Conclusion: Cultivating Sustainability, One Tool at a Time
Restoring and upcycling salvaged garden tools isn’t just an exercise in thrift—it’s a commitment to sustainability and resourcefulness. By carefully assessing, cleaning, repairing, and creatively repurposing old implements, you extend the lifespan of valuable materials, reduce landfill waste, and foster a deeper connection to your gardening practice. Each time you grip a handle worn smooth by decades of honest work, you’re reminded that sustainability is about stewardship—not just of the earth, but of the tools and traditions we inherit. Whether your goal is to equip your shed on a shoestring, add unique character to your garden, or inspire others to seek beauty in the overlooked, every restored tool represents a small but meaningful victory for the planet. Start with a single neglected trowel, and you may find yourself cultivating not just a greener garden, but a more mindful, creative approach to living—and giving back—every season.