
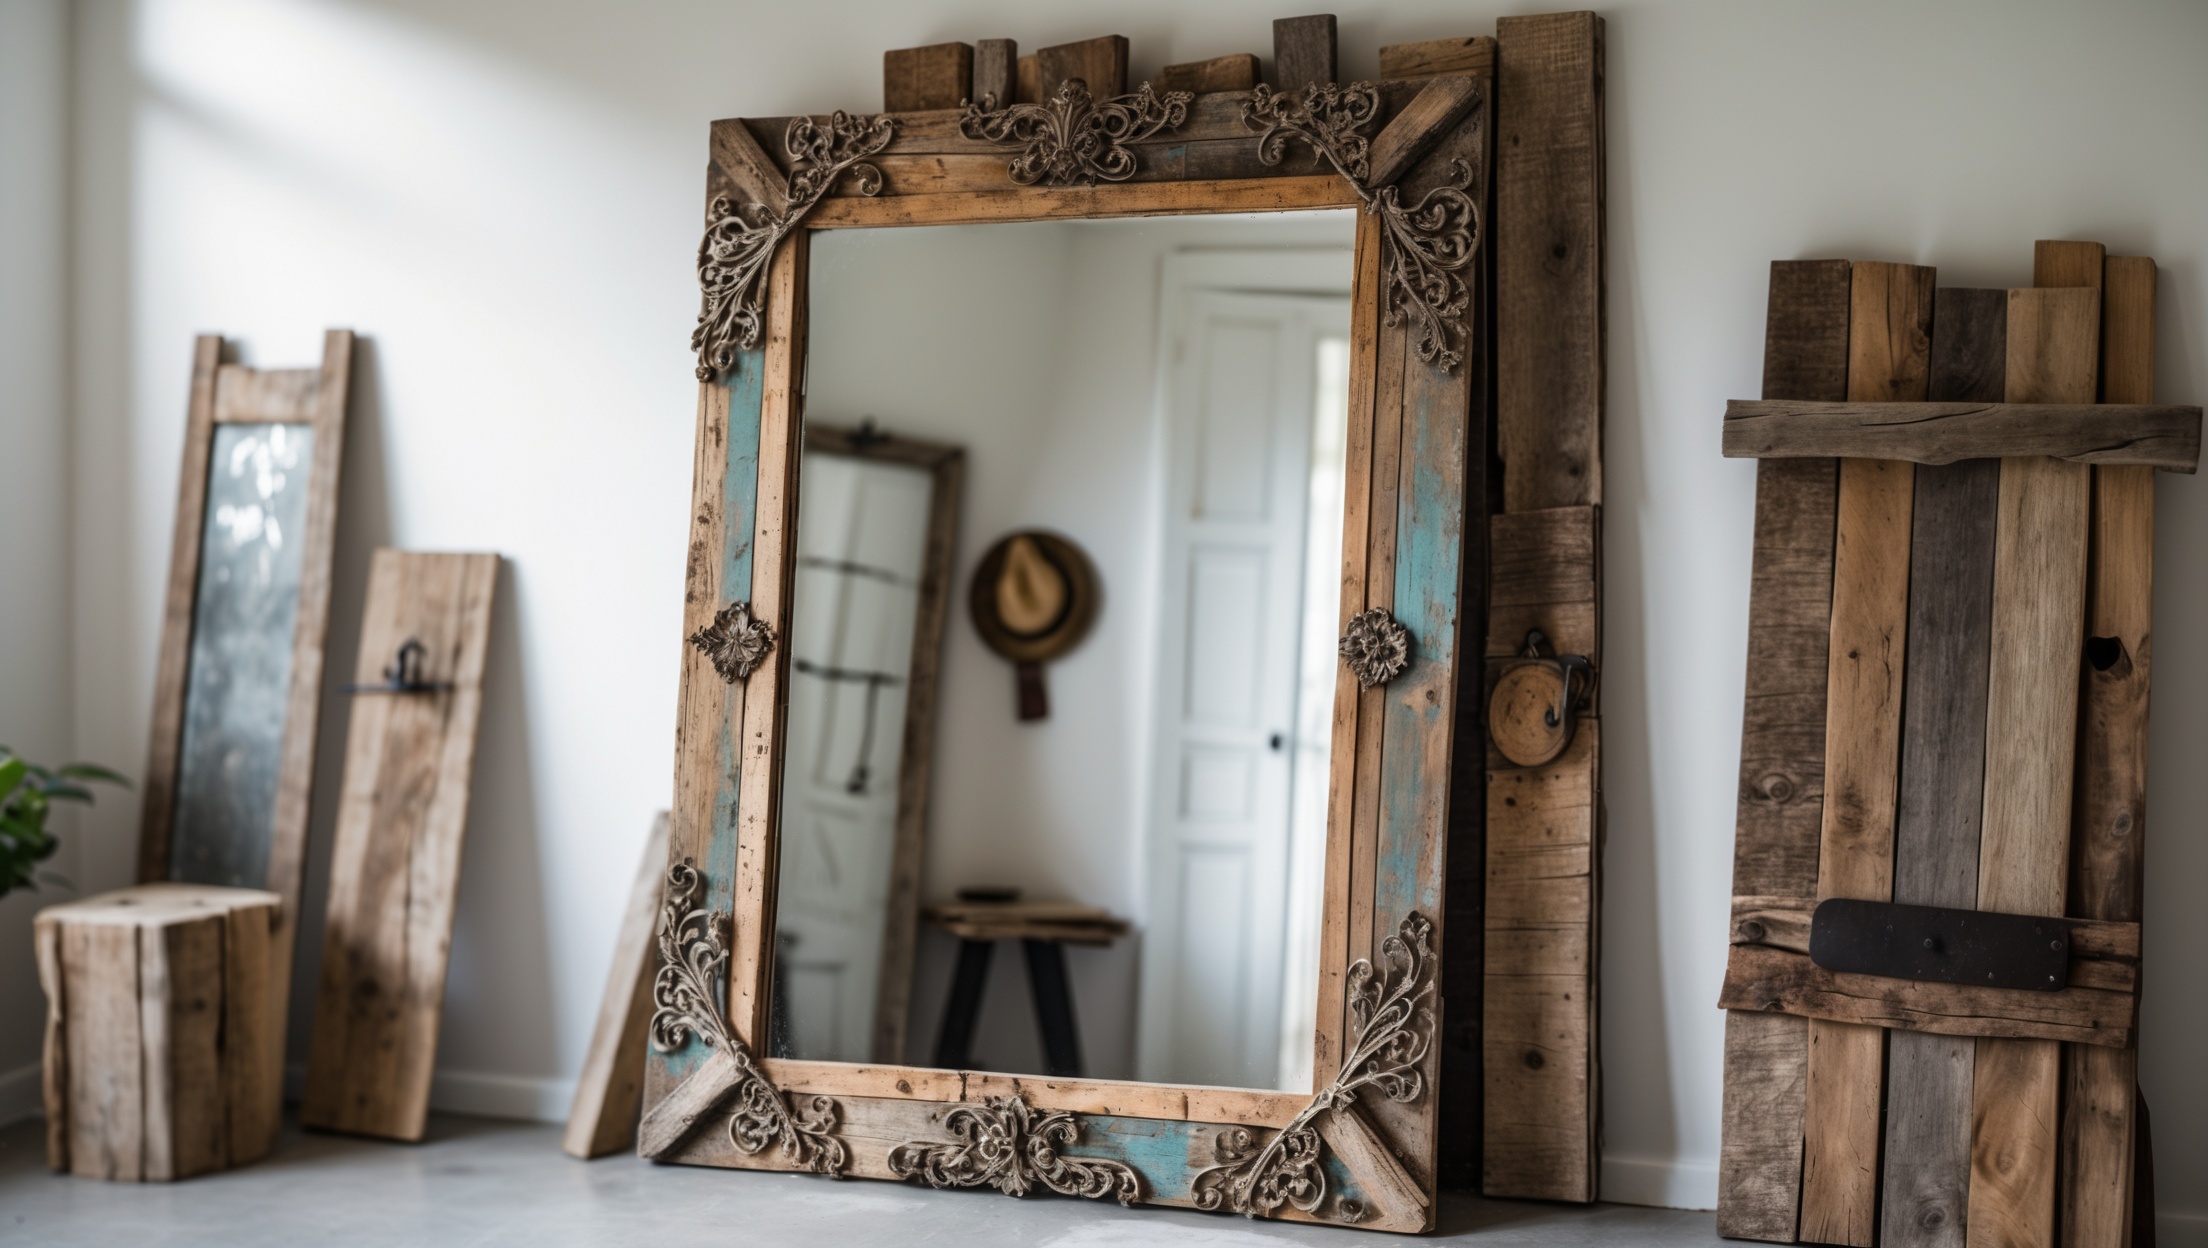
Salvaged mirrors carry a unique charm: they reflect not just your image, but the history, craftsmanship, and character of days gone by. Upcycling these vintage finds offers an eco-friendly way to breathe new life into glass that might otherwise end up in a landfill. Whether you’ve rescued an ornate antique from a demolition site or picked up a frameless mirror at a flea market, restoring and creatively repurposing salvaged mirrors can elevate your home’s aesthetic while supporting sustainable living. In this comprehensive guide, we’ll dive deep into restoration techniques for old mirrors, safety and maintenance practices, and a host of imaginative upcycling ideas—from statement wall installations to practical household features. Whether you’re a dedicated salvage enthusiast or just dipping your toes into upcycling, you’ll leave with the know-how and inspiration to transform discarded mirrors into beautiful, useful, and eco-friendly decor.
Understanding Salvaged Mirrors: What to Look For
Types of Salvaged Mirrors
Before you start restoring or repurposing, it’s important to understand the types of salvaged mirrors you might encounter:
- Antique Mirrors: Often feature mercury or silvered glass, ornate frames, and signs of age like foxing or patina.
- Mid-Century Mirrors: Sleek lines, minimalist frames—sometimes with built-in lighting or shelving.
- Frameless Mirrors: Common in old bathrooms or wardrobes; offer a blank slate for creative framing.
Assessing Condition & Salvageability
Not all mirrors are created equal. Evaluate these aspects before committing to a restoration or upcycling project:
- Glass Integrity: Check for cracks, deep scratches, or chips. Minor imperfections can add character, but severe damage may require cutting down or using the mirror in smaller projects.
- Silvering: Aging mirrors often have dark spots (desilvering) or cloudiness. Decide if this patina enhances the look, or if you’ll attempt a resilvering process.
- Frame Condition: Inspect for rot, warping, missing pieces, or loose joints. Frames can be restored, replaced, or creatively reimagined.
- Hazards: Antique mirrors may contain lead or mercury. Always handle with gloves and consider professional advice if unsure.
Essential Tools & Supplies for Mirror Restoration
- Soft microfiber cloths
- Gentle glass cleaner (vinegar-water mix is eco-friendly)
- Putty knife or razor blade (for removing paint or debris)
- Wood glue, clamps, and filler (for frame repairs)
- Fine sandpaper (220-400 grit)
- Paint stripper (for frame restoration)
- Protective gloves, mask, and goggles
- Resilvering kit (optional, for advanced restorers)
- Primer and paint or wood finish (for frame refinishing)
- Backing material (hardboard, felt, or new mirror backing)
Step-by-Step: Restoring a Salvaged Mirror
1. Cleaning and Initial Assessment
Begin by gently dusting the mirror and frame. Use a soft, damp microfiber cloth and mild cleaner on the glass—avoid harsh chemicals that could damage antique finishes. For frames, dry brushing is a good first step, followed by a gentle wipe-down.
2. Frame Repair and Restoration
- Wooden Frames: Fill cracks or holes with wood filler, clamp loose joints, and sand smooth. Remove old paint or finish if desired using eco-friendly stripper. Refinish with natural oils, stains, or low-VOC paint.
- Metal Frames: Remove rust with fine steel wool or a vinegar soak. Prime and repaint using metal-safe coatings.
- Ornate/Plaster Frames: For decorative plaster or gesso, repair chips with a matching filler and touch up with artist’s paint.
3. Addressing Glass Issues
- Removing Paint Splatters: Carefully use a razor blade at a shallow angle for dried paint. Avoid scratching the surface.
- Cleaning Stubborn Residue: Old adhesive or grime yields to isopropyl alcohol or vinegar.
- Dealing with Desilvering: If the patina is desirable, leave as is. For a cleaner look, consider resilvering (see below) or backing the mirror with dark fabric or paper to minimize the appearance of spots.
4. Resilvering: Advanced Restoration
Resilvering is a challenging but rewarding process that restores the reflective coating on the back of a mirror. For DIYers:
- Remove the mirror from its frame and clean thoroughly.
- Strip the backing paint with a suitable remover.
- Apply a chemical silvering solution (available in kits). Follow all safety instructions—ventilation and PPE are essential.
- Reapply protective backing once dry.
This process is best for valuable or sentimental mirrors. If unsure, consult a professional resilvering service.
5. Reassembly and Final Touches
Once glass and frame are restored, secure the mirror back in place. Use new or restored backing materials, ensuring everything is tight and safe. Polish the surface for a final gleam.
Creative Upcycling Ideas for Salvaged Mirrors
Statement Wall Installations
- Mirror Gallery Wall: Combine multiple salvaged mirrors of various shapes and sizes for an eclectic, light-enhancing feature wall.
- Oversized Entryway Mirror: Refinish a large antique mirror to create a welcoming, space-expanding statement at your home’s entrance.
Functional Repurposing
- Mirrored Trays: Cut down damaged mirrors and fit them into reclaimed wooden or metal trays for elegant serving or vanity organization.
- Upcycled Table Tops: Install salvaged glass into coffee tables, side tables, or desks for a unique and reflective surface.
- Garden Accents: Weatherproof old mirrors and mount them on garden walls or fences to create the illusion of space and reflect greenery.
Decorative Enhancements
- Framing with Salvaged Materials: Surround frameless mirrors with reclaimed wood, driftwood, or even metal piping for a rustic or industrial look.
- Painted or Stenciled Backs: For mirrors with significant desilvering, paint or stencil the back with bold colors or patterns for a creative, semi-reflective effect.
- Mirror Mosaics: Break unsalvageable mirrors into pieces (wear gloves and eye protection!) and use them for artistic mosaics on furniture, planters, or wall art.
Safety Considerations When Working with Salvaged Mirrors
Handling Old Glass
- Always wear cut-resistant gloves when moving, cutting, or restoring mirrors.
- Use eye protection if breaking or shaping glass.
- Work on a padded surface to prevent accidental cracks.
Dealing with Hazardous Materials
- Antique mirrors may contain lead-based backing or, rarely, mercury. Avoid sanding or scraping old backing paint without a respirator.
- If in doubt, consult a hazardous materials specialist before proceeding.
Secure Mounting
- Use heavy-duty wall anchors and brackets rated for the mirror’s weight.
- For large mirrors, always secure at two or more points and use safety chains.
Maintenance Tips for Upcycled Mirrors
- Clean with non-abrasive, ammonia-free cleaners to preserve finishes.
- Check frames and hanging hardware annually for stability and wear.
- Keep mirrors away from direct moisture sources (unless specifically weatherproofed for outdoor use).
- For garden mirrors, seal edges with waterproof silicone to prevent water ingress and glass deterioration.
Budgeting and Sourcing Salvaged Mirrors
Where to Find Salvaged Mirrors
- Architectural salvage yards
- Flea markets and estate sales
- Online classifieds and auction sites
- Construction and demolition sites (with permission!)
- Recycling centers and dumps (often with hidden gems!)
Budget Considerations
- Small salvage mirrors can be found for under $20; ornate antiques may run several hundred dollars.
- Factor in restoration material costs: paint, finish, backing, and hardware.
- Resilvering is the most expensive repair—DIY kits start at $50, while professional services may charge $150+.
- Repurposed frames (from reclaimed wood or metal) often cost less than new commercial options and add eco-friendly appeal.
Inspiring Case Examples
- Victorian Parlor Mirror: A reader rescued a water-damaged, gilt-framed mirror from a condemned house, repaired the plaster frame with moldable putty, and painted it matte black for a modern twist. Now it’s the focal point of a sustainable living room.
- Garden Mirror Wall: Salvaged frameless mirrors from an old hotel were cut and arranged outdoors, reflecting sunlight and greenery, making a small urban patio feel twice its size.
- Mirrored Mosaic Bench: Broken mirror pieces from several sources were secured to an old wooden bench, sealed with outdoor grout, and now shimmer in a community garden.
Conclusion: Reflecting on Sustainable Salvage
Upcycling salvaged mirrors is more than a thrifty design trend—it’s a meaningful way to preserve history, reduce waste, and infuse your living spaces with distinctive, personal character. With a careful eye for quality, the right restoration techniques, and a dash of creativity, you can transform neglected glass into everything from breathtaking statement pieces to practical, everyday solutions. As you embark on your next mirror project, remember: imperfections tell a story, and the process of restoration is as rewarding as the final reveal. Whether you’re framing a family heirloom, crafting a mirrored garden installation, or simply rescuing a discarded pane from obscurity, you’re not just decorating your home—you’re championing sustainability, honoring craftsmanship, and inspiring others to see the beauty in what others overlook. So next time you spot a dusty, forgotten mirror, imagine the possibilities, gather your tools, and let your upcycling journey begin. Your reflection—and the planet—will thank you.


When assessing salvaged mirrors with silvering issues like dark spots or cloudiness, how do you decide whether to leave the patina for character or go through the resilvering process? Are there easy ways to test if a mirror can be successfully resilvered at home?
Choosing to keep the patina or resilver depends on your style preference and the mirror’s condition. If the aged look fits your decor, leaving the patina adds vintage charm. For resilvering, check if the glass is intact and free of deep scratches by gently cleaning a small area. Hold the mirror up to light; if the glass itself is clear except for missing backing, home resilvering kits may work. Extensive damage or cloudy glass often means professional help is best.