
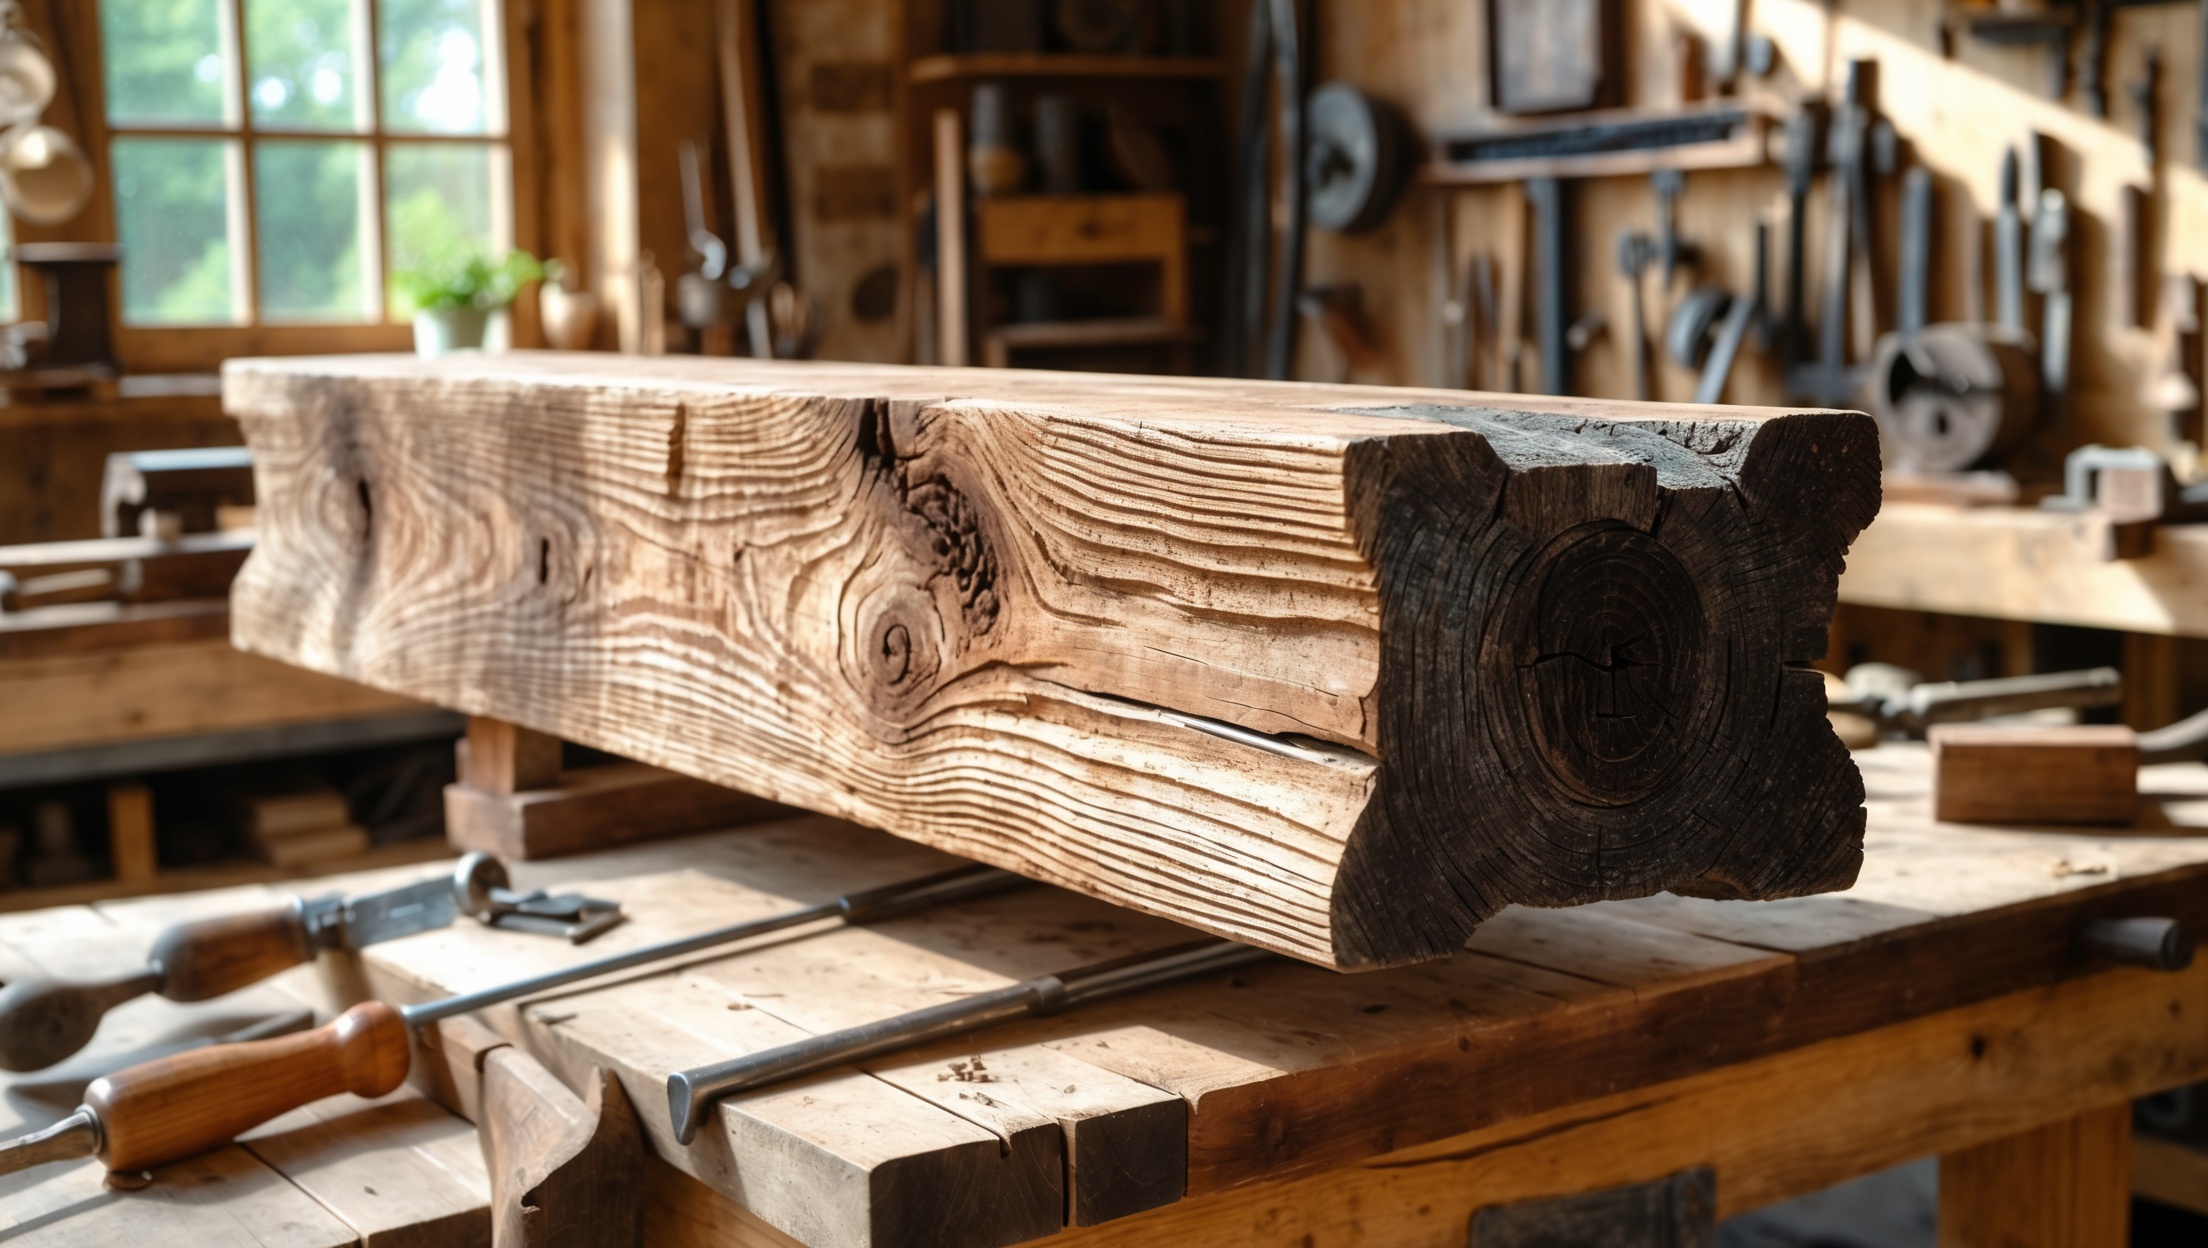
Salvaged wood beams possess unmatched character, history, and sustainable appeal, making them a sought-after material for upcyclers and restoration enthusiasts. Whether sourced from century-old barns, industrial demolitions, or historic homes, these beams tell stories through their grain, patina, and imperfections. However, working with salvaged beams demands care, technique, and respect for both the wood’s age and structure. In this comprehensive guide, we’ll explore the essential steps to safely restore and creatively upcycle reclaimed wood beams—ensuring longevity, beauty, and a minimal environmental footprint in your projects. You’ll learn how to assess beams for structural soundness, perform deep cleaning, tackle pest and rot issues, and apply finishing techniques that preserve history while making a unique design statement. We’ll also share inventive upcycling ideas to help you incorporate salvaged beams into modern, eco-friendly living spaces. Whether you’re a seasoned woodworker or a DIY newcomer, these tips will empower you to transform salvaged beams into stunning, functional, and sustainable features for your home.
Understanding Salvaged Wood Beams: Sourcing, Species & History
Where to Find Salvaged Beams
Salvaged beams can be found at a variety of sources, each offering unique opportunities and challenges. Common places include:
- Barn Demolitions: Old barns often yield hand-hewn or rough-sawn beams with incredible character.
- Salvage Yards: Specialized architectural salvage yards frequently stock beams from historic properties.
- Industrial Sites: Factories and warehouses slated for demolition may contain long, sturdy hardwood beams.
- Online Marketplaces: Local listings and auctions can be a source for small quantities or rare species.
Identifying Wood Species & Age
Common salvaged beam species include oak, pine, chestnut, and Douglas fir. Identifying species helps inform restoration techniques and finishing choices. Look for:
- Grain patterns (tight, straight, or wavy)
- Color and patina (weathered gray, rich brown, reddish hues)
- Tool marks (adze, saw, or hand-planed surfaces indicate age and origin)
Assessing Structural Integrity
Not all salvaged beams are suitable for load-bearing use. Carefully inspect for:
- Cracks, splits, or excessive warping
- Active rot, powdery residue (indicative of insect infestation)
- Embedded nails, bolts, or hardware
For critical applications, consult a structural engineer or experienced carpenter.
Preparation: Cleaning, Decontaminating & Safe Handling
Removing Dirt, Debris & Surface Contaminants
Salvaged wood beams often arrive with decades of accumulated grime, paint, and cobwebs. Begin with:
- Brushing: Use a stiff-bristle brush to scrub away loose dirt and debris.
- Vacuuming: A shop vacuum with a brush attachment removes fine dust and insect remains.
- Washing: For stubborn grime, lightly mist with water and scrub with a mild soap solution. Avoid soaking; excess moisture can raise the grain and promote mold.
Addressing Pests & Mold
Beams may harbor insects or fungal growth. Take these steps:
- Insects: Freeze small beams or treat with borate-based wood preservatives. For severe infestations, consult a pest control professional.
- Mold: Wipe affected areas with a solution of 1 part vinegar to 3 parts water. Ensure beams dry thoroughly before proceeding.
Safe Handling & PPE
Wear heavy gloves, safety glasses, and a dust mask when handling salvaged beams. Watch for hidden nails and sharp splinters. If cutting beams, use tools with dust extraction and work in well-ventilated areas.
Repairing and Stabilizing Salvaged Beams
Removing Embedded Metal & Hardware
Old beams often contain nails, screws, or bolts. Remove all metal to prevent tool damage and fires during cutting or sanding.
- Use a metal detector to locate hidden fasteners.
- Extract hardware with pliers, pry bars, or claw hammers.
- If removal isn’t safe, mark the area and work around it.
Addressing Cracks, Checks & Splits
Some surface cracks (checking) are normal and add character; however, address structural splits as follows:
- Wood Epoxy: Fill deep cracks with structural epoxy, tinted to match the beam.
- Butterfly Keys: Inlay wooden or metal butterfly keys across splits to stabilize and add visual interest.
- Sistering: For major structural loss, laminate a matching piece of wood alongside the original beam.
Reinforcing Weak Sections
For decorative use, minor weaknesses may be acceptable. For structural use:
- Consult a professional for load calculations.
- Consider steel brackets, hidden bolts, or engineered wood inserts for reinforcement.
Finishing Techniques: Preserving Patina & Enhancing Character
Surface Preparation: To Sand or Not to Sand?
The decision to sand depends on the desired finish:
- Minimal Sanding: Retains saw marks and aged texture, ideal for rustic aesthetics.
- Smooth Sanding: For modern applications, sand progressively with coarse to fine grits, always with the grain.
Vacuum and wipe the surface after sanding to remove dust.
Stain, Oil & Natural Finishes
Choose finishes that protect while showcasing natural beauty:
- Tung Oil or Danish Oil: Penetrate deeply, enhancing grain and adding a warm glow.
- Natural Waxes: Buff to a soft sheen for a tactile, low-sheen finish.
- Water-Based Polyurethane: Offers a more durable, matte finish without yellowing.
Avoid heavy pigments or thick polyurethane layers that obscure the wood’s character.
Highlighting Tool Marks & Patina
Emphasize unique features by selectively hand-sanding raised areas or using a wire brush to bring out grain texture. For a timeworn look, apply a very light, diluted wash of dark stain, immediately wiping off excess.
Creative Upcycling Ideas for Salvaged Beams
Architectural Features
- Exposed Ceiling Beams: Install as non-structural decorative beams to add depth and warmth to living spaces.
- Door & Window Headers: Use as rustic lintels above openings for instant character.
- Room Dividers: Combine beams vertically or horizontally to delineate open-plan spaces.
Furniture & Fixtures
- Beam Mantels: Mount above fireplaces for a striking, functional shelf.
- Bench Bases: Use as the foundation for seating—pair with a slab or upholstered top.
- Table Legs or Tops: Saw beams into sections for coffee tables or dining table supports.
- Wall Shelves: Cut beams into thick planks or cubes; mount with sturdy brackets for floating shelves.
Lighting Solutions
- Beam Chandeliers: Hollow out for hidden wiring and suspend Edison bulbs or pendant lights.
- Wall Sconces: Carve channels for LED strips or recessed lighting.
Outdoor Uses
- Garden Edging: Lay beams horizontally for rustic, rot-resistant borders.
- Planter Bases: Cut into blocks or use whole as sturdy stands for large pots.
- Arbors & Pergolas: Use structurally sound beams to create dramatic outdoor rooms.
Preservation & Maintenance Best Practices
Protecting Against Moisture & Pests
Even after restoration, salvaged beams require ongoing protection:
- Apply a breathable sealant (such as linseed oil or water-based polyurethane) every few years.
- Inspect annually for signs of mold, rot, or insect activity, especially in damp climates.
- Ventilate spaces with beam installations to prevent moisture buildup.
Routine Cleaning
Dust beams regularly with a soft cloth or duster. For deeper cleaning, lightly dampen a cloth with water and a splash of vinegar—never soak the wood.
Repairing Damage Over Time
Address minor dings or scratches by buffing with fine steel wool and reapplying finish. For deeper gouges, fill with color-matched wood putty or wax.
Compliance, Sustainability & Ethical Sourcing Considerations
Verifying Provenance & Legality
Some salvaged wood may be subject to restrictions, particularly if sourced internationally. Ask for documentation confirming legal origin, especially for rare or endangered species (e.g., chestnut, old-growth oak).
Environmental Impact & Certifications
- Prefer beams certified by organizations such as the Forest Stewardship Council (FSC) or reclaimed material programs.
- Document the source and age of beams for future reference and potential resale value.
Transport & Handling
Plan for the safe, eco-friendly transport of heavy beams. Use local sources when possible to reduce carbon footprint. Reuse packaging or pallets for further upcycling projects.
Conclusion: Embracing the History & Potential of Salvaged Wood Beams
Salvaged wood beams are more than just building materials—they are tangible links to the past and powerful tools for sustainable living. By thoughtfully restoring and upcycling these beams, you preserve embodied energy, honor craftsmanship, and bring authentic character into modern spaces. Whether your project calls for a dramatic mantel, a rustic shelf, or a bold architectural feature, following the techniques outlined above ensures both beauty and longevity. Remember to respect the wood’s origins, embrace its imperfections, and select finishes that highlight its unique journey. Regular maintenance and ethical sourcing will further extend the life and legacy of your restored beams, making them a cherished part of your eco-friendly home. As you transform salvaged beams, you not only reduce waste and resource consumption but also inspire others to see the creative potential in reclaimed materials. Let each beam tell its story—a testament to craftsmanship, sustainability, and the enduring appeal of upcycling.


