
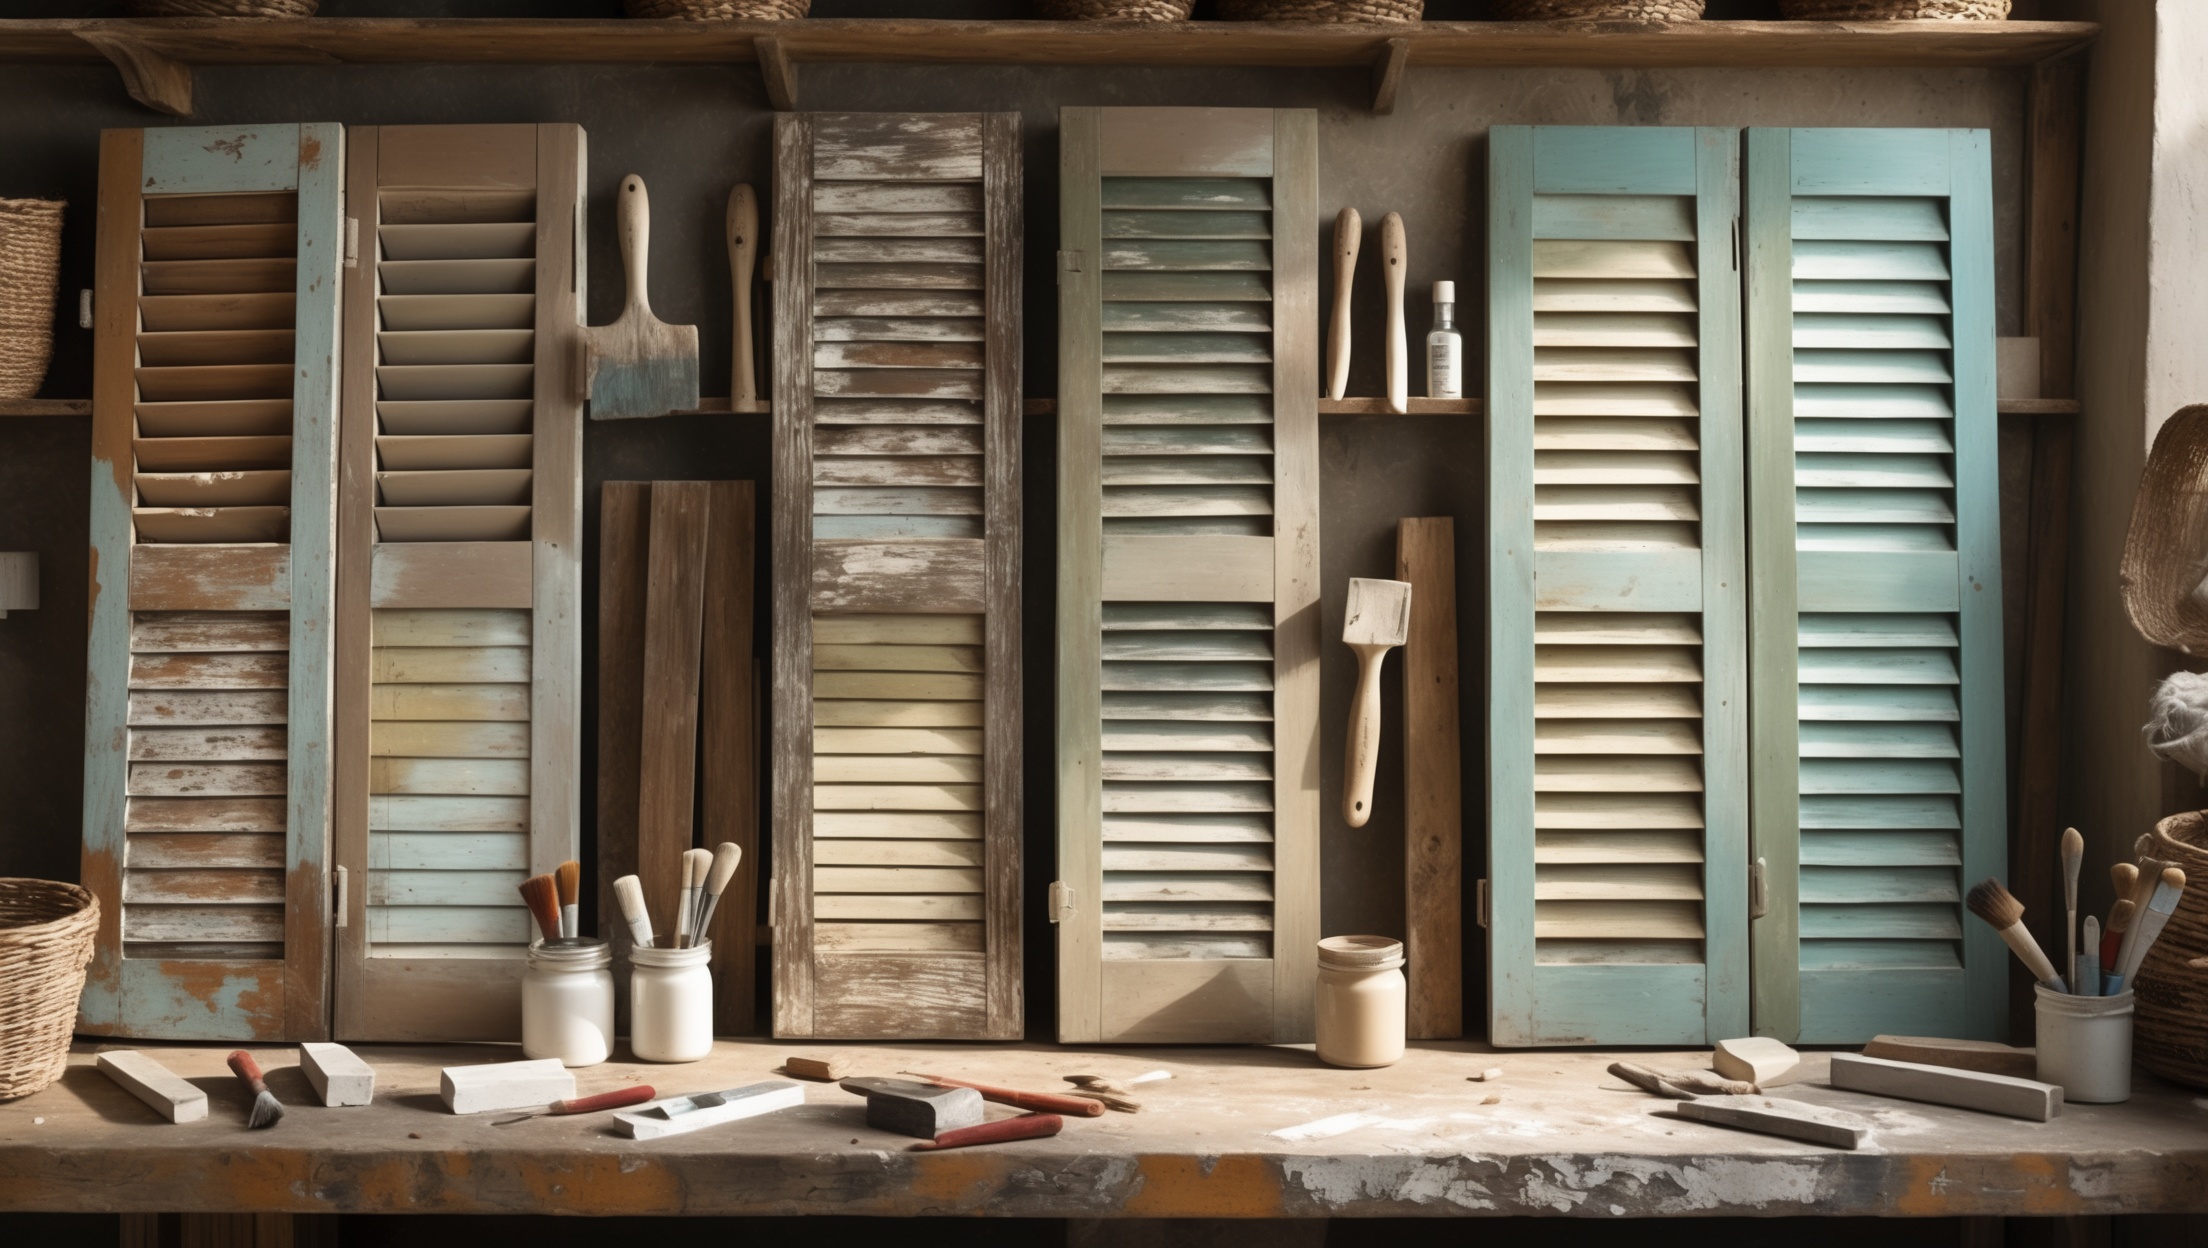
Salvaged shutters are a treasure trove for creative upcyclers, sustainability enthusiasts, and anyone looking to infuse character and eco-friendly charm into their living space. Once destined for landfill, these architectural relics—often crafted from durable hardwoods—offer not just historic beauty but endless potential for restoration and inventive reuse. Whether you’ve scored a weathered batch from a salvage yard or rescued them from a building renovation, knowing how to properly restore, repurpose, and weatherproof old shutters can turn forgotten fixtures into standout elements of sustainable design. This comprehensive guide will walk you through every step: from essential restoration techniques that preserve both function and aesthetics, to inspiring upcycling projects for indoors and out, and crucial tips for ensuring your creations stand up to the elements. With practical advice, actionable checklists, and professional insights, you’ll be equipped to transform salvaged shutters into unique, resilient, and sustainable assets for your home.
Understanding Salvaged Shutters: Types, Materials & Salvage Value
Wood vs. Metal: What You’re Likely to Find
Most salvaged shutters are made from solid woods like pine, oak, or cedar, but you’ll also encounter metal and composite varieties. Wooden shutters, especially those predating the 1960s, are prized for their resilience and repairability. Metal shutters (aluminum or steel) offer a different aesthetic and may require distinct restoration processes. Understanding your shutter’s material is crucial for choosing the right restoration approach and upcycling project.
Assessing Salvage Potential
- Structural integrity: Check for rot, warping, or severe corrosion. Slight damage is often repairable, but extensive decay may limit reuse.
- Hardware condition: Original hinges and latches add vintage charm, but replacements are widely available.
- Paint and finish: Lead-based paint is common on pre-1978 shutters—always test and handle with care (see safety section).
Restoration Techniques: Bringing Old Shutters Back to Life
Step 1: Safe Paint & Finish Removal
Older shutters often bear layers of chipping paint or varnish. Start by testing for lead paint with a commercial kit. If lead is present, use a chemical stripper rated for lead abatement and wear proper PPE (respirator, gloves, goggles). For non-lead finishes, a combination of gentle scraping and eco-friendly citrus-based strippers works well. Avoid excessive sanding, which can blur wood details and release dust. Always work outdoors or in a well-ventilated area.
Step 2: Repairing Damage & Replacing Hardware
- Rot and cracks: Excavate soft spots with a chisel and fill with a two-part wood epoxy. For deep splits, use wood glue and clamps.
- Loose louvers: Tighten or replace pins. If louvers are missing, create replacements from matching wood stock.
- Hardware: Clean rusted metal parts with a wire brush and soak in vinegar overnight. Replace missing hardware with reproduction pieces for authenticity.
Step 3: Sanding, Priming & Painting
Once repairs are dry, lightly sand the surface with 120–180 grit paper to smooth rough edges. For exterior use, apply an oil-based or high-quality waterborne primer—especially on end grains—to prevent moisture infiltration. Choose durable, low-VOC paints or stains in your desired color. For an authentic vintage look, consider a milk paint or chalk paint finish with a protective topcoat.
Creative Upcycling Ideas for Salvaged Shutters
1. Shutter Headboards
Create a one-of-a-kind bed headboard by joining several matching shutters side by side. Clean, repair, and finish them to highlight natural wood grain or add a pop of color. Mount the finished piece directly to the wall behind your bed or attach it to a simple wooden frame for stability.
2. Indoor Room Dividers
Link multiple shutters with hinges to form a folding privacy screen. Leave the louvers operable for adjustable light and airflow. This project is ideal for open-plan spaces or home offices and can be easily customized with paint or stenciling.
3. Entryway Organizers
- Mount a single shutter vertically on your wall.
- Add hooks for keys, hats, and bags.
- Attach small baskets or upcycled jars for mail and accessories.
This compact organizer is perfect for sustainable small-space living.
4. Garden Trellises
Weatherproof a pair of shutters and install them vertically or in a chevron pattern as a trellis for climbing plants. Secure to a fence or exterior wall for added support. The result: a living wall feature that adds architectural interest to your garden while supporting pollinator-friendly flora.
5. Cabinet and Pantry Doors
Repurpose smaller shutters as doors for custom cabinets, pantries, or built-in shelving. Their slatted design allows for airflow, making them ideal for food storage or laundry areas. Reinforce the corners and fit with modern soft-close hinges for daily use.
6. Outdoor Table Tops
Combine multiple shutters to create a unique tabletop for patios or porches. Secure with cross braces underneath and finish with a marine-grade sealant for weather resistance. Pair with salvaged legs or a repurposed base for a truly sustainable statement piece.
7. Wall Art and Photo Displays
- Hang a shutter horizontally and use mini clothespins to attach photos, postcards, or artwork between the louvers.
- Decorate with stencils, decoupage, or hand-painted designs for a personalized touch.
Weatherproofing Essentials: Protecting Your Upcycled Creations
Preparing for Outdoor Use
Shutters destined for gardens, patios, or exterior walls face harsh weather. Proper weatherproofing is key to longevity:
- Sealing: Use a high-quality exterior primer, followed by at least two coats of UV-resistant paint or spar urethane. Pay special attention to end grains and joints.
- Hardware: Opt for stainless steel or galvanized fasteners to prevent rust stains.
- Mounting: Ensure shutters are elevated off the ground to avoid standing water and rot. Use masonry anchors for mounting on brick or concrete.
Moisture Control for Indoor Projects
Even indoors, wood shutters can warp or swell in humid environments. Apply a clear polyurethane or natural oil finish to all sides, including the edges, to maintain dimensional stability. For kitchens and bathrooms, choose finishes rated for high-moisture areas.
Essential Tools and Supplies for Shutter Restoration & Upcycling
- PPE: Dust mask or respirator, gloves, safety goggles
- Paint stripper (citrus-based or lead-specific)
- Scrapers and putty knives
- Sandpaper (120–220 grit) and sanding blocks
- Wood glue, epoxy putty
- Clamps
- Drill/driver and wood screws
- Primer, paint, or stain (low-VOC preferred)
- Sealant (spar urethane or marine varnish for outdoors)
- Replacement hardware (hinges, handles, hooks)
- Wire brush and vinegar (for metal parts)
- Level and tape measure
Safety Checklist: Lead Paint, Old Hardware & Environmental Hazards
- Lead Paint: Always test with a lead paint kit. If present, follow EPA guidelines for safe removal and disposal. Never sand lead-based paint dry.
- Mold and Mildew: Remove any visible mold with a 1:10 bleach solution or a commercial fungicide before beginning restoration.
- Splinters and Sharp Edges: Inspect all surfaces before handling. Use gloves and sand sharp or rough spots thoroughly.
- Old Hardware: Be cautious of rusty nails, screws, and hinges. Remove or replace as needed.
- Ventilation: Work in a well-ventilated area, especially when using chemical strippers or finishes.
Maintaining Restored and Upcycled Shutters
Routine Care
Keep your restored shutters looking their best with simple maintenance:
- Dust regularly with a soft cloth or vacuum with a brush attachment.
- Wipe down with a damp cloth to remove grime—avoid saturating wood with water.
- Inspect for signs of peeling paint, loose hardware, or insect activity every six months.
Touch-Up and Repairs
- Spot-sand and touch up paint or finish as needed, especially after harsh weather.
- Tighten screws and replace any corroded hardware promptly.
Conclusion: Salvaged Shutters as Sustainable Design Staples
Upcycling salvaged shutters is more than a creative project—it’s a practical act of sustainability that conserves resources, celebrates architectural history, and brings lasting beauty to your space. Whether you transform them into functional furniture, artistic décor, or resilient outdoor features, each upcycled shutter tells a story and reduces landfill waste. With the right restoration techniques and weatherproofing know-how, these humble fixtures become enduring assets, offering both eco-friendly value and unique style. As you embark on your next shutter upcycling project, remember to prioritize safety, use quality finishes, and let your creativity lead the way. The possibilities are only limited by your imagination and commitment to sustainable living. Embrace the journey, and let salvaged shutters inspire your next standout creation.

