
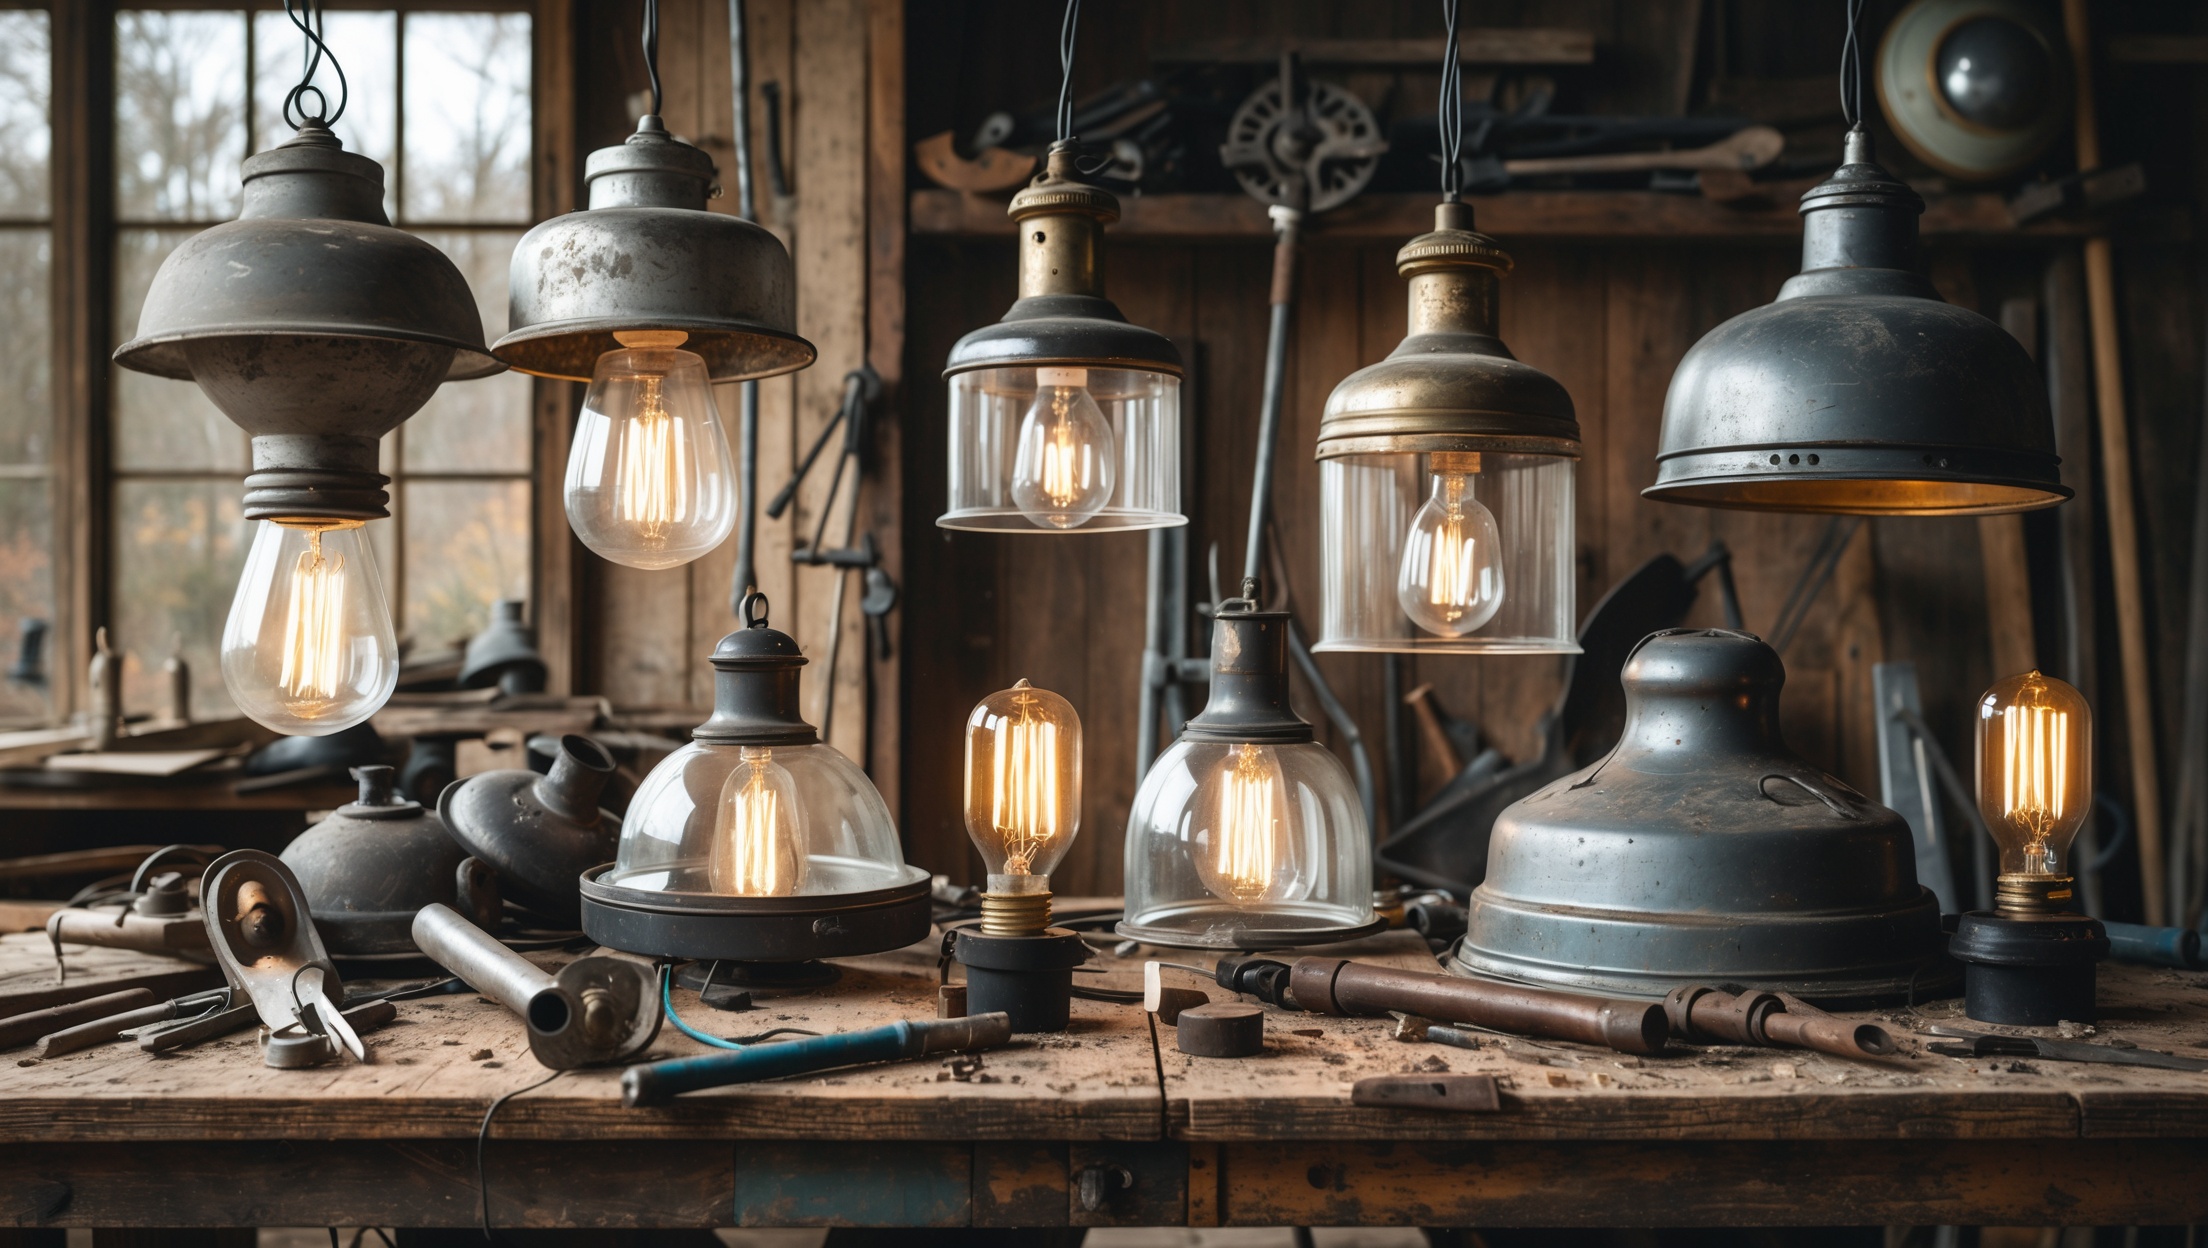
Introduction: The Art and Impact of Upcycling Salvaged Lighting Fixtures
In the world of creative salvage, lighting fixtures are among the most rewarding and versatile finds. Whether it’s a tarnished chandelier, a battered pendant lamp, or a forgotten industrial sconce, salvaged lighting offers a unique blend of history, artistry, and sustainability. Upcycling these fixtures not only diverts heavy, often non-biodegradable materials from landfills but also enables you to infuse your living spaces with one-of-a-kind ambience—merging the old with the new.
Yet, working with salvaged lighting presents unique challenges. Electrical safety, material compatibility, and restoration techniques require more than basic DIY skills. Even seasoned upcyclers must navigate hidden wiring hazards, outdated components, and the nuances of blending modern efficiency with vintage character. In this comprehensive guide, we’ll walk you through essential best practices for safely restoring and creatively upgrading salvaged lighting. You’ll learn how to source fixtures, assess their potential, rewire and refinish safely, select energy-efficient upgrades, and creatively transform old lights into statement pieces that champion sustainable living. By the end, you’ll have the knowledge and confidence to illuminate your home or workspace with restored lights that tell a story—and tread lightly on the planet.
Sourcing Salvaged Lighting: Where and What to Look For
Best Places to Find Salvaged Fixtures
- Architectural salvage yards: These are goldmines for vintage and historic fixtures, often rescued from renovations and demolitions.
- Demolition sites (with permission): Contractors may allow you to salvage lighting before disposal.
- Flea markets & estate sales: Look for unique pieces with character. Early arrival gives you the best selection.
- Online marketplaces: Platforms like Craigslist, Facebook Marketplace, and eBay offer a wide range.
- Thrift stores & charity shops: Sometimes overlooked, these can yield hidden gems at low prices.
Assessing Potential: What Makes a Good Candidate?
- Structural integrity: Ensure the frame is sturdy and not heavily corroded or broken.
- Material quality: Brass, copper, steel, glass, and porcelain are durable and easier to restore.
- Design flexibility: Fixtures with removable parts or modular designs are easier to reconfigure.
- Electrical components: Old or frayed wiring is common and can almost always be replaced.
- Missing parts: Don’t be deterred by missing shades or hardware—creative substitutions can add character.
Safety First: Electrical Considerations and Precautions
Recognizing Electrical Hazards
Salvaged lighting often contains outdated or unsafe wiring, non-grounded systems, or damaged sockets. Never assume a fixture is safe to plug in or hardwire as found. Key hazards include:
- Brittle, cloth-covered wiring: Common in pre-1970s lights, this insulation easily deteriorates.
- Non-polarized plugs and sockets: These lack modern safety features.
- Exposed or corroded connections: May cause short circuits or shocks.
- Improper grounding: Especially risky in metal fixtures.
Essential Safety Steps
- Always disconnect power before working on any electrical fixture.
- Test for live current using a voltage tester before disassembly.
- Replace all old wiring—never reuse original wires unless you are a qualified electrician and can verify safety.
- Use UL-listed replacement components (sockets, wire, plugs, switches).
- Consult an electrician for complex rewiring, especially for hardwired or ceiling fixtures.
Disassembly and Cleaning: Preparing Your Fixture
Tools and Supplies You’ll Need
- Insulated screwdrivers and pliers
- Voltage tester
- Socket wrench set
- Fine steel wool or brass brush
- Mild detergent and water
- Isopropyl alcohol or vinegar for stubborn grime
- Clean, lint-free cloths
Step-by-Step Disassembly
- Photograph the fixture from all angles before you begin. This helps with reassembly.
- Remove bulbs and detachable glass/shades carefully, supporting fragile parts.
- Label and bag small screws, nuts, and decorative hardware for easy organization.
- Detach wiring only after confirming the fixture is completely disconnected from power.
- Document wire routing and socket placement—draw diagrams or use your photos.
Cleaning Techniques by Material
- Metal frames: Clean with soapy water, then remove tarnish with fine steel wool or a non-abrasive metal polish.
- Glass shades: Soak in warm, soapy water. For stubborn deposits, use diluted vinegar. Avoid harsh abrasives.
- Porcelain or ceramic: Wipe with a damp cloth and mild detergent. Avoid soaking if any cracks are present.
- Painted surfaces: Test cleaners on a small area first to avoid damage. Use a soft brush to remove dust.
Safe Rewiring: Bringing Old Fixtures Up to Code
Choosing the Right Wire and Components
- Wire gauge: For most lamps and small fixtures, use 18-gauge, 2-conductor lamp wire (UL-listed). For larger or multi-bulb fixtures, 16-gauge or 14-gauge may be required.
- Sockets: Replace with modern, UL-listed sockets rated for the intended bulb wattage and type (E26/E27 for standard bulbs; candelabra for smaller fixtures).
- Plugs and switches: Use polarized plugs and in-line switches for table/floor lamps. Grounded plugs are essential for all-metal fixtures.
- Ceiling/wall mounts: Use mounting brackets and hardware rated for fixture weight and electrical load.
Step-by-Step Rewiring Process
- Remove all old wiring and sockets, noting their original placement.
- Cut new wire to length, leaving extra for easy handling and future maintenance.
- Thread wire through the fixture, avoiding pinching or sharp bends.
- Attach new sockets, securing wire connections with wire nuts or terminal screws as required.
- Install new plug and switch, ensuring proper polarity (wide prong = neutral).
- For grounded fixtures, connect green or bare copper wire to the frame using a grounding screw.
- Double-check all connections, then test the fixture with a bulb before final assembly.
Creative Upgrades: Designing for Character and Efficiency
Modernizing for Energy Efficiency
- LED Bulbs: Replace incandescent or halogen bulbs with compatible LED equivalents to reduce energy use and heat.
- Dimmable drivers: Consider adding a dimmer switch (compatible with LED bulbs) for ambience and further energy savings.
- Smart controls: Integrate smart plugs or Wi-Fi compatible bulbs for modern convenience without altering the fixture’s appearance.
Restoring or Reimagining the Finish
- Metal polishing: Restore original shine to brass, copper, or steel with appropriate polish. For a matte look, use fine steel wool only.
- Painting: Use high-temperature spray paint for a new color or to hide repairs. Mask off any non-painted areas thoroughly.
- Patina creation: Apply specialty solutions to create aged or verdigris effects on metals.
- Shade replacement: Upcycle with glass, wire, or natural materials (rattan, linen) for a custom look. Mix and match for eclectic style.
Creative Repurposing Ideas
- Chandeliers as plant hangers: Remove wiring and sockets, then use the frame to suspend air plants or trailing greenery.
- Industrial fixtures as task lamps: Mount old factory sconces above workbenches or desks for focused lighting.
- Multi-shade pendants: Combine glass shades from different fixtures for a clustered pendant effect.
- Table lamp conversions: Turn wall sconces into table lamps with weighted bases and fresh wiring.
Troubleshooting Common Salvaged Lighting Issues
Loose or Damaged Parts
- Stripped threads: Use thread repair kits or replace screws/bolts as needed.
- Missing hardware: Salvage from other fixtures or use matching modern replacements.
- Cracked glass: Replace with new or upcycled shades, or use heat-resistant adhesive for minor chips (avoid fixing large cracks).
Persistent Electrical Problems
- Flickering bulbs: Double-check socket connections and try a new bulb. If persistent, rewire the socket.
- Non-functioning switch: Replace with a new in-line switch or wall dimmer.
- Overheating: Confirm bulb wattage does not exceed socket rating. Switch to LEDs for lower heat output.
Finishing Touches: Safe Installation and Display
Mounting and Hanging
- Ceiling fixtures: Always use properly rated mounting brackets and anchors. Verify electrical box load ratings.
- Wall sconces: Anchor into studs or use heavy-duty drywall anchors for safe support.
- Table and floor lamps: Ensure weighted bases for stability and use cord management to reduce tripping hazards.
Bulb Selection for Ambience and Sustainability
- Color temperature: Choose 2700K–3000K for warm, inviting light, or 4000K+ for task areas.
- Dimmable LEDs: Allow you to tailor brightness to mood and activity.
- Vintage-style LEDs: Combine the look of Edison bulbs with modern efficiency.
Maintaining Your Upcycled Lighting
Routine Care
- Dust fixtures and shades regularly with a soft, dry cloth.
- Clean glass with a damp, lint-free cloth; avoid harsh chemicals on painted or patinated finishes.
- Periodically check wiring and sockets for signs of wear or damage.
Long-Term Safety Checks
- Annually inspect hardwired installations for loose connections or corrosion.
- Replace bulbs with matching wattage/type to prevent overheating.
- For outdoor fixtures, check gaskets and seals for weatherproofing.
Conclusion: Illuminating Your Space Sustainably
Upcycling salvaged lighting fixtures is more than a creative pursuit—it’s a tangible commitment to sustainability, resourcefulness, and personal expression. Each restored lamp or repurposed pendant not only diverts valuable materials from waste streams, but also brings a unique story and character into your space. By following safe restoration practices, from thorough cleaning and careful rewiring to energy-efficient upgrades and thoughtful display, you ensure that your upcycled lighting is as functional and safe as it is beautiful.
Moreover, the process fosters a deeper appreciation for craftsmanship and history. Salvaged lighting often features materials and designs rarely found in modern mass-produced fixtures. Through upcycling, you honor these origins while adapting them to contemporary needs—blending heritage and innovation in every illuminated corner of your home or workspace. The satisfaction of seeing a once-forgotten fixture shine again, powered by modern efficiency and your own creativity, is truly rewarding.
As you embark on your next upcycling adventure, remember: the best lighting is not only energy-efficient and stylish, but also tells a story of conscious choices. With the practical steps and ideas in this guide, you’re equipped to turn salvage into sustainable ambience—one restored fixture at a time. Illuminate your world, sustainably and creatively.



I’ve found a few old pendant lamps at a local thrift store, but I’m worried about rewiring them since the original wiring seems pretty worn out. Does your guide walk through the safest way to completely rewire these, or would you recommend hiring an electrician for anything older than a certain decade?
The guide offers practical tips for assessing and safely updating old lighting fixtures, including basic rewiring steps and important safety checks. However, for lamps with severely worn wiring or those made before the 1970s, it’s wise to consult a licensed electrician. Older fixtures may have outdated or hazardous wiring, so professional help ensures safety and compliance with current standards.
You mentioned sourcing fixtures from flea markets, salvage yards, and even demolition sites. Are there particular types of salvage locations that tend to have lighting in better condition, or is it mostly luck no matter where you look?
Generally, architectural salvage yards and specialized antique shops tend to have lighting fixtures in better condition because they often inspect, clean, and sometimes repair items before selling them. Flea markets and demolition sites can be hit-or-miss—you might find hidden gems, but the condition is usually more unpredictable. If you’re looking for fixtures that need less work, salvage yards are probably your best bet.