Introduction: Why Hand Tools Matter in Creative Salvage and Upcycling
Sustainable living and upcycling go hand-in-hand—literally, when you’re wielding the right hand tools. While power tools often steal the spotlight in salvage and restoration circles, hand tools are the backbone of creative upcycling. They offer precision, control, and versatility, often at a fraction of the cost and with a smaller carbon footprint. Whether you’re repurposing weathered doors into unique shelving or giving new life to discarded metal fixtures, the right hand tools empower you to work safely, accurately, and sustainably. Yet, with the overwhelming variety on the market, assembling a toolkit can feel daunting, especially for those on a budget. This guide demystifies the essential hand tools every upcycler should own, explains their specific roles in salvage projects, and provides practical advice on selection, use, care, and cost-saving strategies. If you’re ready to build a toolkit that maximizes creativity without breaking the bank, read on for expert insights tailored to sustainable makers at every skill level.
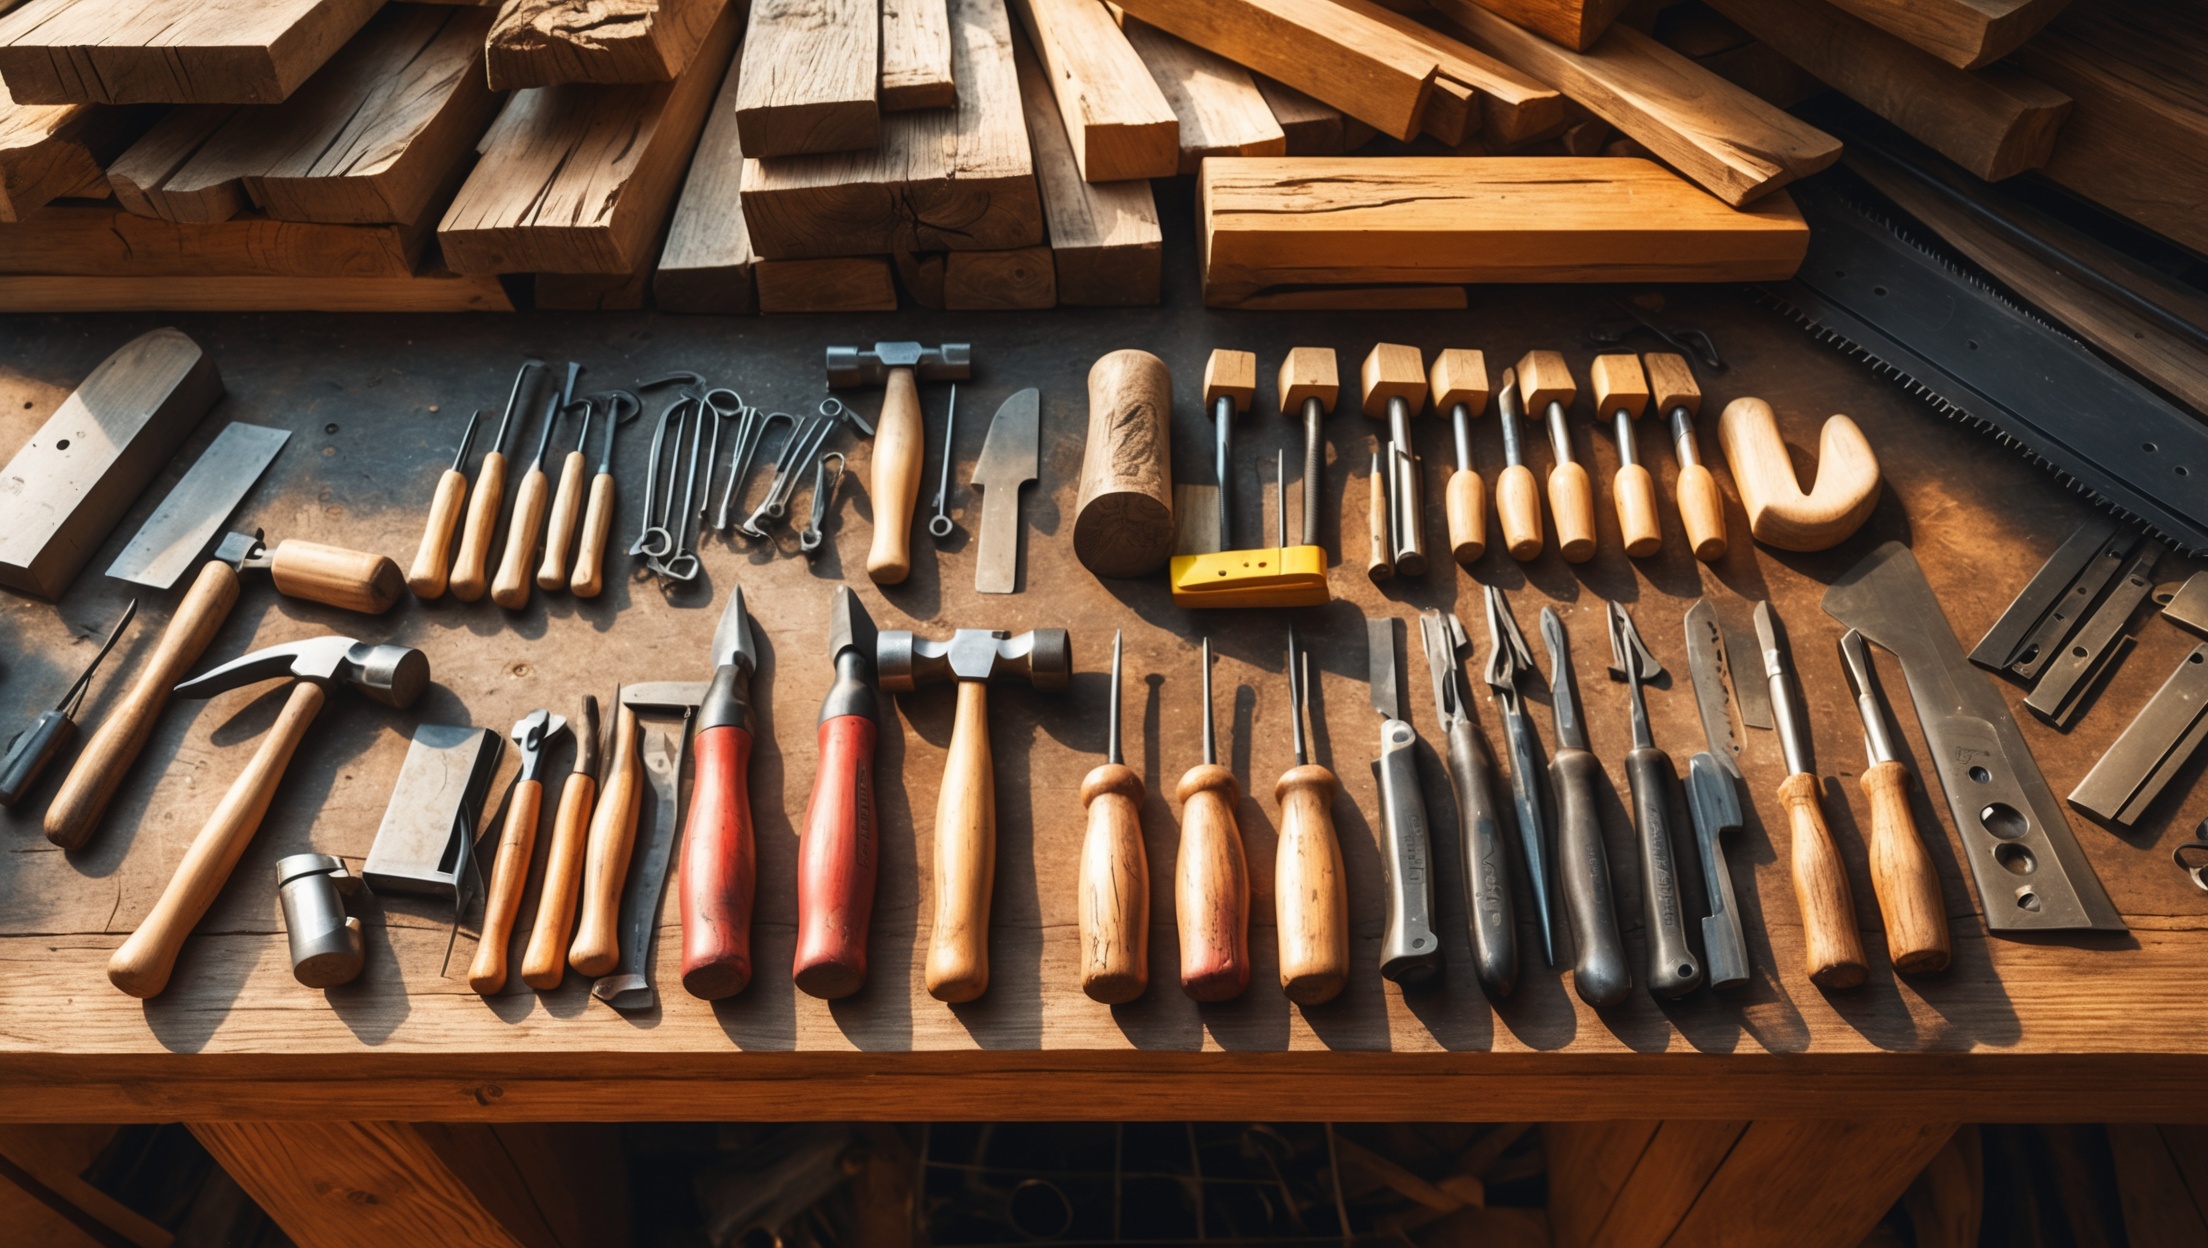
Core Hand Tools for Salvage and Upcycling Projects
1. Claw Hammer
No toolkit is complete without a reliable claw hammer. Its dual-purpose head allows you to drive nails and gently pry apart salvaged materials. For upcyclers, opt for a medium-weight hammer (16-20 oz) with a comfortable grip. Wooden handles absorb shock, while fiberglass offers durability in damp environments. Use the curved claw for extracting nails from reclaimed wood or disassembling furniture without excessive damage.
2. Pry Bar (Crowbar)
A sturdy pry bar is indispensable for separating nailed or glued joints, removing trim, or lifting boards. Choose a size that matches your typical projects: a 12-inch bar for delicate dismantling, or a 24-inch for more leverage with stubborn, heavy salvage. Look for forged steel construction and a beveled end for better access under tight edges.
3. Screwdrivers (Flathead & Phillips)
Salvaged items often feature a variety of screw types. A set of high-quality screwdrivers, including multiple sizes of both flathead and Phillips, is crucial. Magnetic tips help with old, rusted screws. Ergonomic handles reduce fatigue during prolonged restoration sessions. Consider a precision set for small hardware on fixtures or vintage electronics.
4. Adjustable Wrench
Plumbing fixtures, metal brackets, and salvage hardware require an adjustable wrench. A 6-10 inch model covers most needs, gripping various bolt and nut sizes. Look for smooth adjustment mechanisms and a comfortable handle. For particularly stuck hardware, pair with penetrating oil to avoid damaging valuable salvage pieces.
5. Pliers (Slip-Joint, Needle-Nose, and Locking)
- Slip-joint pliers: Versatile, ideal for gripping, twisting, and pulling nails or wires.
- Needle-nose pliers: Reach into tight spaces, remove small pins, or bend delicate metal.
- Locking pliers (Vise-Grips): Clamp onto stubborn fasteners or hold objects steady while working.
A well-chosen trio covers most upcycling tasks, from furniture hardware to lamp rewiring.
6. Hand Saw
For cutting reclaimed wood, a sharp hand saw is both safer and quieter than power alternatives. Start with a general-purpose crosscut saw (8-12 teeth per inch) for dismantling pallets or resizing boards. Japanese-style pull saws offer finer cuts and require less effort, making them ideal for precision upcycling.
7. Chisels
Sharp chisels allow you to clean joints, remove glue, or carve detail into salvaged wood. Begin with a set of three widths (1/4”, 1/2”, 1”) for versatility. Always use a wooden or plastic mallet to avoid damaging handles. Keep chisels honed for safety and efficiency.
8. Measuring and Marking Tools
- Tape measure (16-25 ft): For accurate material assessment and project planning.
- Combination square: Ensures precise right angles for cutting or assembling.
- Marking pencil or chalk: Non-permanent, visible lines for layout work.
Accurate measurements are fundamental for successful upcycling, ensuring tight fits and professional finishes.
9. Utility Knife
From trimming old caulk to scoring metal or cardboard templates, a sharp utility knife is a multi-tasker. Look for models with retractable blades and comfortable grips. Always have spare blades on hand—dull knives are dangerous and can ruin materials.
10. Putty Knife and Scraper
For removing paint, adhesives, or smoothing wood filler, a flexible putty knife is invaluable. Metal blades work best for tough residue; plastic versions are gentler on delicate surfaces. Scrapers with replaceable blades extend tool life and improve results.
Specialty Hand Tools for Advanced Upcycling
Hand Planes
Hand planes smooth rough salvage lumber, restore edges, and remove old finishes. A #4 smoothing plane is a versatile starter. Keep blades razor-sharp and learn proper adjustment for best results. For intricate work, consider a small block plane.
Wire Brush
Old hardware and metal salvage often need rust removal. A sturdy wire brush—manual or drill-mounted—can restore everything from hinges to cast-iron sinks. Brass bristles are softer for delicate metals, while steel brushes tackle heavy corrosion.
Awl
An awl makes starter holes for screws or nails, and can mark precise locations. It’s especially useful when working with hardwoods or when upcycling vintage furniture with brittle surfaces.
Handsaw for Metal (Hacksaw)
For cutting metal rods, pipes, or brackets, a hacksaw is essential. Choose one with a comfortable handle and easily replaceable blades. Finer-tooth blades (24-32 TPI) are best for thin metals, while coarser blades suit thicker stock.
How to Choose Quality Hand Tools Without Overspending
Prioritize Versatility
Avoid single-use gadgets in favor of multipurpose tools. For example, a combination square replaces several layout tools, and adjustable pliers serve multiple gripping tasks.
Shop Second-Hand and Salvage
Many high-quality hand tools outlast new, budget models. Check estate sales, flea markets, and online marketplaces for vintage brands like Stanley, Estwing, or Irwin. Inspect wooden handles for cracks and metal parts for corrosion. A little cleaning or blade sharpening can restore these finds to near-new condition.
Invest Where It Matters
Splurge on tools you’ll use most—like a tape measure or hammer—and save on rarely used specialty items. Mid-range brands often balance quality and price. Read reviews and ask fellow upcyclers for recommendations.
Starter Sets vs. Individual Tools
While starter sets can be economical, they sometimes include redundant or low-quality items. Build your kit gradually, adding tools as projects demand. This approach prevents clutter and ensures each tool earns its place.
Maintenance Tips: Prolonging the Life of Your Hand Tools
Cleaning and Rust Prevention
- After each project, wipe down metal parts with a dry cloth to remove moisture and dust.
- Apply a light coat of machine oil or paste wax to exposed steel to prevent rust.
- Store tools in a dry, ventilated area—preferably toolbox or on a wall rack.
Sharpening and Calibration
- Regularly sharpen chisels, hand saws, and plane blades using a sharpening stone or file.
- Check measuring tools for accuracy; recalibrate squares and levels as needed.
- Replace utility knife blades frequently for clean, safe cuts.
Handle Care
- Sand splinters from wooden handles and apply linseed oil to prevent drying or cracking.
- Tighten loose fasteners on handles and replace if necessary—safe grips are essential for precision and injury prevention.
Safety Considerations When Using Hand Tools
Personal Protective Equipment (PPE)
- Wear safety glasses to protect eyes from flying debris, especially when prying, scraping, or cutting.
- Use work gloves to prevent blisters, cuts, and splinters.
- Consider hearing protection if working alongside power tools.
Proper Use and Storage
- Always use the right tool for the job—improvising can cause injury or damage materials.
- Keep tools organized and accessible to prevent accidents in your workspace.
- Never carry tools in your pockets; use a tool belt or caddy.
Budget Breakdown: Building a Basic Hand Tool Kit
Here’s a sample budget for assembling a quality, beginner-friendly hand tool kit for creative salvage and upcycling:
- Claw hammer: $15–$30
- Pry bar: $10–$20
- Screwdriver set: $15–$40
- Adjustable wrench: $10–$25
- Pliers set: $20–$35
- Hand saw: $20–$40
- Chisel set: $20–$40
- Tape measure & square: $15–$30
- Utility knife: $8–$20
- Putty knife/scraper: $5–$15
Total estimated cost (new): $138–$295
Buying second-hand or refurbished tools can reduce this total by 30–50%. Prioritize immediate needs and expand as you tackle more complex projects.
Organizing and Storing Your Hand Tools for Efficiency
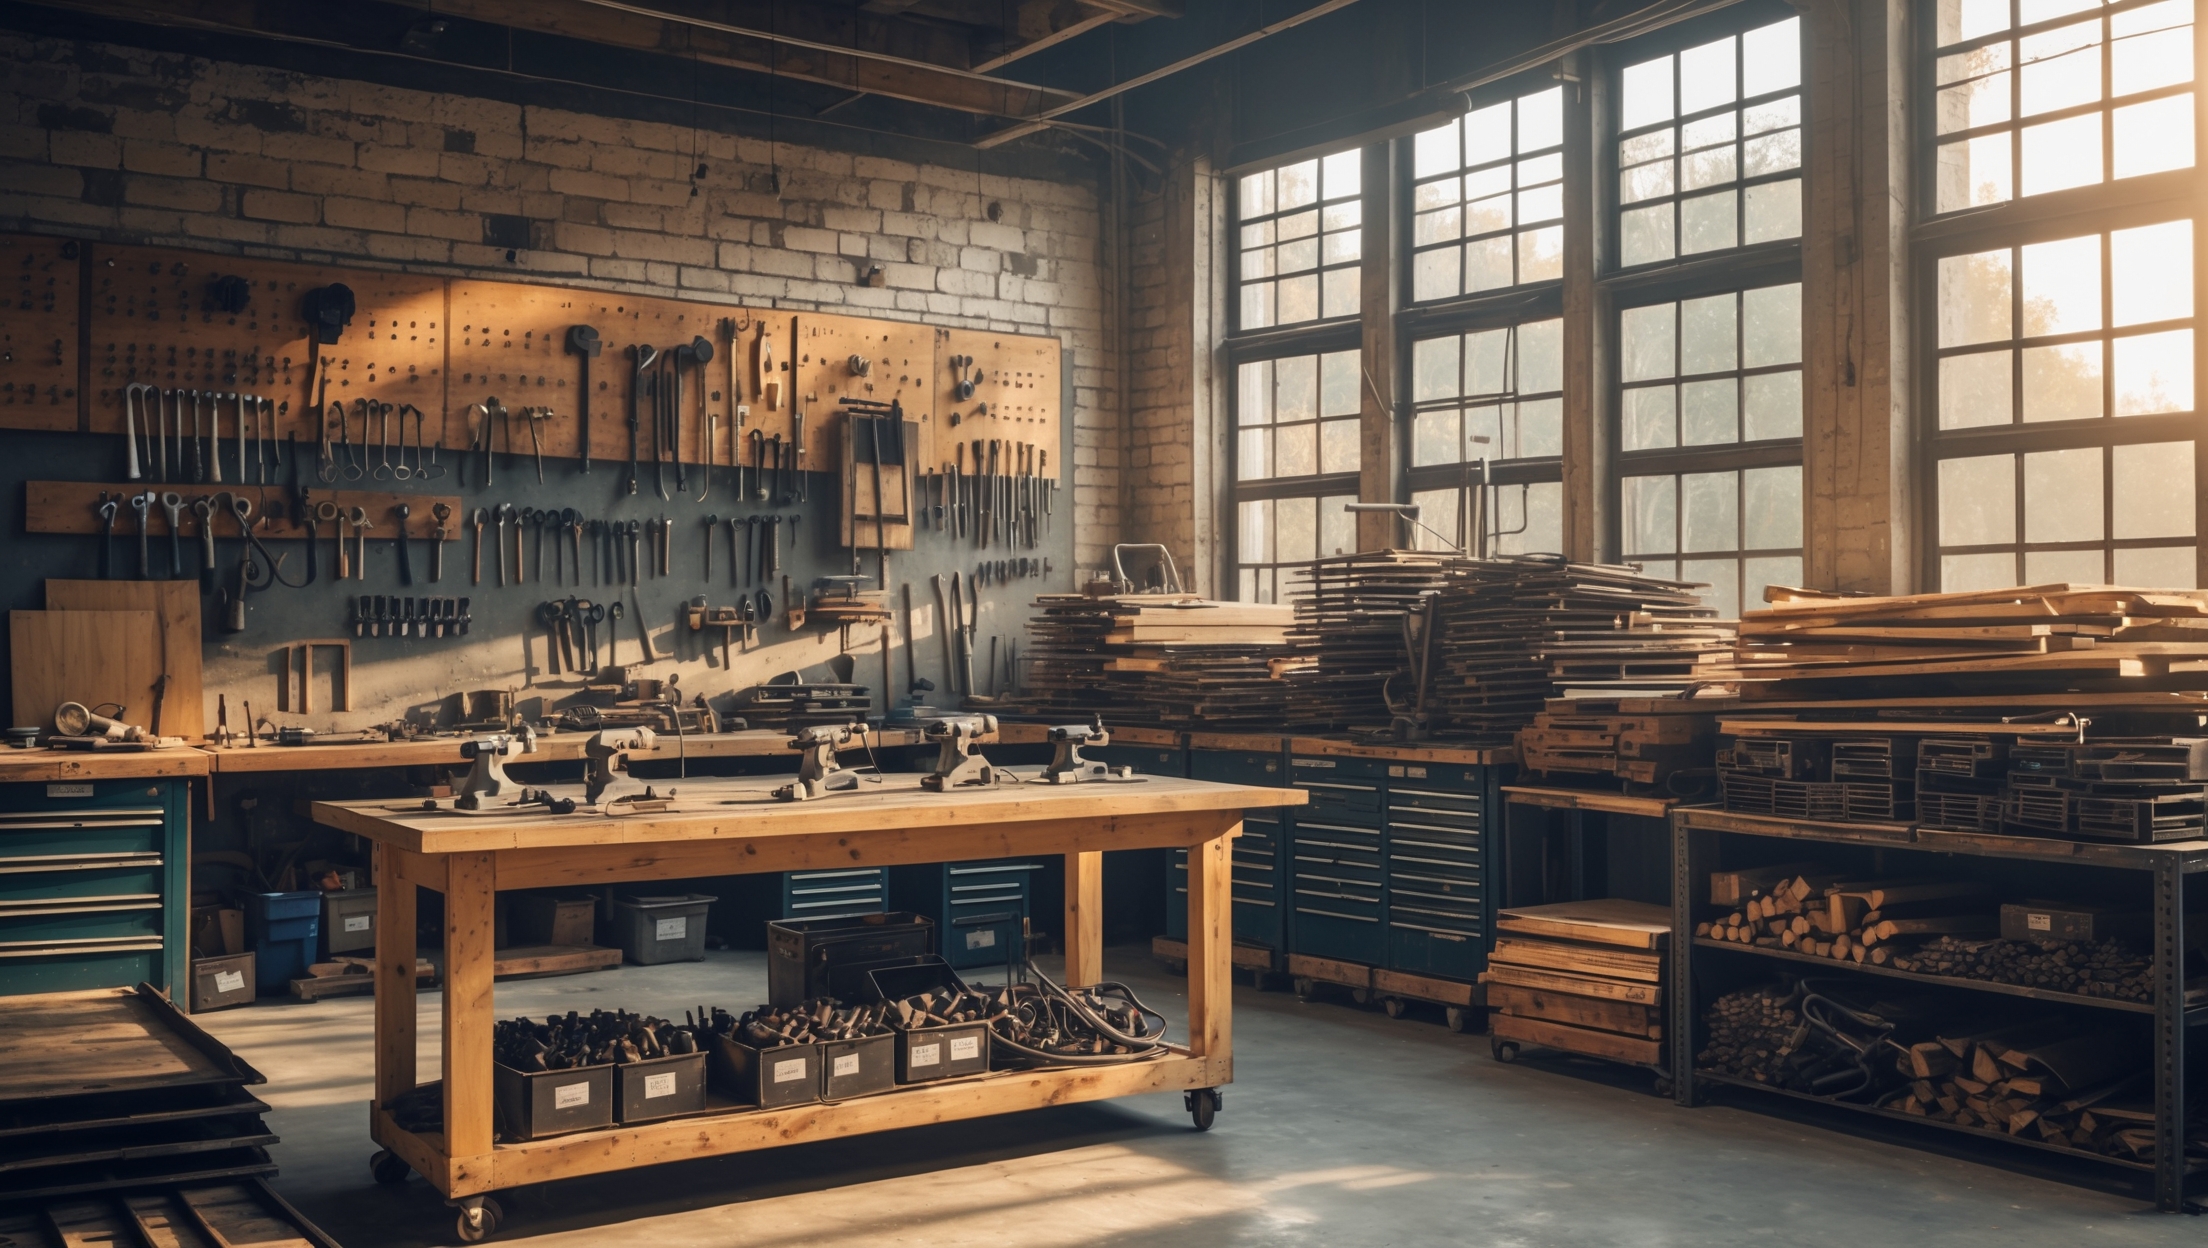
Wall Racks and Pegboards
Mount pegboards above your workbench to keep tools visible and within reach. Use hooks, shelves, and magnetic strips for flexible storage. Outline tool shapes on the board to streamline clean-up and inventory.
Toolboxes and Caddies
For mobile work or limited space, choose a sturdy toolbox or tool bag with compartments for different tool types. Label sections for quick identification. Foam inserts can protect delicate measuring instruments or sharpened edges during transport.
Repurposed Containers
In the spirit of upcycling, old jars, tins, or wooden boxes make excellent holders for small parts, fasteners, and specialty tools. Label everything clearly to avoid wasted time searching for the right item.
Common Mistakes to Avoid When Assembling Your Toolkit
- Overbuying: Don’t purchase every tool at once. Start with essentials and add as needed.
- Neglecting Ergonomics: Uncomfortable grips lead to fatigue and sloppy work. Test tools in hand before buying.
- Ignoring Maintenance: Even the best tools fail if neglected. Set a routine for cleaning and sharpening.
- Storing Tools Improperly: Damp conditions and cluttered storage shorten tool life and pose safety risks.
- Opting for Cheap Sets: Low-cost, bulk tool kits often include poor-quality items that break easily. Quality over quantity saves money long term.
Conclusion: Equip Yourself for Creative Salvage Success
Choosing and maintaining the right hand tools is a foundational step for anyone passionate about creative salvage and upcycling. These essential tools are more than just implements—they’re extensions of your vision, skill, and commitment to sustainable living. By prioritizing quality, versatility, and proper care, you’ll create a toolkit that grows with you, enabling innovative projects and minimizing waste. Remember, every upcycled project tells a story, and the right tools help you write it with confidence and craftsmanship.
As you embark on your salvage journey, consider your toolkit a living collection—one that evolves alongside your skills and interests. Start small, invest wisely, and never underestimate the satisfaction of restoring a discarded item with your own hands. Whether you’re a weekend hobbyist or a burgeoning upcycling entrepreneur, mastering hand tools will unlock new possibilities and deepen your connection to the materials you rescue. Ultimately, sustainable living isn’t just about what you make, but how you make it—and your hand tools are key to making every project count, both for your creativity and the planet.